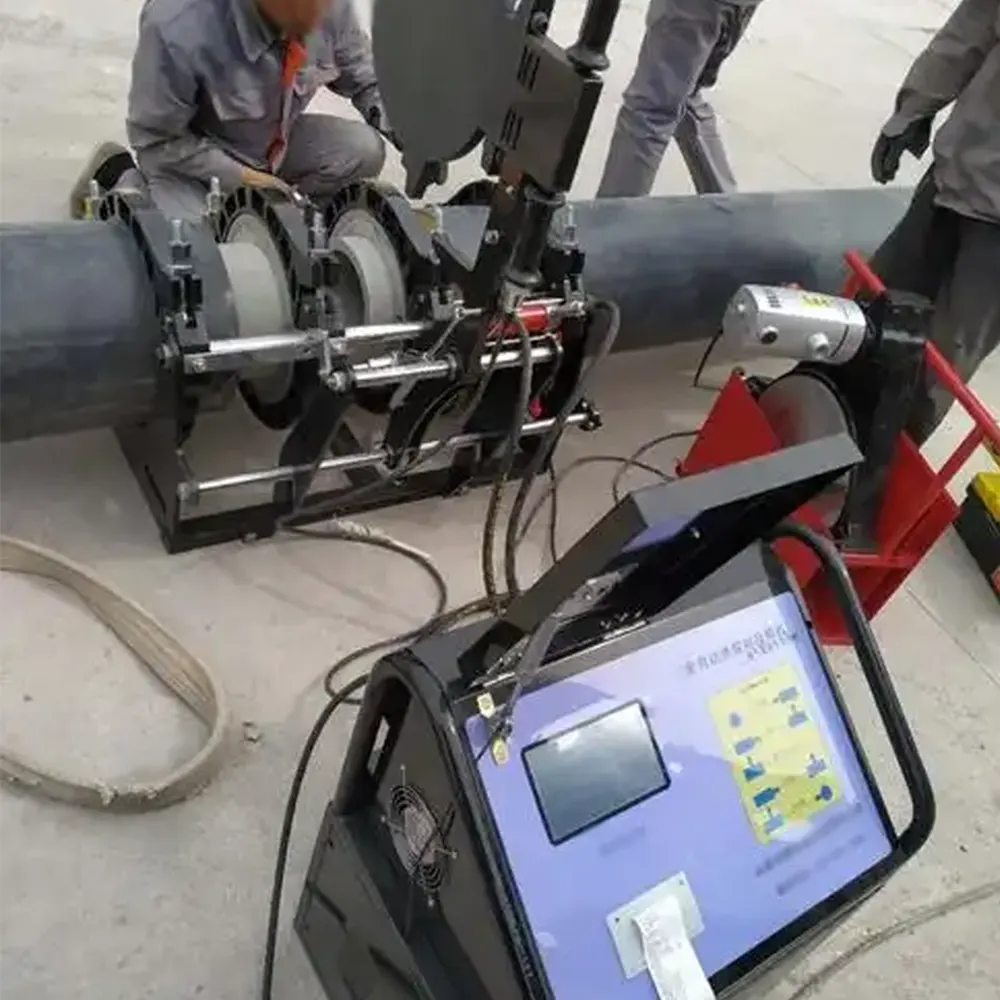
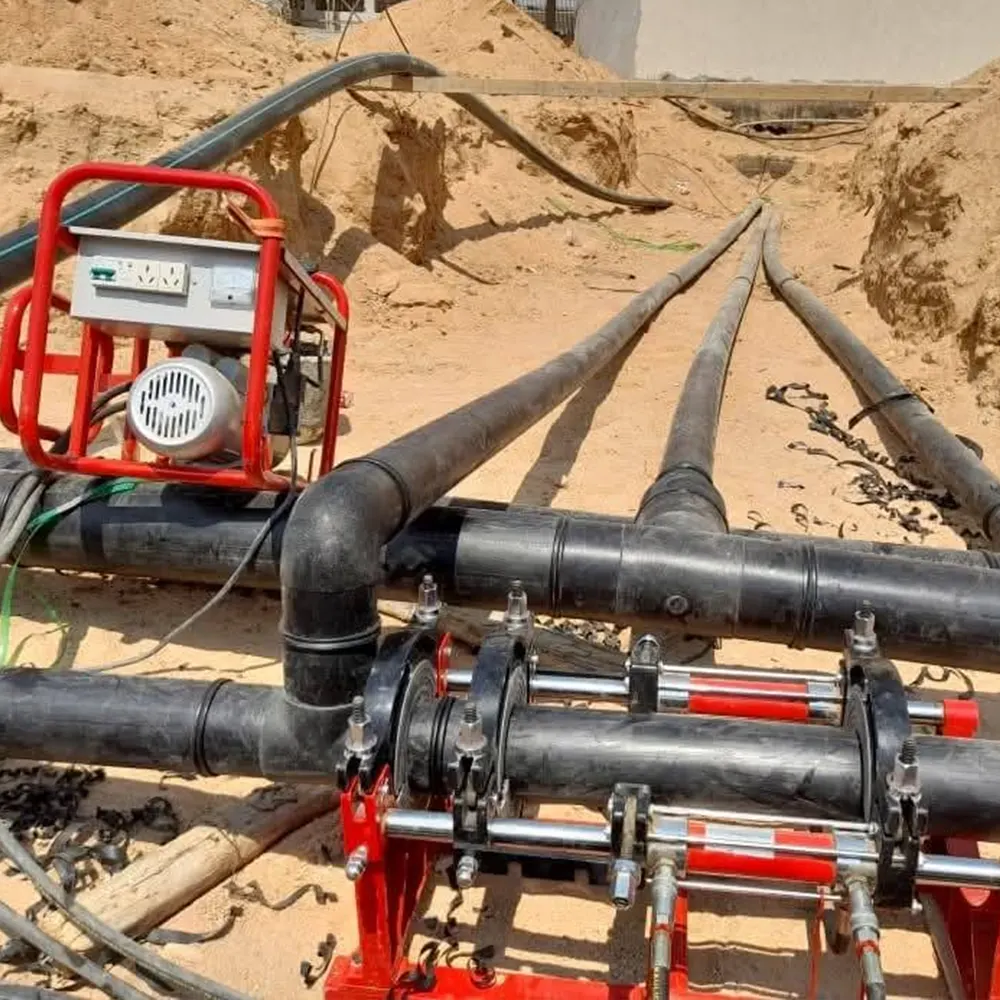
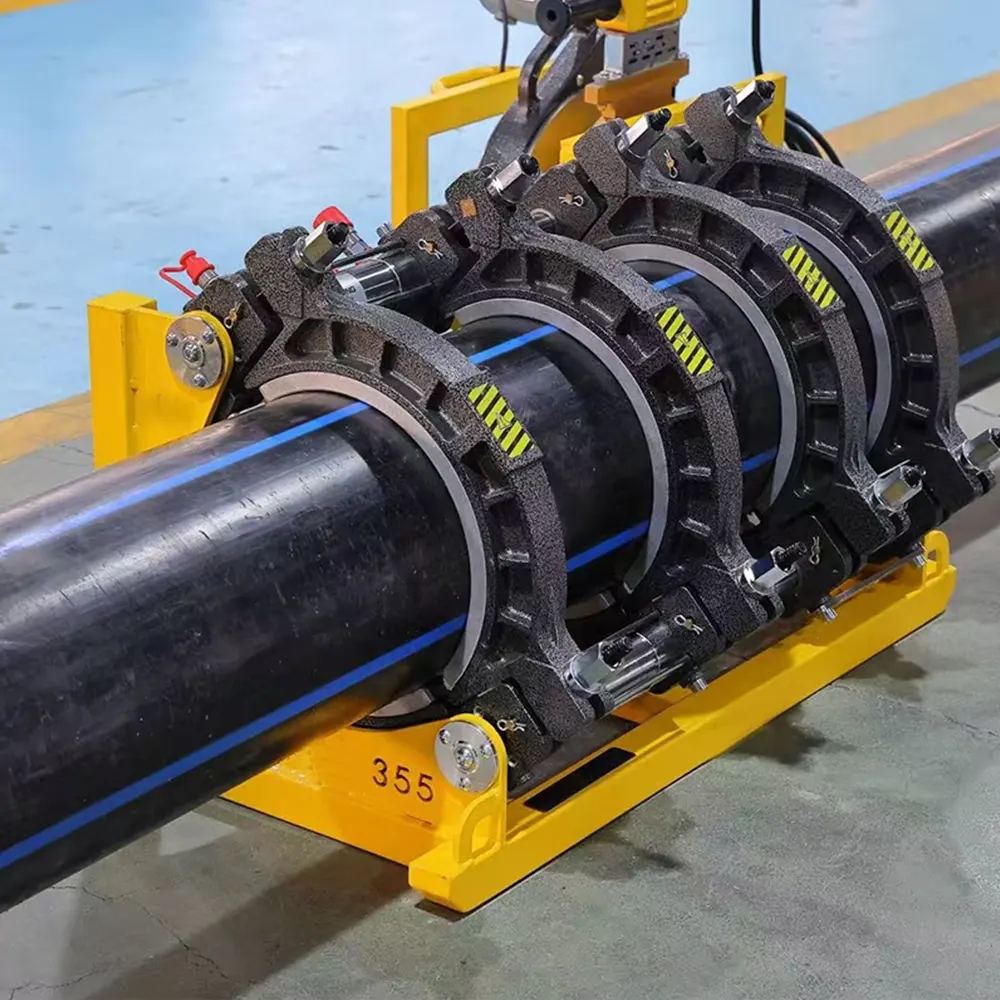
This step-by-step tutorial guides operators through safe, efficient heat fusion of PE (HDPE/PE) pipes using butt fusion machines. Follow the procedures below to achieve consistent joints, reduce rework, and maintain site safety while maximizing productivity.
Overview: What Is PE Pipe Heat Fusion?
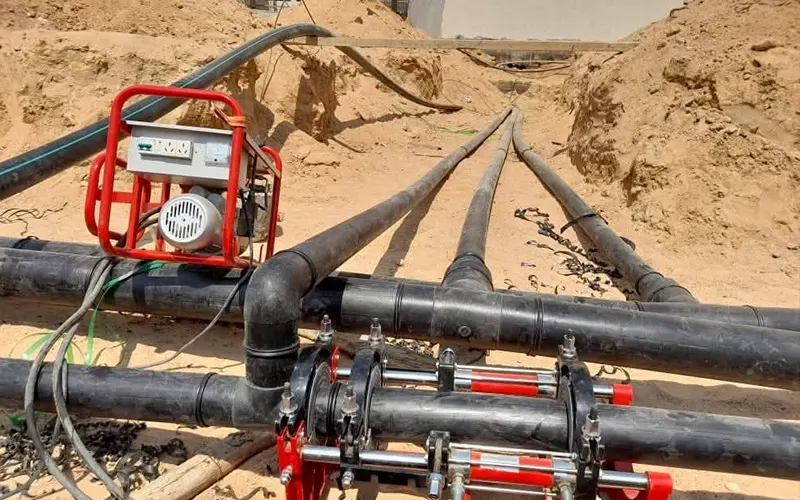
PE pipe heat fusion (butt fusion) joins two pipe ends by aligning, heating, and compressing them until they melt and form a continuous, monolithic joint. Proper machine setup and disciplined operating steps are crucial for reliable results on water, gas, mining, and industrial pipeline projects.
Safety First: Mandatory Precautions
Before you begin: ensure the work area is stable, well-lit, and free of flammable materials. Always wear PPE — heat-resistant gloves, eye protection, hearing protection, and safety boots. Confirm emergency shutoff access and that trained personnel know the procedure.
Key Safety Checks
1. Verify machine grounding and correct voltage supply.
2. Check heating plate integrity — no cracks or excessive wear.
3. Ensure pipe ends are free from contamination, water, and frost.
4. Keep bystanders clear of the fusion area during heating and cooling.
Pre-Operation Equipment Checklist
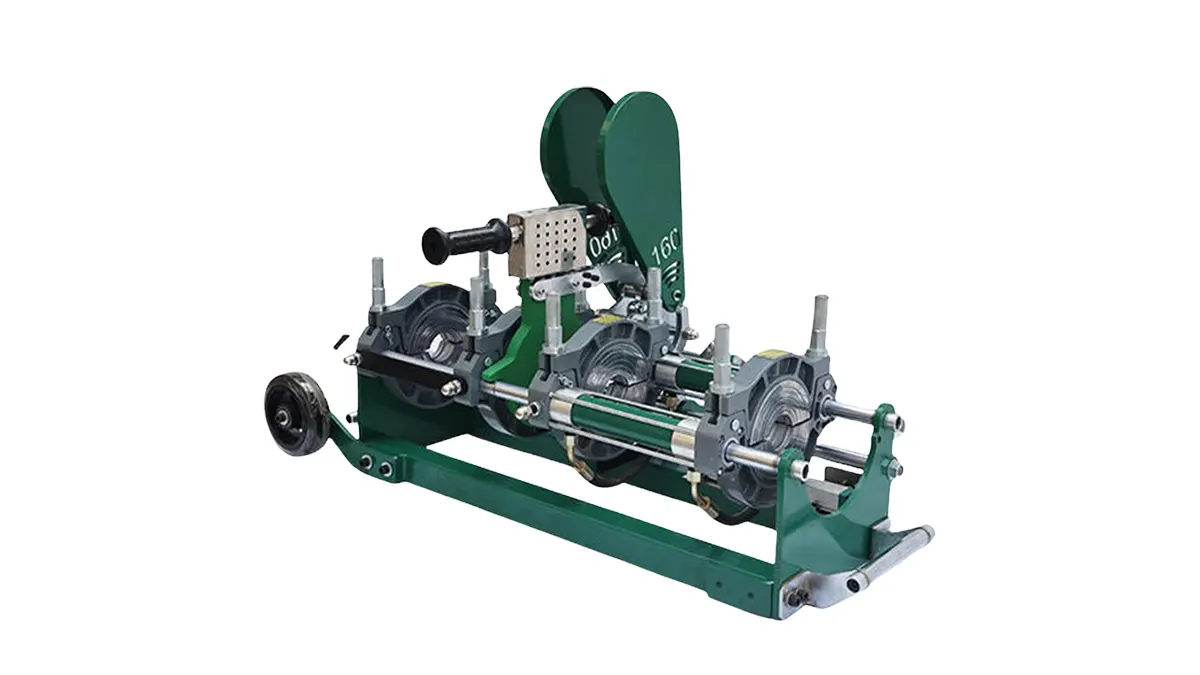
Inspect the machine frame, clamps, alignment guides, facer/trimmer, heating plate, hydraulic unit (if fitted), and control panel. Lubricate sliding surfaces lightly and verify calibration of pressure gauges or torque settings.
Essential Items to Have On Site
• Proper-sized clamps and adapters for pipe outer diameter.
• Clean facer blade and backup blades for trimming.
• Spare heating plate if operations are continuous.
• Calibration sticker or logbook for traceability.
Step-by-Step Operation Guide
Step 1 — Machine and Pipe Preparation
Align machine on a firm, level surface. Position clamps and adapters for the pipe OD. Clean pipe ends and remove burrs or dirt with a clean cloth. Confirm pipe SDR and material compatibility with the machine settings.
Step 2 — Facing (Trimming)
Secure both pipe ends in the clamps. Use the facer to trim until both ends are square, parallel, and free of oxide layers. The trimming depth must match the manufacturer’s recommendations for a consistent melt surface.
Step 3 — Heating
Place the heating plate between the prepared pipe ends. Apply specified heating pressure and start the timer according to pipe diameter and wall thickness. Do not disturb the alignment during heating.
Step 4 — Fusion (Joining)
Remove the heating plate carefully and immediately bring the pipe ends together under controlled fusion pressure. Hold the pressure for the specified consolidation time to allow molecular diffusion and a strong joint to form.
Step 5 — Cooling and Inspection
Maintain clamps and pressure during the cooling period; removing pressure too early weakens the joint. After the cooling time, release clamps and perform a visual inspection: check bead uniformity and absence of voids. Record fusion parameters (heating time, pressure, cooling time) in the job log.
Operational Tips for Consistent Results
Maintain temperature control: overheating or underheating ruins joint integrity. Use the recommended heating plate temperature and replace plates that lose thermal uniformity. Clean the plate between cycles to prevent contamination.
Alignment & Pressure
Proper alignment avoids eccentric loads and ensures beads form evenly. Use pressure gauges or digital controls to apply consistent pre-heat, heating, and fusion pressures per the pipe manufacturer’s chart.
Documentation
Keep a fusion log including operator name, machine ID, pipe material and batch, ambient conditions, and all process parameters. Good documentation improves traceability and quality control.
Quick Troubleshooting
Common issues: uneven bead, cold weld (poor fusion), or excessive flash. Remedies include checking facer accuracy, replacing heating plate, confirming pressure sensors, and re-verifying pipe material compatibility.
When to Reject a Joint
Reject and cut out any joint with non-uniform bead profile, visual voids, or incomplete melt penetration. Re-fuse only after correcting the root cause and following code requirements for repair.
Performance Comparison Table
| Model | Pipe Range (mm) | Key Feature |
|---|---|---|
| JQH160 | 20–160 | Compact hydraulic frame for small jobs |
| JQA315 | 110–315 | Automatic fusion control for repeatable cycles |
| Large-Diameter Series | 400–2000+ | Heavy-duty frame and high-capacity hydraulics |
Maintenance Best Practices
Perform daily checks on moving parts, keep the hydraulic fluid clean, and inspect electrical connections monthly. Replace consumables like facer blades and heater pads on a scheduled basis to avoid downtime.
Spare Parts & Support
Stock common spare parts (heating plates, facer blades, seals) and maintain a relationship with your machine supplier for calibration and technical support. For example, JQ-Fusion provides tailored butt fusion solutions and technical documentation to support field teams.
Final Notes
Consistent, safe PE pipe fusion depends on disciplined preparation, correct machine setup, and accurate process control. Follow manufacturer charts and local pipeline codes — and always document each fusion for quality assurance and traceability.