Proper alignment is a cornerstone of successful HDPE pipe welding. Misaligned joints are a primary cause of leaks, reduced pressure capacity, and premature system failure. Addressing alignment issues effectively requires understanding their root causes and implementing both corrective measures and proactive prevention strategies.
Identifying Common Welding Alignment Issues
Before fixing a problem, you must accurately identify it. Common signs of poor alignment include:
• Visual Misalignment: The pipes are visibly offset at the joint, not forming a straight, continuous line.
• Uneven Bead Formation: The weld bead (the ridge of melted material) is thicker on one side and thinner or non-existent on the other.
• Angled Joints: The pipes meet at a slight angle instead of being co-linear.
• High Drag Force: During the fusion and joining phase, you feel excessive resistance or the machine struggles to push the pipes together evenly.
Immediate Corrective Actions for Alignment Problems
If you discover an alignment issue during the welding process, immediate action is required.
1. Stop and Assess
Do not proceed with the joining phase. Stop the process immediately after the facing cut. Inspect the pipe ends. If the misalignment is minor and caught before heating, you may re-face the pipes to create fresh, parallel surfaces.
2. Check Machine Setup
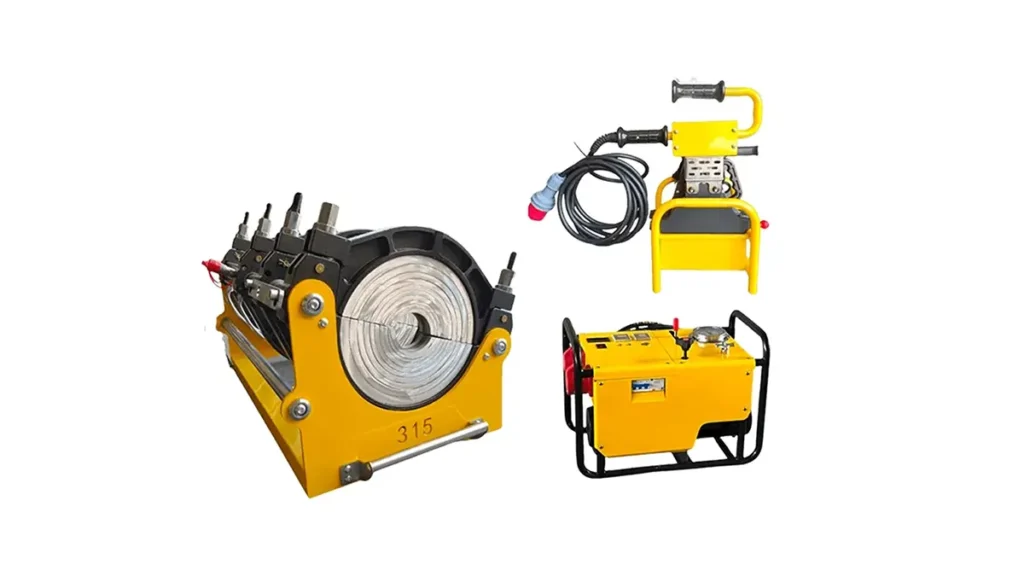
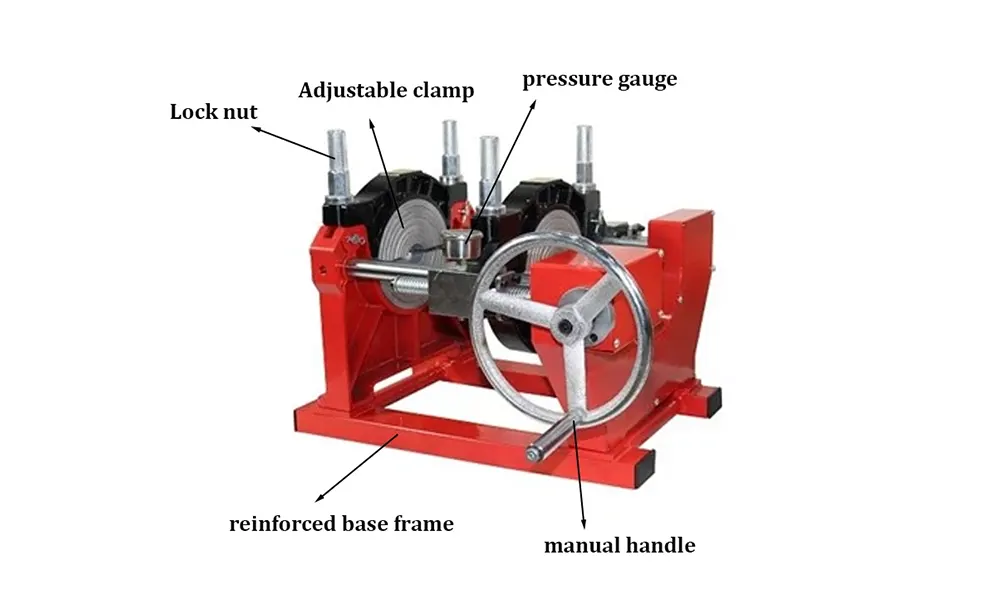
Re-examine your setup. Ensure the butt fusion machine is on stable, level ground. Verify that the pipe clamps are clean, undamaged, and gripping the pipes with uniform pressure along their entire circumference. A high-quality, well-maintained butt fusion machine is fundamental to achieving precise alignment.
3. Verify Pipe Preparation
Remove the pipes and check for ovality (out-of-roundness). HDPE pipes can become oval during transport or storage. Use a roundness gauge. If ovality exceeds the manufacturer’s specification (typically 1.5% of the diameter), the pipe may need to be reformed or rejected.
Proactive Prevention: The Key to Future Success
Preventing alignment issues is far more efficient than fixing them. A disciplined, step-by-step approach is essential.
Step 1: Rigorous Site and Equipment Preparation
Begin with a solid foundation. The welding machine must be positioned on a firm, level surface to prevent shifting during operation. Before mounting the pipes, perform a dry-run alignment check. Clamp the pipes without the heater plate and visually inspect for gaps or misalignment. Manually operate the machine to bring the pipe ends together; they should meet perfectly across the entire circumference.
Step 2: Meticulous Pipe and Clamp Inspection
Inspect every pipe section for damage, dirt, and ovality. Clean the pipe ends and the inner surfaces of the clamps thoroughly. Any debris between the pipe and the clamp can cause the pipe to sit unevenly, guaranteeing misalignment. Ensure the clamps are appropriate for the pipe’s diameter and pressure rating.
Step 3: Precision During the Welding Cycle
Adherence to the correct welding parameters is non-negotiable.
• Facing: The facing cut must produce two parallel, smooth, and continuous surfaces. A poor facing job cannot be corrected later.
• Heating: Maintain the correct temperature and ensure the heater plate is clean and parallel to the pipe faces. Apply even, consistent pressure during the heat soak phase.
• Changeover & Joining: This is the most critical phase. Remove the heater plate swiftly and smoothly without disturbing the pipes. Join the pipes immediately with a steady, controlled force to achieve the proper fusion bead. Automated machines excel at providing this consistent join pressure.
Utilizing advanced equipment, such as a CNC automatic butt fusion machine, significantly reduces human error by digitally controlling pressure, temperature, and timing.
The Role of Quality Equipment and Training
Consistent alignment is not just about technique; it’s heavily dependent on the tools and knowledge of the operator.
Investing in Reliable Machinery
A robust, well-calibrated welding machine is the most important factor in prevention. Features like self-aligning clamps, precision hydraulic systems, and digital readouts for pressure and temperature are invaluable. Partnering with a professional manufacturer like JQ-Fusion, which offers strict quality control and machines built for stable welding performance, provides a reliable foundation for your projects.
Comprehensive Operator Training
Even the best machine is only as good as its operator. Ensure all welders are certified and undergo regular, hands-on training. Training should cover not just the machine’s operation but also pipe inspection, alignment verification techniques, and troubleshooting common issues. Professional manufacturers often provide or recommend comprehensive technical support and training programs.
Post-Weld Validation and Documentation
After completing the weld, don’t assume it’s perfect. Implement a validation process. Visually inspect the bead for uniformity. For critical projects, consider non-destructive testing methods. Finally, document every weld: record pipe IDs, machine parameters, operator name, date, and alignment check results. This creates a quality trail and is essential for future maintenance.
Frequently Asked Questions (FAQs)
1. What is the most common cause of HDPE pipe misalignment during welding?
The most common cause is inadequate or uneven clamping force, often due to dirty/damaged clamp faces, or the machine not being on a level, stable surface. Pipe ovality is another frequent culprit.
2. Can a slightly misaligned weld be repaired, or must it be cut out?
A completed weld with visible misalignment should almost always be cut out and re-welded. The structural integrity and pressure rating of the joint are compromised. It is far safer and more cost-effective in the long term to replace it.
3. How does using an automatic butt fusion machine improve alignment?
Automatic machines remove human variability from the critical phases of heating, changeover, and joining. They apply precise, programmable pressure and ensure perfect timing, virtually eliminating alignment errors caused by operator technique.
4. What pipe ovality is acceptable before welding?
Acceptable ovality is typically specified by the pipe manufacturer and relevant standards (often ASTM F2620). It is generally limited to 1.5% of the nominal pipe diameter. Always measure and correct for ovality before clamping.
5. Why is operator training so critical for preventing alignment issues?
Proper training ensures the operator understands not just how to push the machine’s buttons, but how to properly prepare the site, inspect materials, verify machine setup, and interpret subtle signs of potential problems before they result in a failed weld.