
Electrofusion welding for HDPE pipe fittings is a precise, reliable method used across water, gas, and industrial piping projects. This step-by-step guide helps operators use an electrofusion pipe fitting welding machine safely and effectively, ensuring strong, leak-free joints every time.
Before You Start: Tools, PPE & Site Checks
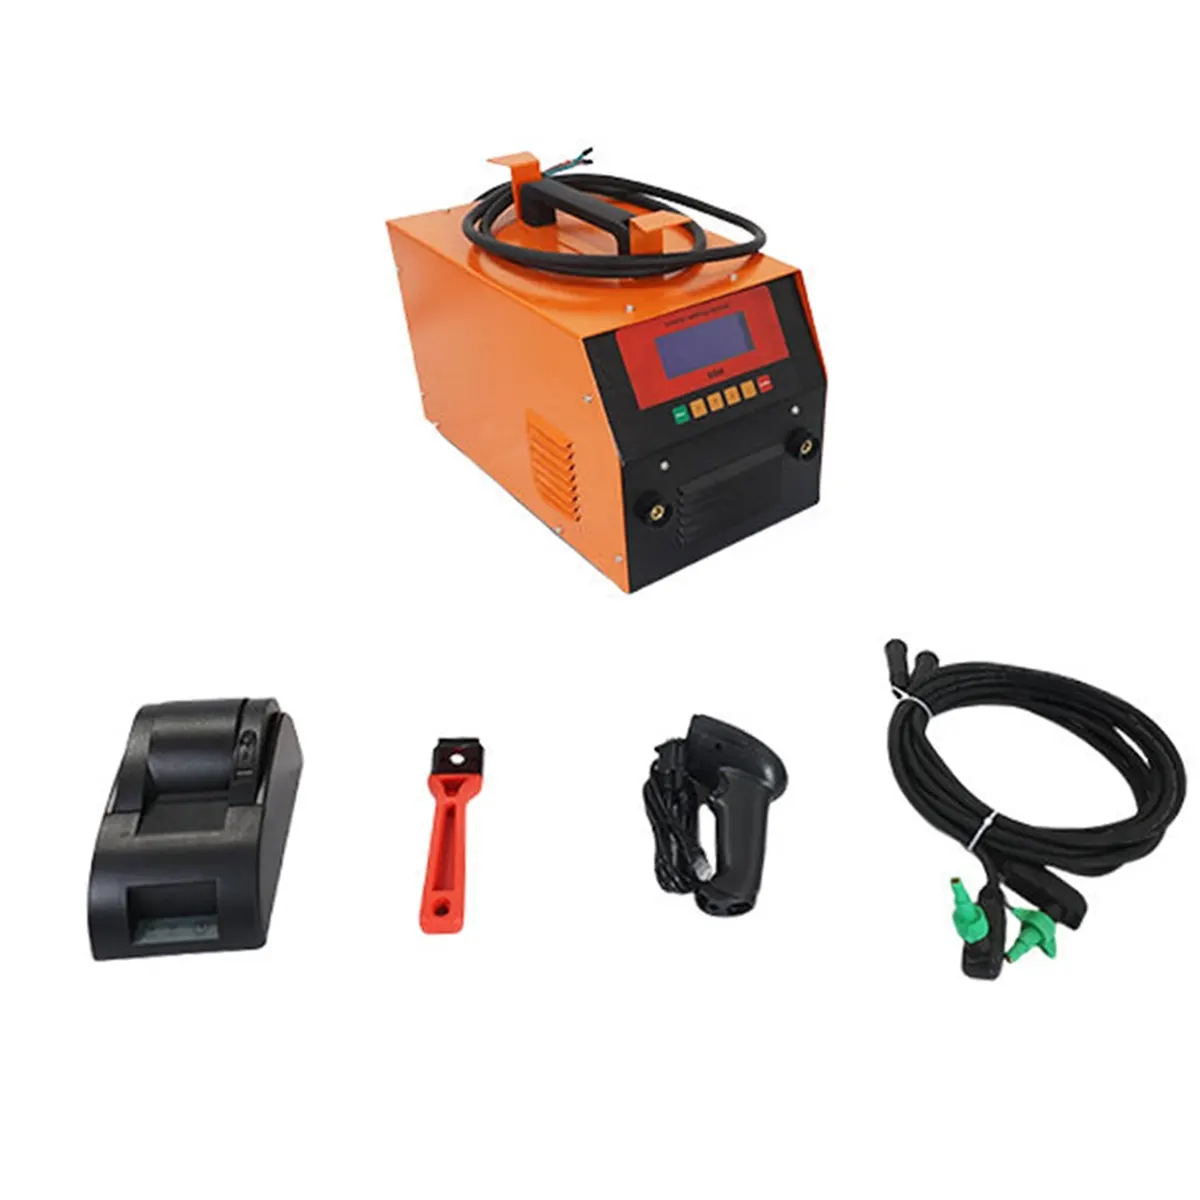
Required tools: electrofusion welding unit, correct fittings, scraper, cleaning cloths, alignment clamps, tape measure, marker. Always verify fitting labels for required welding parameters before beginning.
Personal protective equipment: insulated gloves, safety glasses, ear protection (if on an active construction site), safety boots.
Site checks: flat, stable base; dry, clean pipe surfaces; ambient conditions within manufacturer limits (avoid heavy wind or rain during welding).
Step 1 — Inspect and Prepare the Electrofusion Unit
Power & calibration: Confirm the machine battery or mains supply and ensure the unit has a valid calibration certificate if required by your project protocol.
Connector & leads: Inspect cable insulation and connectors for damage. Replace any compromised leads before welding.
Step 2 — Prepare Pipes and Fittings
Cut and square ends: Ensure pipe ends are cut squarely and free of burrs. Confirm insertion depth marks on the fitting and pipe.
Clean and scrape: Use the correct scraper to remove the oxidized layer from pipe outer surface to the specified width. Wipe with a clean cloth to remove debris and dust.
Step 3 — Fit Alignment & Clamping
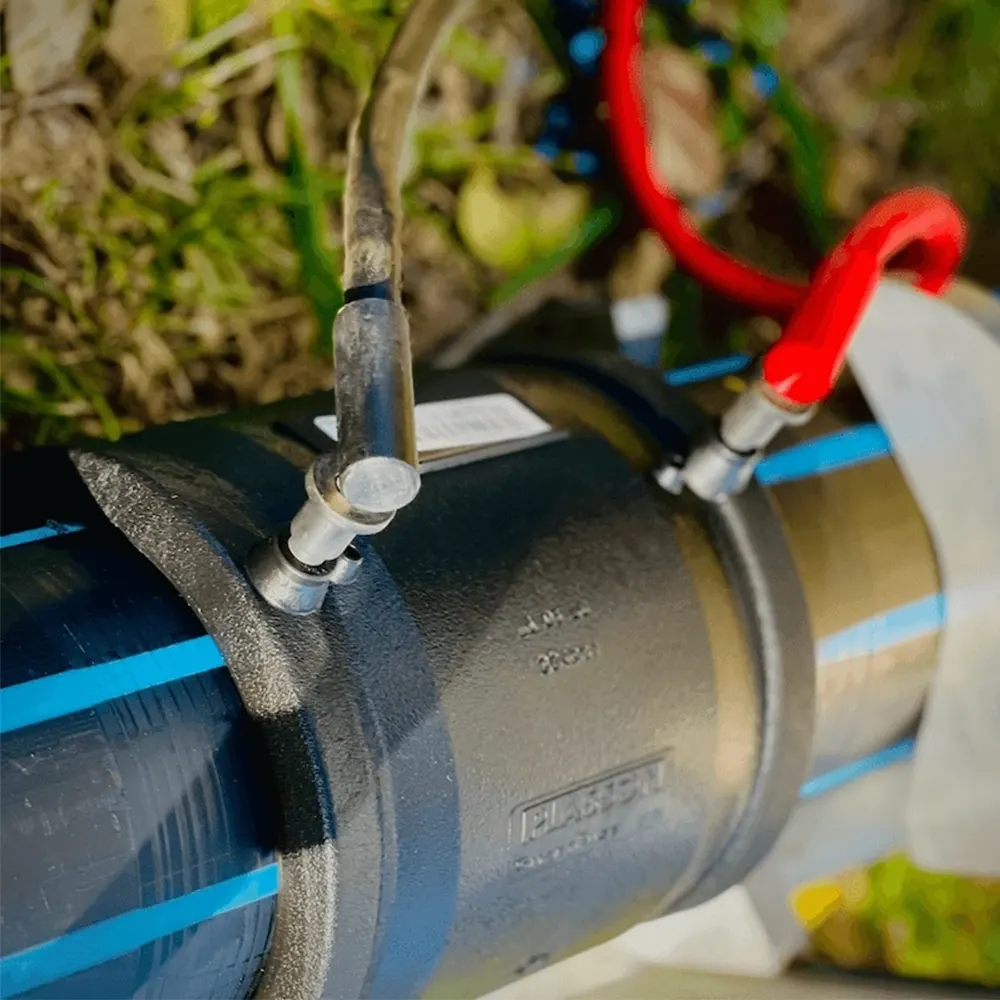
Insert the pipe into the fitting to the correct depth, align using alignment marks, and secure the assembly in a suitable clamping frame to prevent movement during welding.
Important: Any misalignment can compromise fusion integrity. Re-check straightness and insertion depth before powering the cycle.
Step 4 — Set the Welding Program
Enter the fitting code or select the weld program on the electrofusion unit as specified by the fitting manufacturer. If the fitting contains a barcode or data matrix, scan it to auto-load the correct parameters.
Manual override: Only used when absolutely necessary — always document deviations from fitted parameters.
Step 5 — Start Welding Cycle
Connect leads to the fitting terminals, verify secure contacts, then start the electrofusion cycle on the machine. Monitor the unit display for current flow and cycle progress.
Do not: touch the joint or move the assembly during the welding cycle.
Step 6 — Cooling & Final Inspection
After the cycle completes, allow the joint to cool for the manufacturer’s recommended cooling time without any disturbance. Remove clamps only after full cooling.
Visual check: inspect for uniform bead formation and lack of visible gaps. Record weld data in a job log.
Quick Reference: Typical Electrofusion Parameters
| Fitting OD (mm) | Typical Voltage (V) | Typical Weld Time |
|---|---|---|
| 20–63 | 36–42 | 30–120 sec |
| 75–160 | 36–48 | 60–300 sec |
| 200+ | Check fitting label | Manufacturer specified |
Safety Tips and Best Practices
Record keeping: Log fitting type, serial/code, machine ID, operator, date/time, ambient conditions, and weld report for quality control and traceability.
Environmental considerations: In very cold or hot climates, follow manufacturer’s guidance for pre-heating or temperature corrections to avoid weak joints.
Common Issues & Troubleshooting
No power or interrupted cycle: Check fuses, battery level, and connectors. Re-run only after confirming fitting and pipe have not been disturbed.
Poor bead or cold weld: Causes include contaminated surfaces, wrong program selection, or movement during cycle. Mark the joint as rejected and document for corrective action.
Excess bead overflow: Often caused by overpressure or incorrect fitting size — inspect and consult the fitting manufacturer if outside expected limits.
Quality Assurance Checklist
– Verify fitting label and program match.
– Ensure pipe scraping meets width/depth specs.
– Confirm clamping and alignment are secure.
– Record machine readings and weld ID for traceability.
Operator Tips for Faster Learning
Practice on scrap sections to become familiar with insertion depths and clamp settings. Use the machine’s scan/auto-load feature where available to reduce parameter errors. Keep a laminated quick-reference card near the machine for common fitting codes and emergency stop procedures.
When to Contact Manufacturer Support
Contact technical support if you encounter repeated cycle failures, inconsistent current readings, or unexplained weld defects. Retain the machine’s serial number and weld logs to speed diagnosis.
About JQ-Fusion
JQ-Fusion is a professional manufacturer specializing in HDPE pipe welding machines, delivering reliable butt fusion and electrofusion solutions across water, gas, mining, and industrial pipeline systems. For machine-specific setup or spare parts, refer to JQ-Fusion documentation or contact their service team.



