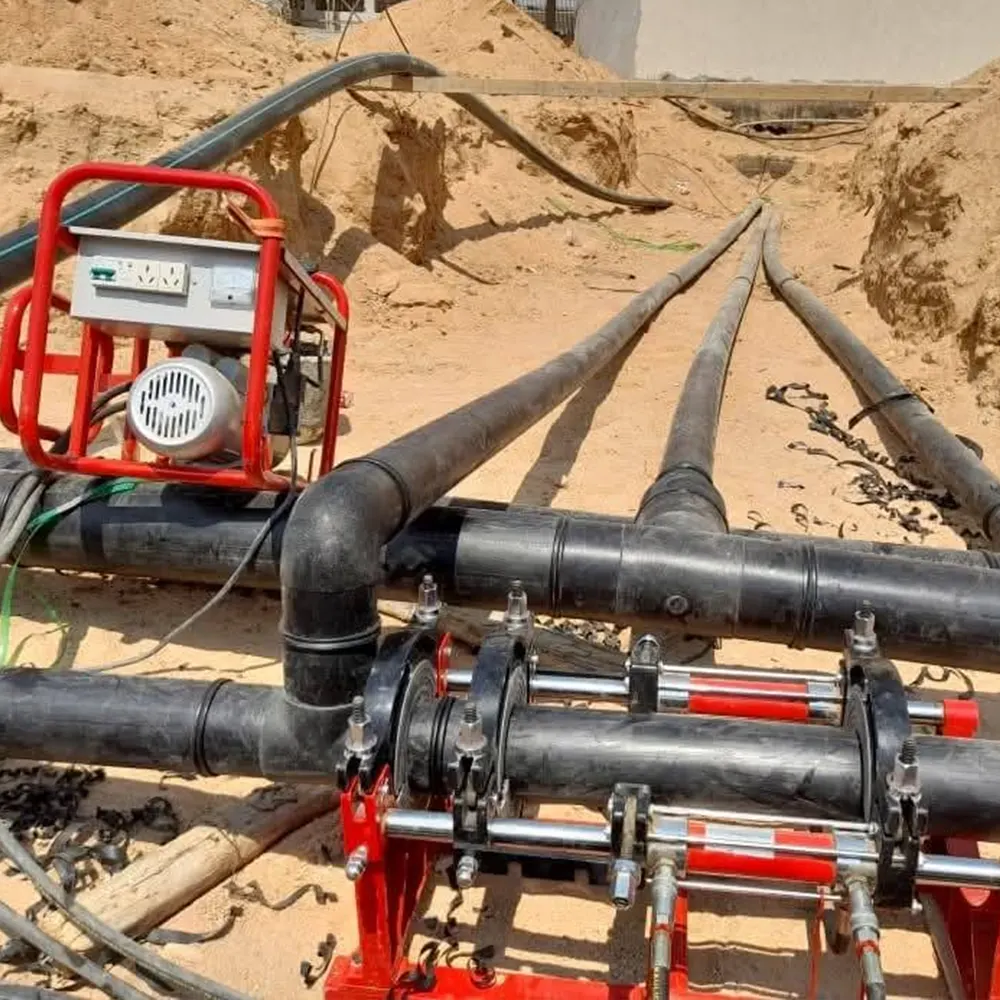
Fusion welding is a critical process in joining thermoplastic pipes, particularly High-Density Polyethylene (HDPE), used extensively in water, gas, and industrial pipelines. The integrity of these joints is paramount, making a rigorous inspection process non-negotiable. This article details the step-by-step fusion welding inspection process, from preparation to final verification, ensuring every weld meets the highest standards of strength and reliability.
Phase 1: Pre-Welding Inspection and Preparation
Success begins long before the welding machine is activated. This phase sets the foundation for a flawless weld.
Key Pre-Weld Checks:
• Material Verification: Confirm the pipe and fitting materials (PE grade, SDR) are compatible and as specified for the project.
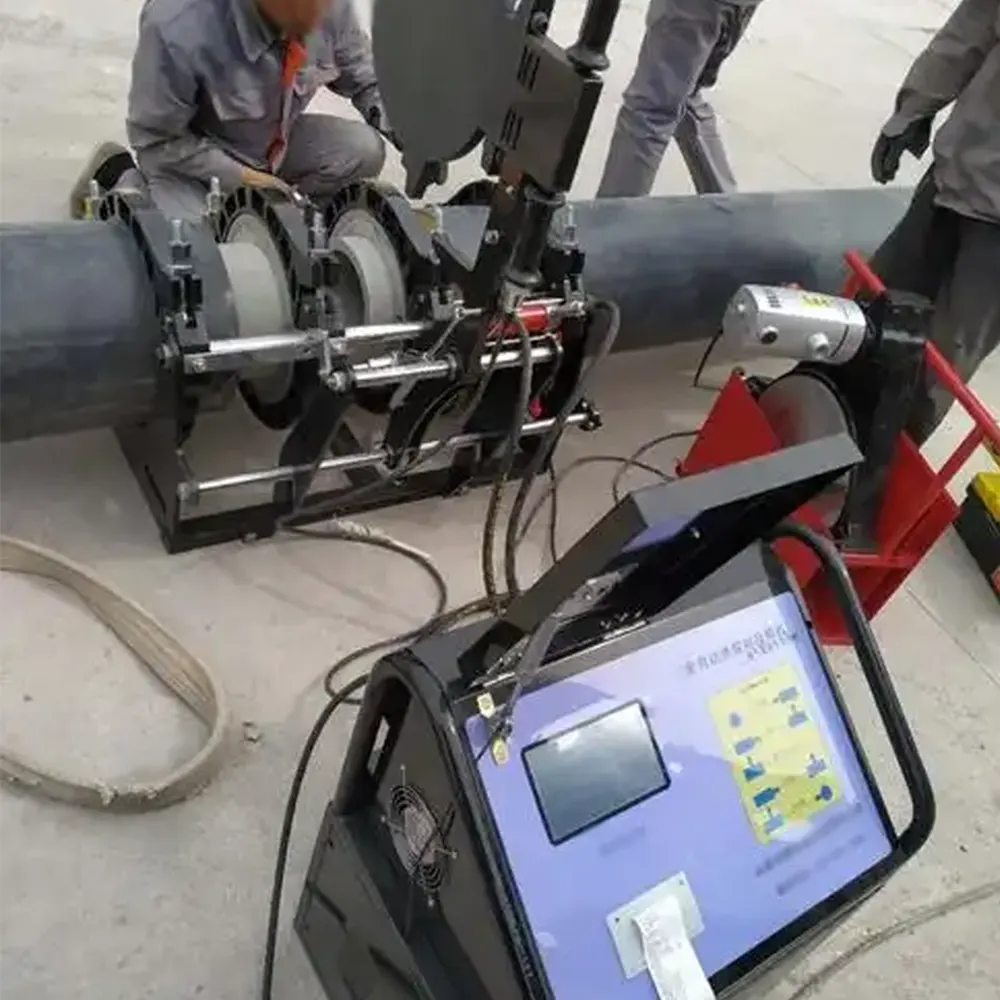
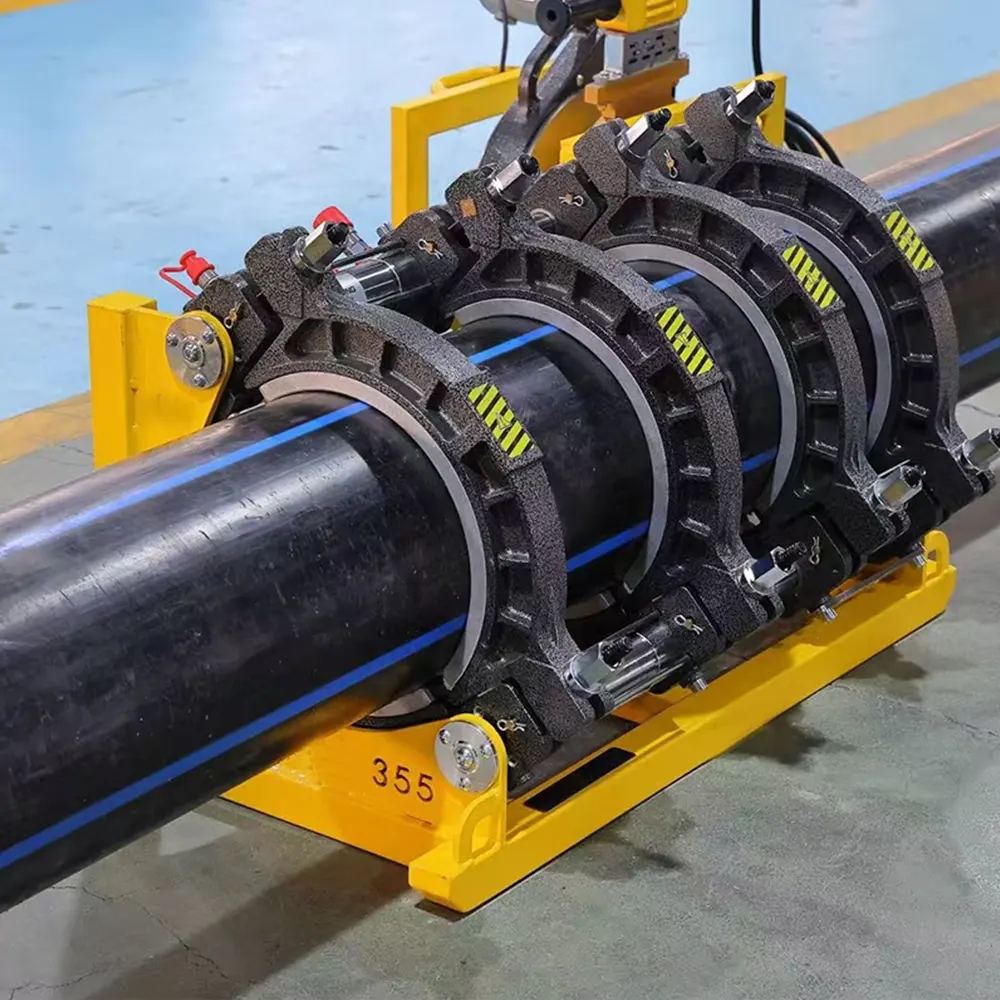
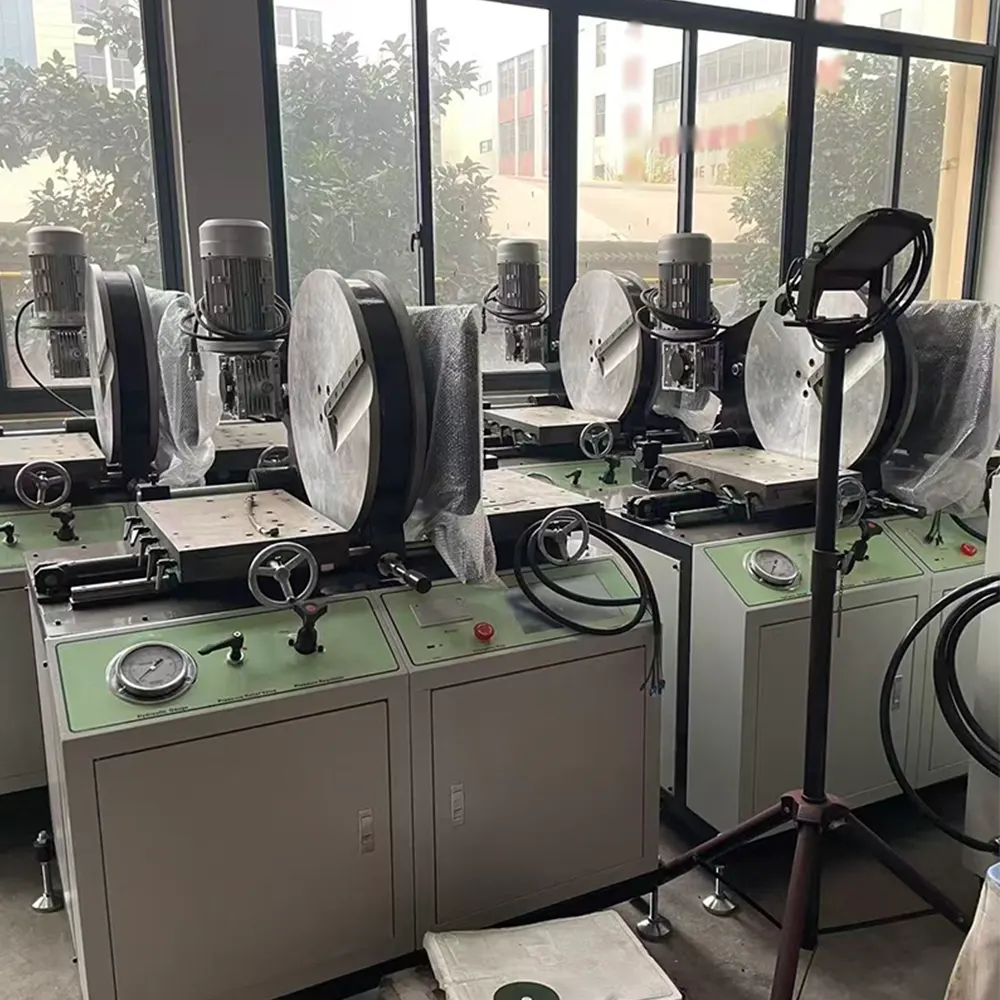
• Equipment Calibration: Inspect the butt fusion machine for proper calibration. Verify heater plate temperature accuracy, hydraulic pressure settings, and alignment clamp functionality. A well-maintained machine from a professional manufacturer like JQ-Fusion is crucial for consistent results.
• Joint Preparation: Check pipe ends are square-cut, clean, and free of moisture, dirt, or oxidation. The alignment gap must be within specified tolerances before clamping.
Phase 2: In-Process Monitoring During Welding
Real-time monitoring of the welding cycle is essential to catch deviations immediately. The standard butt fusion process involves heating, switching, and forging.
Step-by-Step In-Process Checks:
1. Heating Phase: Monitor the applied pressure and the development of the fusion bead (a uniform roll of melted material around the pipe circumference). An inconsistent bead indicates uneven heating or pressure.
2. Changeover & Alignment: After removing the heater plate, quickly inspect the melted surfaces for uniformity before joining. The switch time must be minimized as per procedure.
3. Forging/Cooling Phase: Observe the final fusion pressure application and the formation of a second, double bead. The cooling time must be uninterrupted and adhere to the specified duration based on pipe dimensions.
Critical Parameter Logging:
An inspector must document all key parameters: heater temperature, heating time, fusion pressure, and cooling time. This log provides traceability and is compared against the qualified welding procedure specification (WPS).
Phase 3: Post-Welding Visual & Dimensional Inspection
Once the joint has cooled, a detailed physical inspection is conducted.
Visual Inspection Criteria:
✓ Bead Shape & Consistency: The double bead should be even in height and continuous around the entire joint, with no signs of voids, cracks, or contamination.
✓ Alignment: Check for any significant misalignment or offset between the joined pipe sections. Minor tolerances are defined by standards like ISO 21307.
✓ Surface Indicators: Look for “witness lines” or “indicator marks” on the bead, which confirm proper melt and pressure application.
Dimensional Checks: Use calipers to measure the height and width of the fusion bead. Measurements outside the acceptable range can indicate incorrect pressure or temperature during welding.
Phase 4: Non-Destructive Testing (NDT) Methods
For critical applications, visual inspection is supplemented by NDT to evaluate the internal integrity of the weld without destruction.
Common NDT Techniques:
• Ultrasonic Testing (UT): High-frequency sound waves detect internal flaws like lack of fusion, voids, or inclusions. It’s highly effective for assessing weld integrity through the entire cross-section.
• Radiographic Testing (RT): X-rays or gamma rays create an image of the weld, revealing internal defects. It requires safety protocols but provides a permanent record.
• High-Pressure Testing: While often a system test, pressurizing a welded section can reveal gross leaks or weaknesses at the joint.
Phase 5: Documentation and Quality Assurance
The final step is formalizing the inspection results. A complete dossier includes the welder’s ID, machine details (including the butt fusion machine serial number), parameter log, visual/dimensional reports, and any NDT certificates. This documentation is vital for project compliance, liability, and future maintenance.
Frequently Asked Questions (FAQs)
1. What is the most common cause of fusion weld failure?
The most common causes are improper surface preparation (dirt, moisture) and incorrect welding parameters (temperature, pressure, time). Using a reliable, well-calibrated butt fusion machine and following the qualified procedure precisely are the best preventions.
2. Can a weld pass visual inspection but still be defective internally?
Yes. A weld can look perfect externally but have internal flaws like cold fusion or voids. This is why Non-Destructive Testing (NDT) like ultrasonic testing is essential for critical pressure applications to ensure full integrity.
3. How important is the cooling time in the fusion process?
Extremely important. Cooling under pressure allows the molecular structure to stabilize and gain strength. Shortening the cooling time is a major defect that drastically reduces joint strength and can lead to premature failure.
4. Who is qualified to perform fusion welding inspection?
Inspectors should be certified by recognized programs (e.g., PEI/PPI, AWS). They need training to understand the process, identify defects, and operate inspection/NDT equipment. Partnering with equipment manufacturers that offer technical support, like JQ-Fusion, can also provide valuable expertise.
5. How does machine quality impact the inspection outcome?
Directly. A machine with poor temperature control, unstable hydraulics, or misaligned clamps will produce inconsistent welds that are likely to fail inspection. Investing in a high-quality machine from an experienced manufacturer ensures repeatable precision, making the inspector’s job one of verification rather than troubleshooting poor equipment output.