Achieving a leak-free, durable HDPE pipeline starts with a proper poly pipe fusion machine welding procedure. Whether you are working on municipal water supply, gas distribution, or industrial piping, understanding the exact sequence of operations is critical. This guide breaks down the complete butt fusion process into clear, actionable steps, highlighting the parameters and safety checks required for consistent, high-integrity welds.
1. Pre-Welding Preparation and Safety
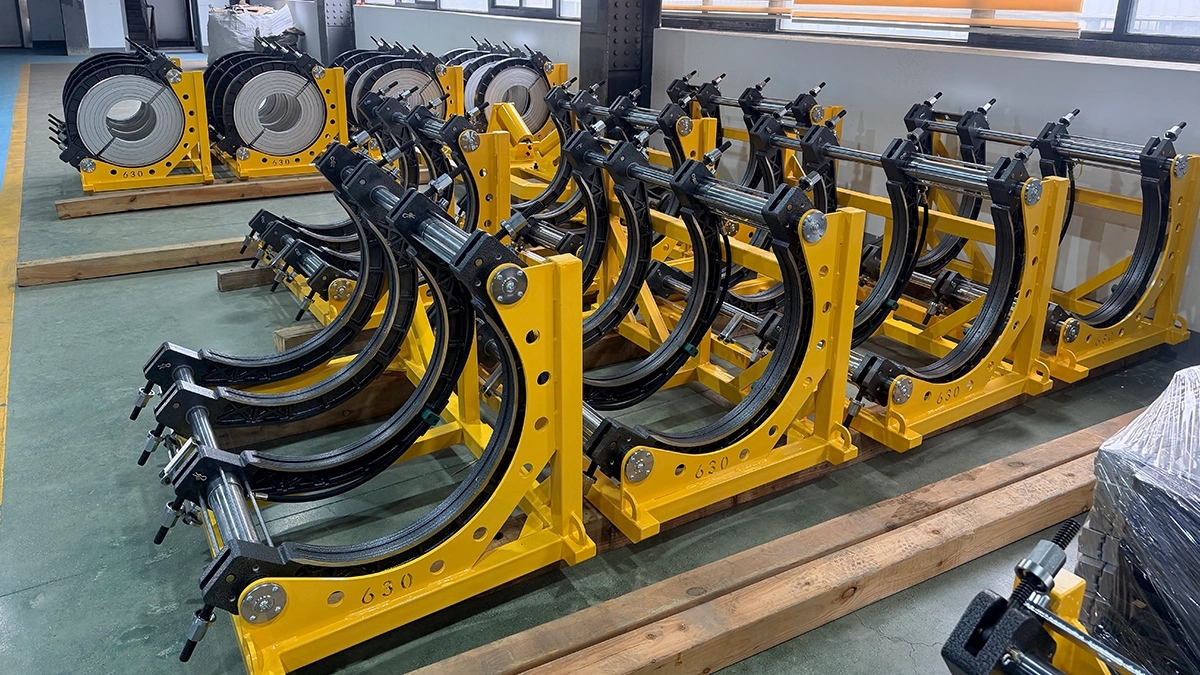
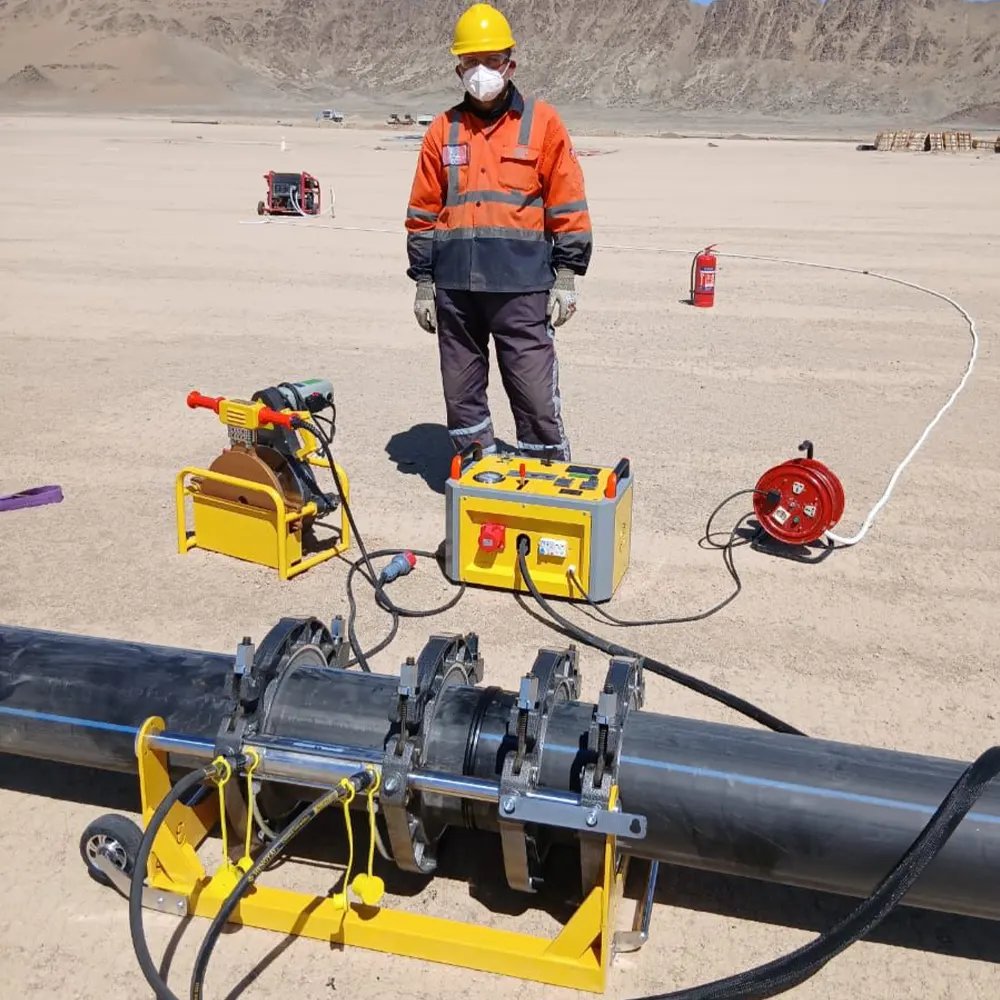
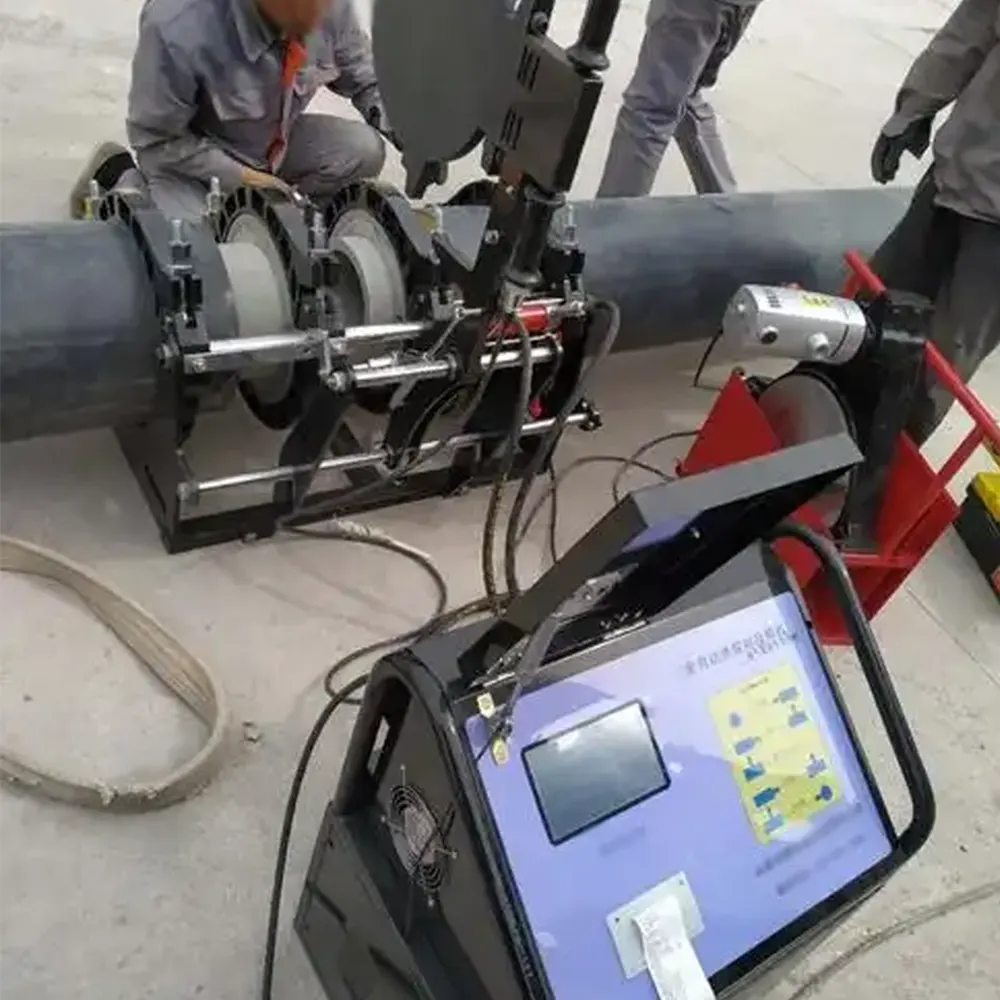
Before engaging any equipment, the work area must be secured. Inspect the butt fusion machine for hydraulic leaks, damaged cables, or worn clamping inserts. Verify that pipe ends are clean, dry, and free from oxidation. Operators should always wear thermal-resistant gloves and safety glasses, as the heating plate reaches temperatures exceeding 200°C (392°F).
2. Clamping and Aligning the Pipes
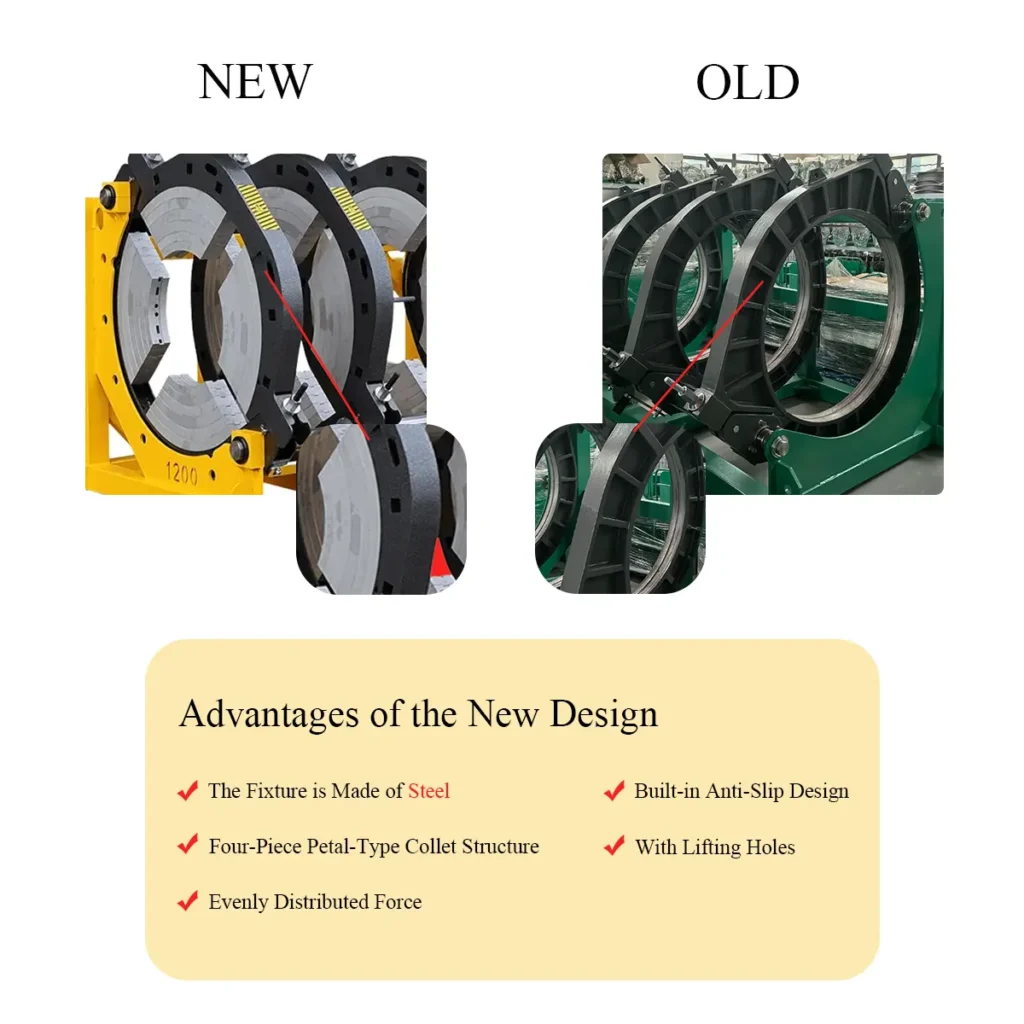
Position the two pipe sections into the machine’s frame. The clamps must be tightened evenly to prevent deformation. Proper alignment is the most critical mechanical step – misalignment exceeding 10% of the pipe wall thickness can compromise the entire joint. Use the machine’s carriage controls to bring the pipe faces together and visually confirm circumferential match.
3. Facing the Pipe Ends
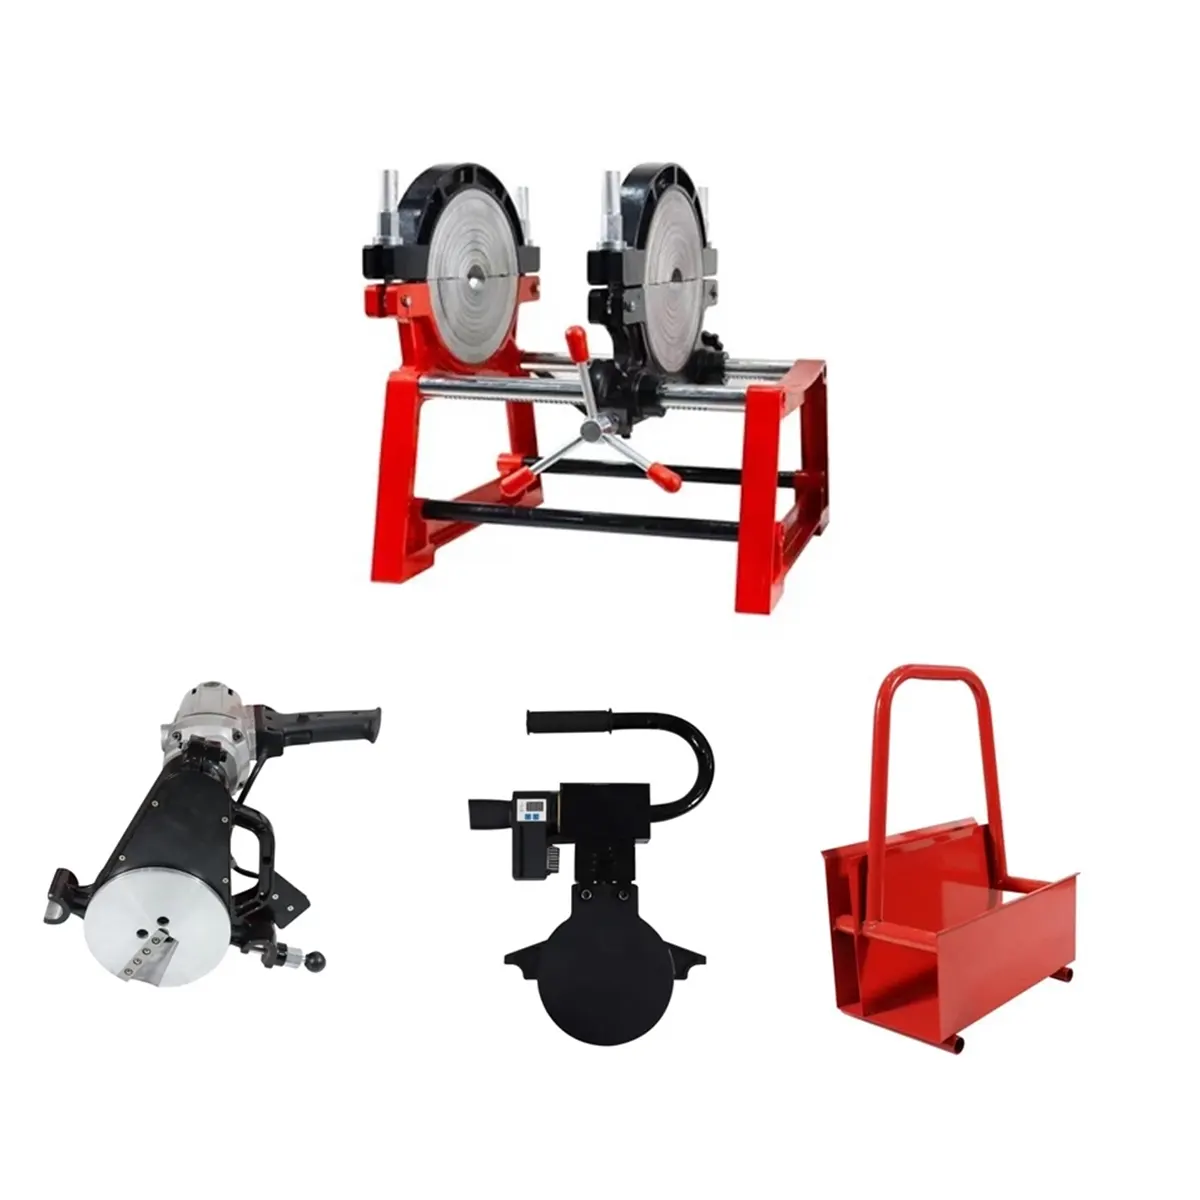
Engage the rotating facer to trim the pipe ends simultaneously. The goal is to create perfectly flat, parallel faces that will mate cleanly. Continue facing until continuous shavings emerge from both pipe ends, indicating full contact. Never touch the faced surfaces with bare hands after this step; oils from skin can contaminate the weld zone.
4. Heating Stage Parameters
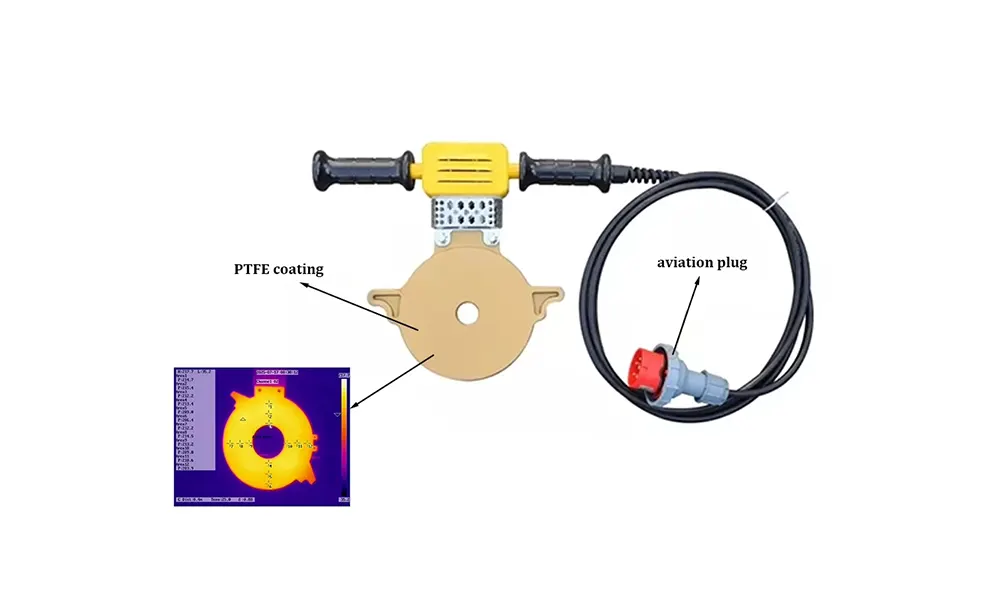
Align the heating plate (pre-set to the manufacturer’s recommended temperature, typically 220-230°C). Press the pipe ends against the plate to initiate the bead-up phase according to the ISO 21307 butt fusion procedures. Then, reduce pressure to the soak phase, allowing heat to penetrate the pipe wall. Adhering strictly to the time/temperature matrix is non-negotiable.
| Pipe Wall Thickness (mm) | Bead-Up Pressure (bar) | Soak Time (seconds) | Cooling Time (minutes) |
|---|---|---|---|
| 4 – 7 | 1.5 – 3.0 | 30 – 70 | 5 – 8 |
| 8 – 12 | 3.0 – 6.0 | 70 – 120 | 8 – 12 |
| 13 – 19 | 6.0 – 12.0 | 120 – 190 | 12 – 18 |
| 20 – 26 | 12.0 – 20.0 | 190 – 260 | 18 – 24 |
Note: Parameters are general guidelines. Always follow the specific procedure sheet for your machine and pipe material, referencing standards such as ASTM F2620 heat fusion.
5. The Fusion Join and Cooling Cycle
After the soak time, quickly remove the heating plate and immediately close the carriage, bringing the molten pipe ends together. This plate removal and closure must be swift and linear. Apply the specified fusion pressure gradually and build the final weld bead. Lock the pressure and allow the joint to cool naturally under pressure. Forcibly accelerating cooling with water is strictly prohibited as it creates stress fractures.
Key Visual Inspection Criteria
Once cooled, examine the joint carefully. A proper weld has a double external bead that is uniform in size. The following checklist helps verify joint integrity:
- Bead Size Validation: The outer bead width should match the specified dimension based on wall thickness.
- Misalignment Check: Measure the offset between the two pipe surfaces; it must be within tolerance.
- Surface Condition: The bead surface should be smooth and glossy, not porous or chalky.
- Void Detection: Visual inspection for cracks or inclusions at the fusion line is essential per PPI butt fusion procedure guidance.
6. Documentation and Machine Maintenance
Record the welding parameters, operator name, date, and joint number. This logbook provides traceability for quality assurance. After completing the poly pipe fusion machine welding procedure, clean the heating plate with a non-abrasive cloth to remove residue. For hydraulic and CNC automatic models, regularly calibrate thermocouples and pressure transducers to maintain accuracy.
7. Common Mistakes to Avoid
- Insufficient Facing: Stopping the facer before continuous shavings appear leaves oxidized material on the weld zone.
- Prolonged Plate Removal Time: Exceeding the maximum changeover time allows contaminant pickup and surface cooling.
- Low Ambient Temperature Welding: Welding in cold conditions without adjusting heat soak times leads to cold fusions.
- Incorrect Hydraulic Pressure: Failure to calculate the fusion pressure based on pipe diameter and wall thickness causes weak bonds.
Welding Phase Summary Table
| Phase | Primary Action | Critical Control |
|---|---|---|
| Alignment | Clamp and center pipes | Maximum offset ≤ 10% wall thickness |
| Heating | Bead-up and soak against plate | Temperature accuracy ±5°C |
| Fusion | Plate removal and carriage closure | Changeover time under allowed max |
| Cooling | Hold under pressure | No movement or stress during cycle |
Mastering each stage of the welding sequence ensures that your HDPE pipeline meets the service life expectations demanded by modern infrastructure projects. For operators seeking reliable equipment, JQ-Fusion manufactures a comprehensive range of HDPE pipe welding machines designed to deliver precise control over every step detailed in this guide. Where further technical resources are needed, the what is HDPE butt fusion guidance from industry associations provides supplementary depth on joint mechanics and qualification testing.