
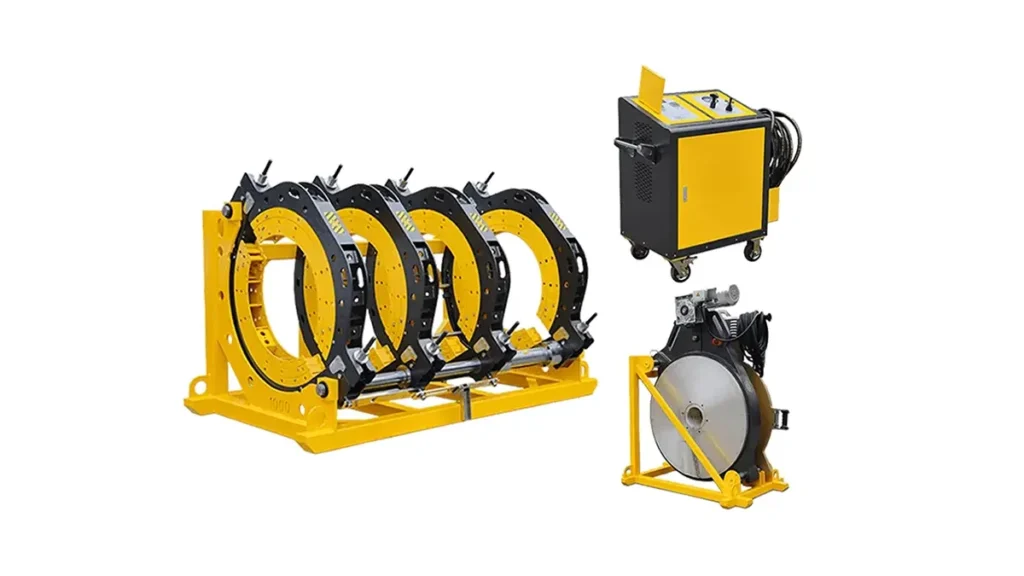
Plastic pipe joining equipment—especially machines for butt fusion, electrofusion, and multi-angle fitting—are essential for durable HDPE and PE pipeline systems. This guide walks technicians and site supervisors through a step-by-step operation process to ensure safe, consistent, and efficient joints. Follow the recommended workflow, safety checks, and parameter settings to minimize rework and maximize long-term pipeline performance.
Pre-Operation Safety & Site Preparation
Before turning on any machine, confirm a stable, level work area and clear access for pipe handling. Check personal protective equipment (PPE): gloves, safety glasses, hard hat, and protective footwear. Inspect the equipment visually for damage, fluid leaks, or missing guards. Verify that the heater plate and trimming tools are clean and functional.
Key safety checklist
Confirm power source compatibility, emergency stop functionality, and hydraulic fluid levels. Ensure personnel are trained on the specific model and understand the machine controls. Never bypass safety interlocks.
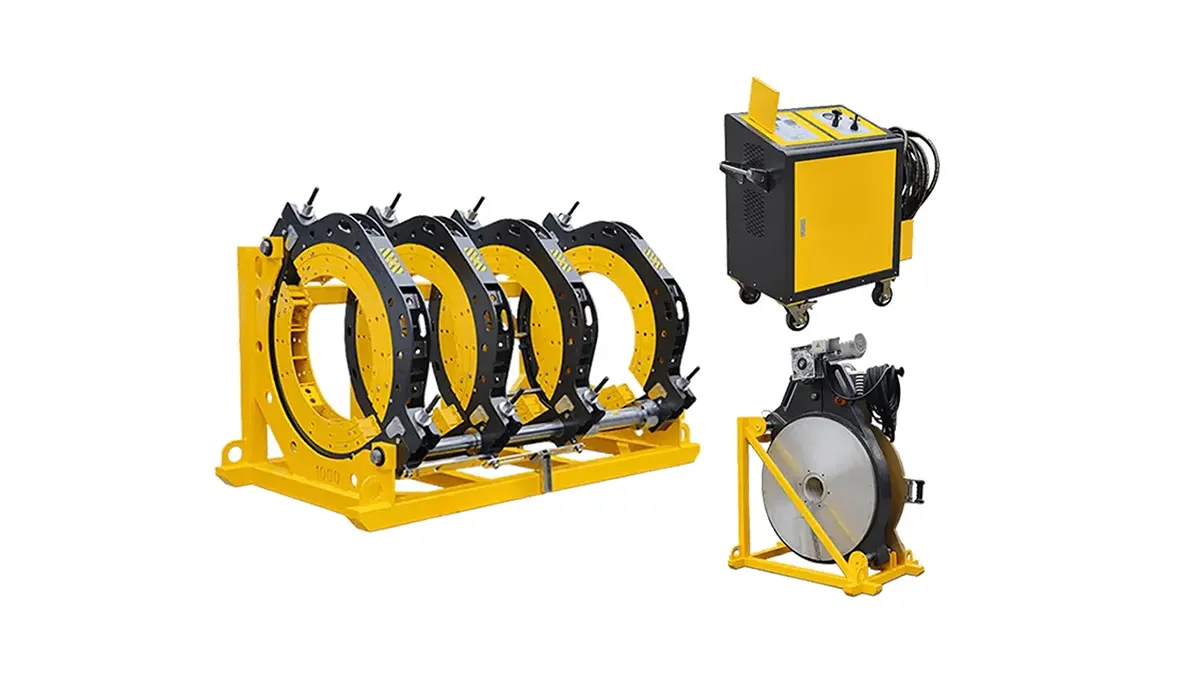
Step 1 — Material Inspection and Preparation
Confirm pipe material (HDPE, PE100, PE80) and wall thickness. Cut pipe ends square and clean surfaces of dirt, moisture, and oil. Mark alignment points on both pipe ends. For socket fittings or multi-angle joints, pre-position clamps and supports to avoid movement during heating and cooling stages.
Why this matters
Improperly prepared surfaces or misaligned pipes lead to weak welds, irregular bead formation, and potential leaks under pressure. Accurate preparation reduces scrap and ensures repeatable weld quality.
Step 2 — Clamping and Alignment
Secure each pipe end into the machine clamps and gently bring them together to check axial alignment. Use the machine’s alignment indicators and feeler gauges if available. For large-diameter pipes, use supports to maintain level and prevent sagging.
Practical tip
Rotate the pipe clamps slowly during final adjustments to ensure parallel faces and even contact on the heating plate.
Step 3 — Facing (Trimming)
Use the facing tool (trimmer) to remove the oxidized outer layer and create smooth, parallel faces. Remove debris from the clamping area and re-check alignment. Proper facing ensures consistent heat transfer and uniform melt.
Step 4 — Heating (Fusion) Parameters
Engage the heating plate between the pipe faces and apply the recommended heating pressure and time. Temperature and time vary by material, diameter, and wall thickness. Monitor machine readouts and adhere to the heating profile—do not open the heating plate prematurely.
| Pipe Diameter | Suggested Heating Temp (°C) | Typical Heating Time |
|---|---|---|
| ≤ 63 mm | 200 – 220 | 30 – 60 s |
| 75 – 200 mm | 200 – 230 | 60 – 300 s |
| > 200 mm | 200 – 240 | Variable — follow machine manual |
Table values are general references. Always consult the pipe and machine manufacturer datasheets for exact fusion charts.
Step 5 — Joining (Under Pressure)
Once the heating cycle completes, remove the heater plate carefully and immediately apply the specified joining pressure to push the molten faces together. Maintain pressure for the full cooling time—this phase is critical for molecular diffusion and joint strength.
Cooling and finishing
Do not disturb the joint until the cooling time has passed. After cooling, trim excess flash if necessary, and perform a visual inspection for uniform bead and absence of sink marks or cold weld lines. Record weld parameters for traceability and quality control.
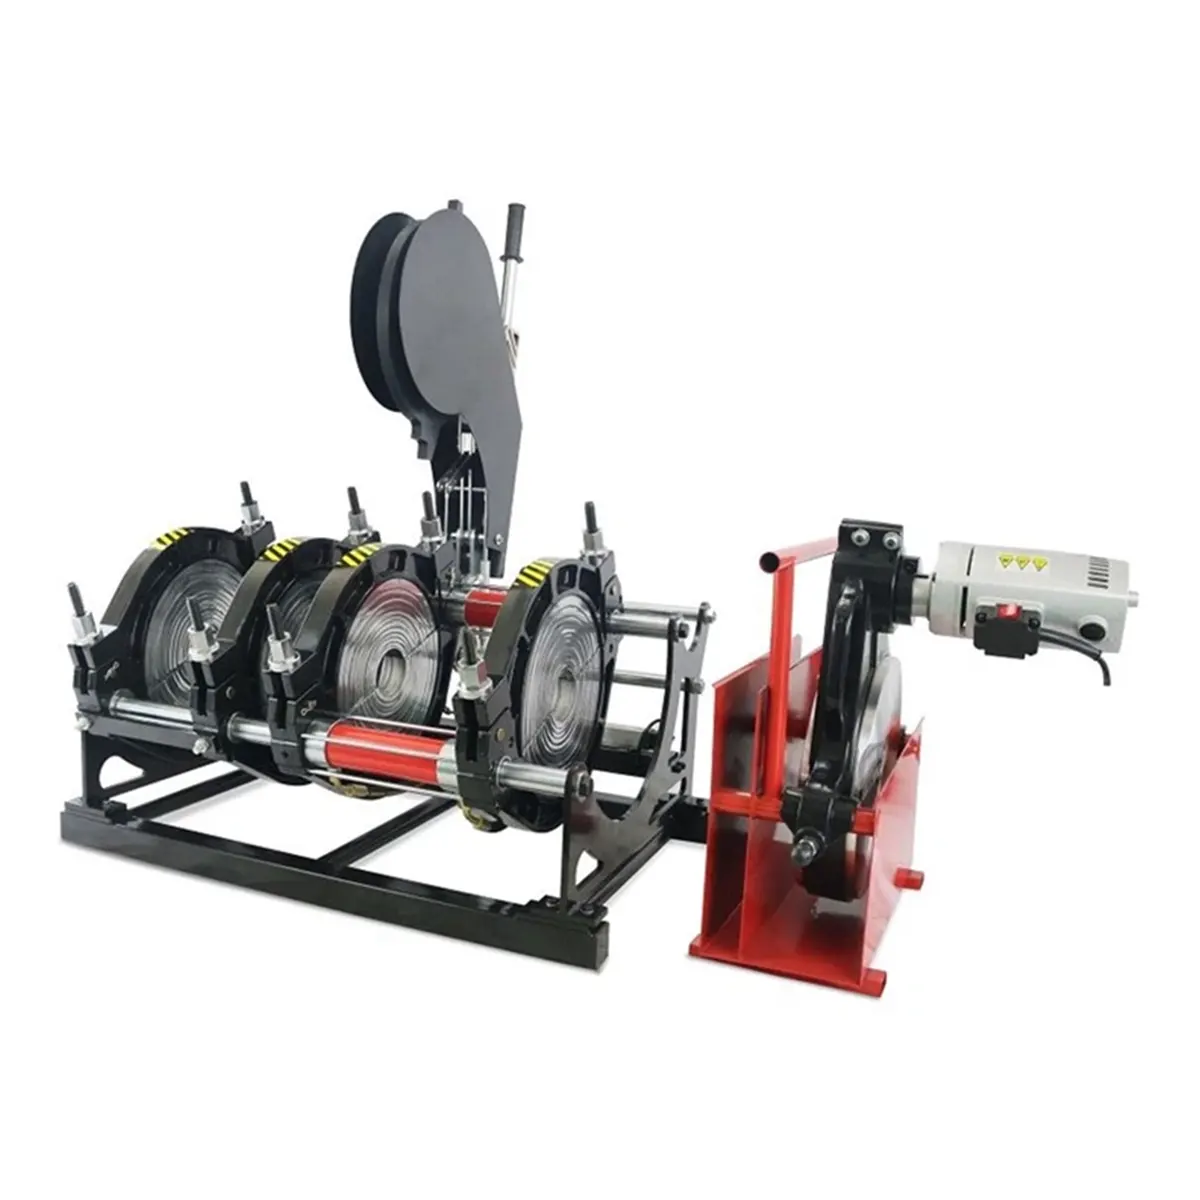
Step 6 — Testing and Documentation
Perform non-destructive testing (visual, pressure test where applicable) according to project specifications. Log machine ID, operator, pipe batch, fusion parameters, and any observations in your weld record. Proper documentation supports warranty, compliance, and future maintenance.
Maintenance & Troubleshooting
Daily: clean heater plate surfaces, inspect clamps, and check hydraulic connections. Weekly: verify calibration of pressure sensors and temperature probes. Common issues include incomplete fusion, excessive flash, or misalignment—address by re-checking facing, temperature stability, and clamp condition.
Quick fixes
If the bead looks uneven, do not reheat on-site without full assessment. Re-melting can create weak zones. Consult the machine manual for corrective actions and parameter adjustments.
Quality assurance tips
Use certified pipe materials, maintain consistent environmental conditions where possible, and rotate operators through training sessions to keep skills current. Consistent process control is the most effective way to minimize joint failures.
For reliable butt fusion technology and global support, contact JQ-Fusion: https://jq-fusionwelding.com/



