
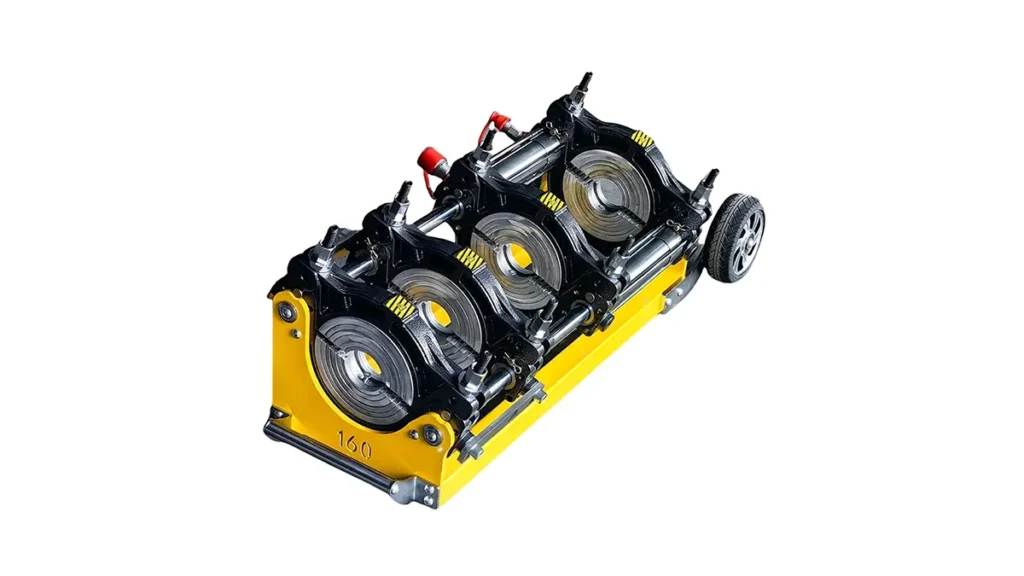
Installing pipe welding equipment correctly is essential for safe, efficient, and durable HDPE pipeline joints. This guide walks project managers, site engineers, and technicians through a complete, step-by-step installation process so fusion machines perform reliably from day one.
1. Preparation & Site Planning
Assess site conditions — choose a flat, stable area protected from wind, direct sunlight, and excessive dust. Confirm access for the machine, personnel, and any cranes or forklifts. Allocate a fenced work area to control traffic during commissioning.
Verify utilities — ensure clean power with correct voltage, hydraulic oil stock, and safe water supply for cleaning and cooling. Label emergency shutoffs and confirm communication methods for the team.
2. Delivery, Unpacking & Initial Inspection
Carefully unpack the machine and parts, checking the packing list. Inspect for shipping damage, missing components, and correct model/serial numbers. Photograph any damage for claims. Keep all original packaging until the machine passes initial commissioning.
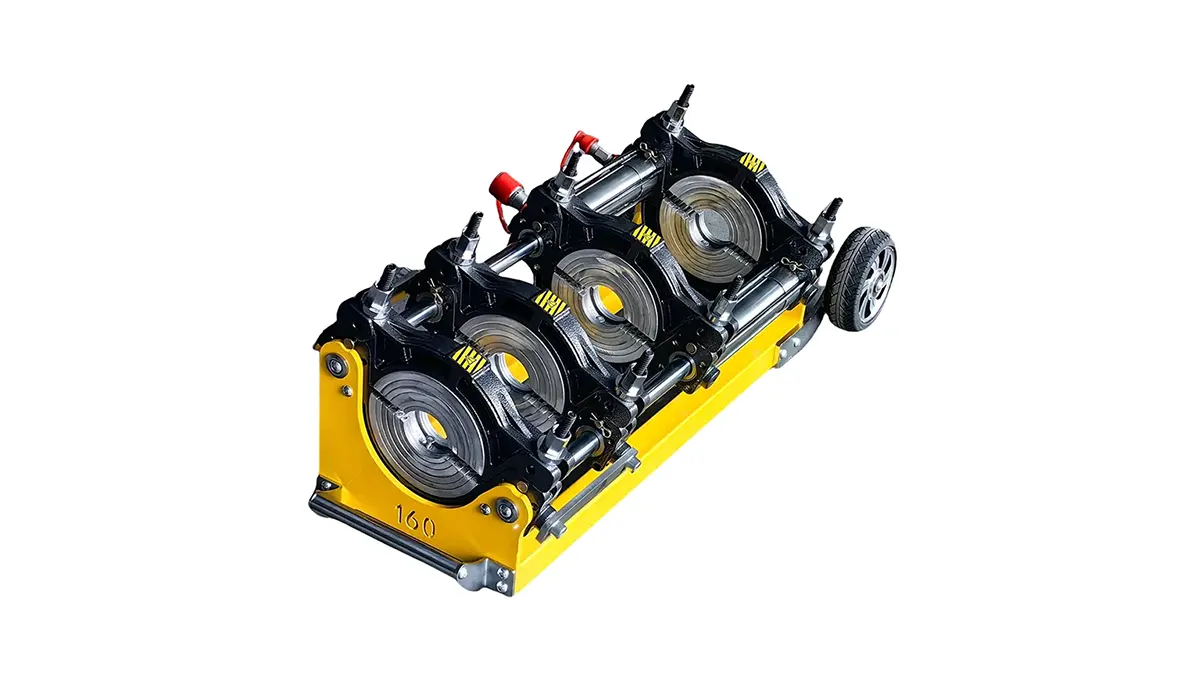
Key inspection points
Frame and clamps straightness, heater plate surface condition, hydraulic hoses (no cuts/abrasions), electrical cables and connectors, control panel and display integrity, and all fasteners and guards present.
3. Assembling the Machine Base & Alignment
Position the main frame on stable supports. Install clamps, guide rails, and carriage per the manual. Use a spirit level and straight-edge to confirm alignment along the pipeline axis. Proper alignment minimizes eccentric loading and ensures consistent melt faces.
Secure the unit with anchor bolts or ground stakes if needed. For trench installations, ensure the machine base sits on compacted bedding or temporary plates to prevent settling during operation.
4. Hydraulic, Electrical & Control Hookups
Connect the hydraulic power pack using manufacturer-specified hoses and fittings. Confirm hydraulic fluid type and fill level, then run the pump briefly to bleed air from lines. Check all hose couplings for leaks under low pressure before pressurizing to working pressure.
Make electrical connections to the control unit and heater plate with recommended cable gauges. Always ground the machine to prevent electrical hazards. Verify emergency stop circuits and interlocks function correctly.
5. Heater Plate Setup & Calibration
Clean the heating plate and install the protective sheath as required. Power up the heater and use the control display or a calibrated infrared thermometer to confirm the plate reaches the target temperature evenly across the surface.
| Material / Pipe Diameter | Typical Plate Temp (°C) | Heating Time (s) |
|---|---|---|
| PE80 / 63–160 mm | 200 ± 10 | 20–60 |
| PE100 / 160–630 mm | 200 ± 10 | 60–300 |
6. Alignment, Facing & Clamping of Pipes
Insert pipe ends into clamps and align ends squarely. Use facing tools to trim and prepare smooth, matching melt surfaces. Remove any debris, water, or lubrication residues before final heating.
Clamping torque and parallelism are critical — uneven clamping leads to weak joints. Re-check axial alignment after facing and before beginning the heating cycle.
7. Dry Run & Trial Welds
Run a complete dry cycle without heating to confirm hydraulic stroke limits, heater engagement sequence, and control logic. Then perform a trial weld on scrap pipe of the same material and diameter to verify parameters and joint quality.
| Check | Pass Criteria |
|---|---|
| Butt gap uniformity | Gap within recommended tolerance |
| Flash formation | Even flash, consistent bead height |
| Weld strength (destructive test) | Meets project spec or standard |
8. Safety Procedures & Operator Training
Brief operators on hazards: high temperatures, hydraulic pressures, pinch points, and electrical risks. Confirm PPE: heat-resistant gloves, eye protection, safety boots, and hearing protection as required. Train operators on emergency shutdown and safe handling of heated tools.
Only qualified personnel should operate the fusion equipment after hands-on training and demonstrated competence in performing quality welds and troubleshooting basic machine issues.
9. Final Commissioning & Documentation
Record machine serial numbers, calibration certificates, hydraulic fluid batch, and heater plate validation. Log the initial set of weld records including operator, pipe material, temperatures, times, and visual weld inspection results. Keep the manuals and safety data sheets readily available on site.
10. Routine Maintenance & Troubleshooting
Establish a maintenance schedule: daily visual checks, weekly hydraulic filter inspection, monthly heater calibration, and annual professional servicing. Common issues like uneven heating, hydraulic drift, or faulty sensors should be addressed immediately to avoid poor weld quality.
Troubleshooting tip: If weld flash is inconsistent, re-check clamp alignment, facing quality, and heater surface cleanliness before adjusting process parameters.
Quick commissioning checklist
Machine unpacked and inspected; base leveled; hydraulic and electrical connections secured; heater plate calibrated; trial welds passed; operators trained; documentation filed.
For reliable fusion equipment and commissioning support, consider the manufacturer’s guidance. JQ-Fusion provides technical documentation and machine support to help site teams complete safe and efficient installations. Visit https://jq-fusionwelding.com/ for product resources and service contacts.



