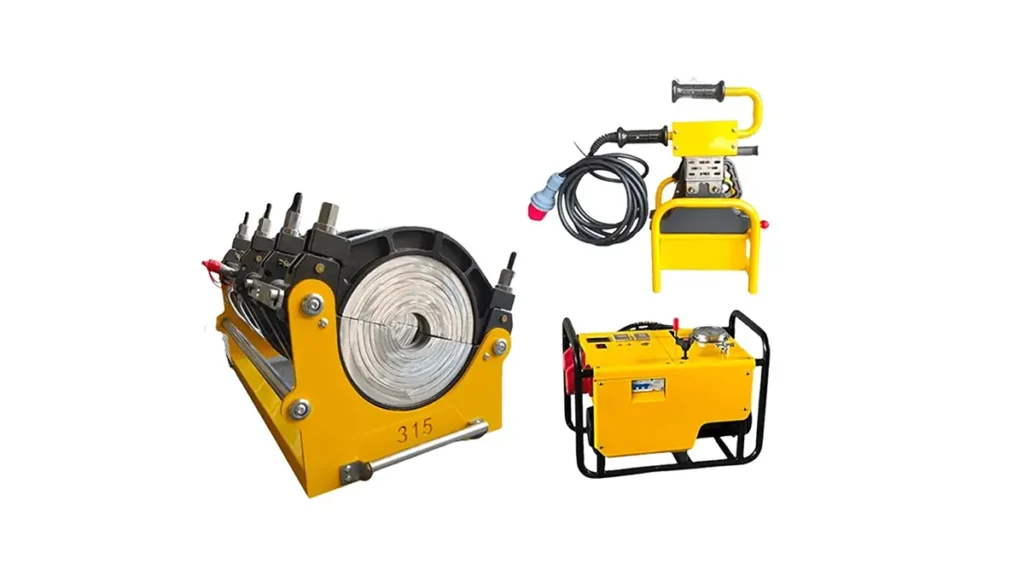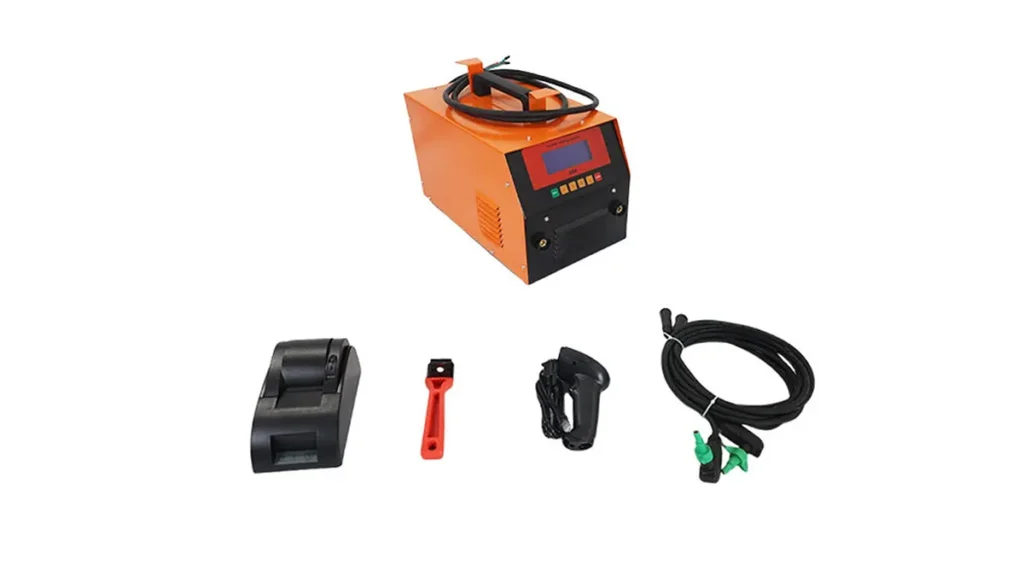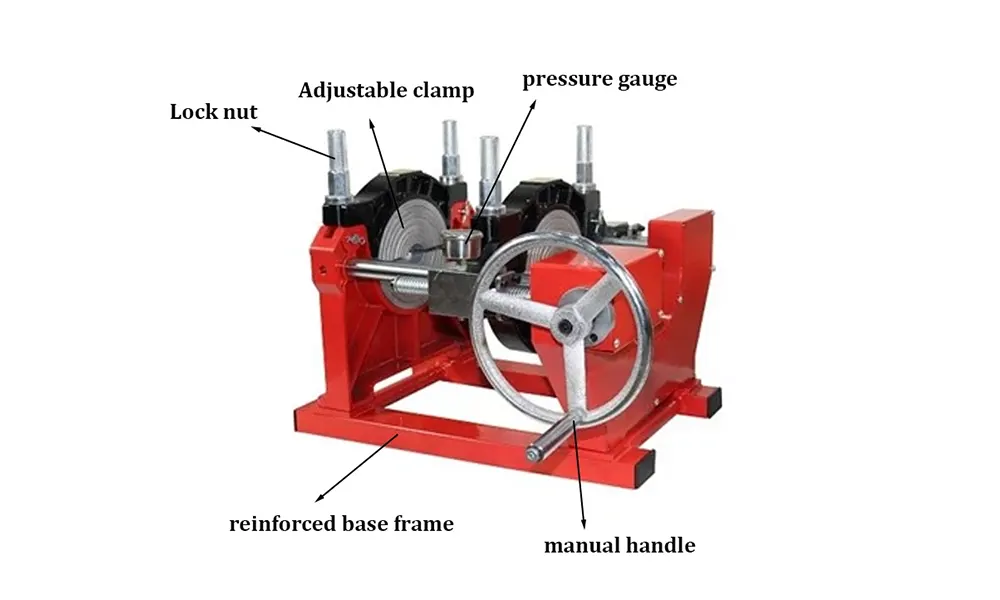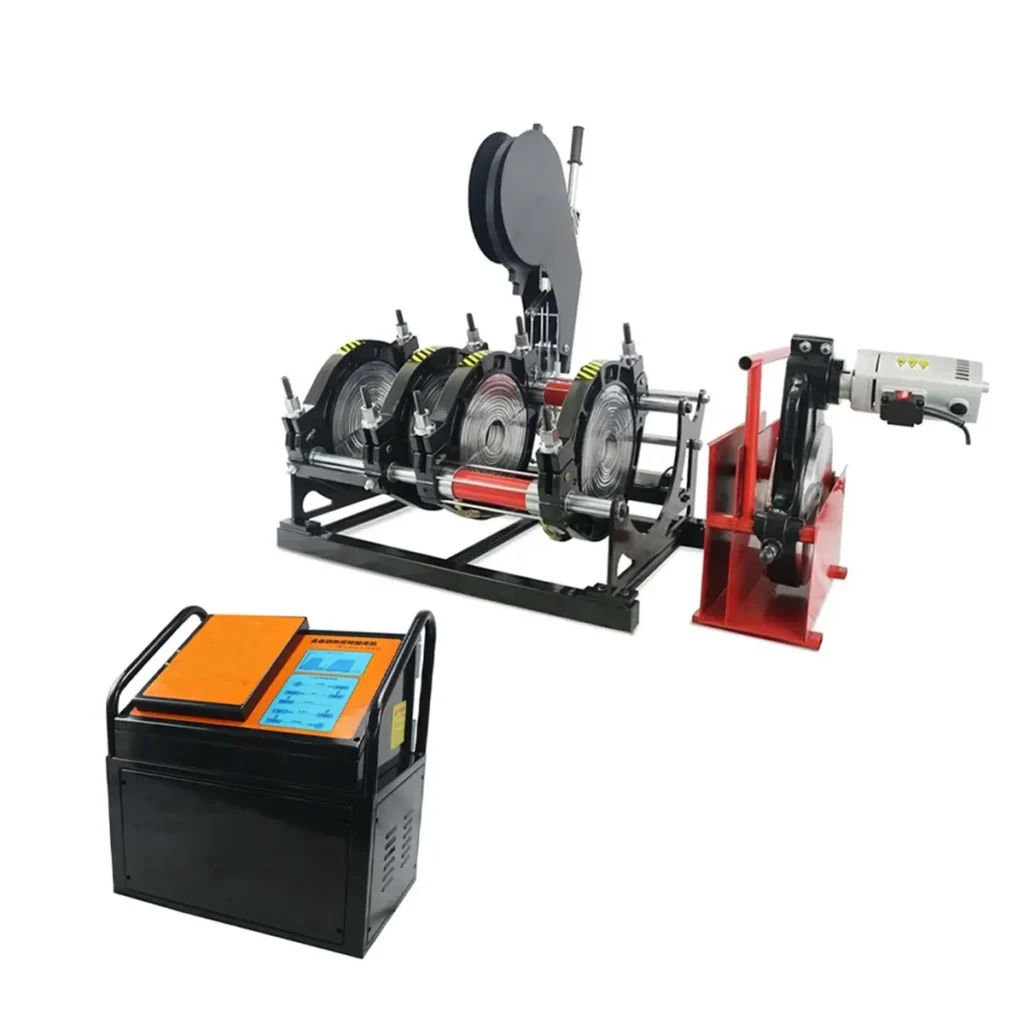
Electrofusion welding is one of the most reliable methods for creating leak-free, permanent joints in high-density polyethylene (HDPE) piping systems. When executed correctly, the process ensures uniform heat distribution and consistent joint integrity for critical applications in gas distribution, water supply, and industrial pipelines. This guide walks you through the essential steps, safety protocols, and best practices for operating an electrofusion welding machine efficiently and safely.
What Is Electrofusion Welding?
Electrofusion is a method of joining PE pipes using specialized fittings with embedded heating coils. An electrofusion welder passes an electric current through these coils, melting the inner surface of the fitting and the outer surface of the pipe to form a homogeneous bond. Unlike butt fusion, this technique is especially suited for repairs, tight spaces, and where pipe rotation is not possible. Adhering to the PE electrofusion equipment standard ensures that your welder and fittings meet international quality benchmarks.
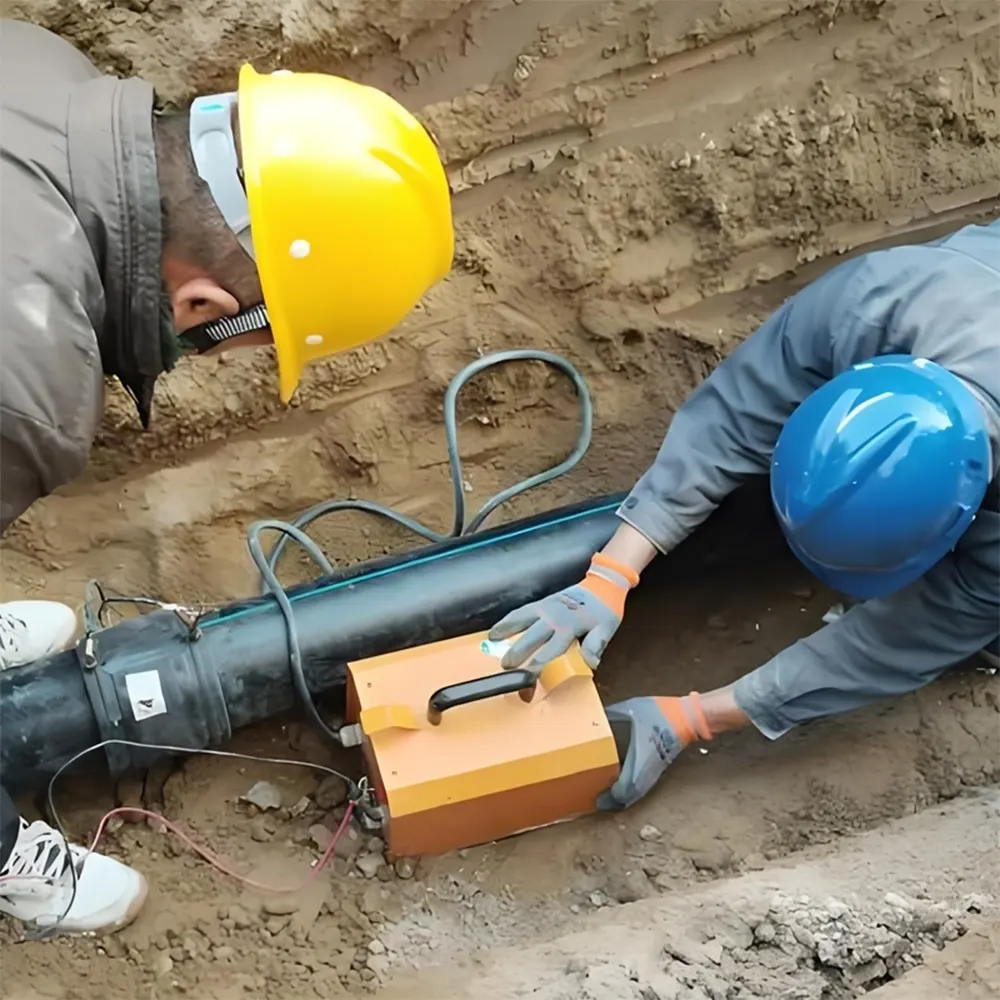
Pre-Welding Preparation and Safety Checks
Before you even power on the unit, thorough preparation determines the success of the joint. Skipping these foundational steps is the leading cause of fusion failure.
1. Inspect Tools and Components
- Verify the welder: Ensure the electrofusion unit is calibrated and the cables are undamaged.
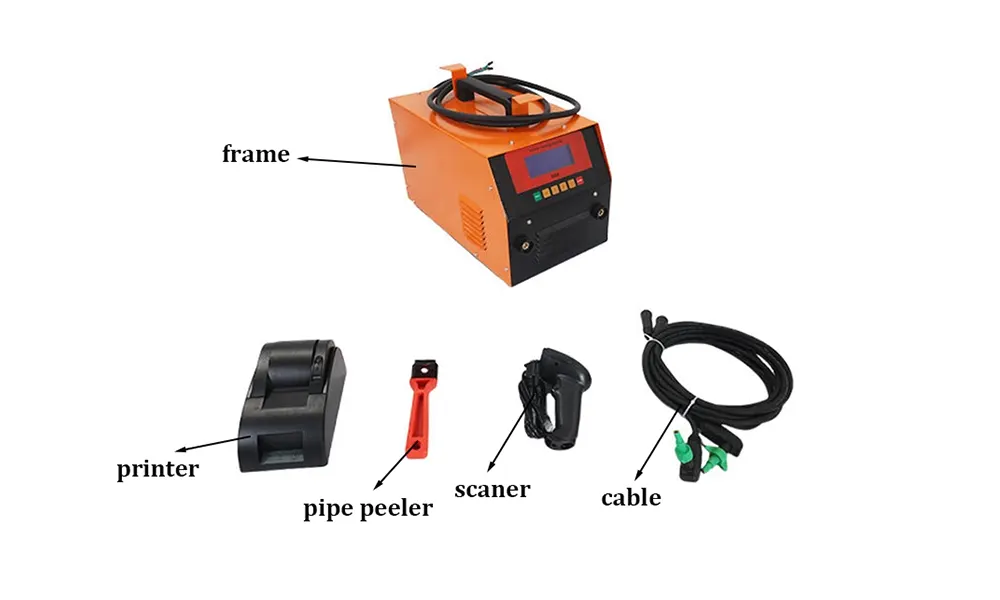
- Check fittings and pipe: Confirm that pipe surfaces, fitting interiors, and heating coils are clean, dry, and free from oxidation. Remove the outer skin of the pipe using a proper scraping tool to expose virgin material.
- Alignment: Use clamps or alignment tools to hold the pipe and fitting in place. Any movement during the fusion cycle can compromise the joint.
2. Environmental Conditions
Extreme temperatures, high humidity, and strong winds can affect the welding process. Always use protective tents or shelters when working outdoors. The ambient temperature should ideally be within the range specified by the fitting manufacturer.
3. Power Supply
Check that the power source matches the welder’s requirements. Voltage drops during the cycle can lead to incomplete fusion. Using a generator with stable output or a dedicated power line is strongly recommended.
Step-by-Step Operating Procedure
Following a structured workflow helps operators achieve repeatable, high-quality results. Here is the core sequence for how to use an electrofusion welder in field conditions.
Step 1: Scraping and Cleaning
Remove the oxidized layer from the pipe ends to a depth of approximately 0.2 mm using a manual or mechanical scraper. Immediately wipe the scraped surface and the inside of the fitting with isopropyl alcohol wipes. Do not touch the prepared surfaces with bare hands after cleaning.
Step 2: Marking Insertion Depth
Mark the pipe at the required insertion depth so you can visually confirm full insertion after assembly. This simple step helps avoid partially seated joints.
Step 3: Clamping and Aligning
Insert the pipe ends into the electrofusion fitting until they reach the stop or the marked line. Secure the assembly with proper clamps. Check alignment visually and ensure the fitting terminals are accessible for the welder cables.
Step 4: Connecting the Welder
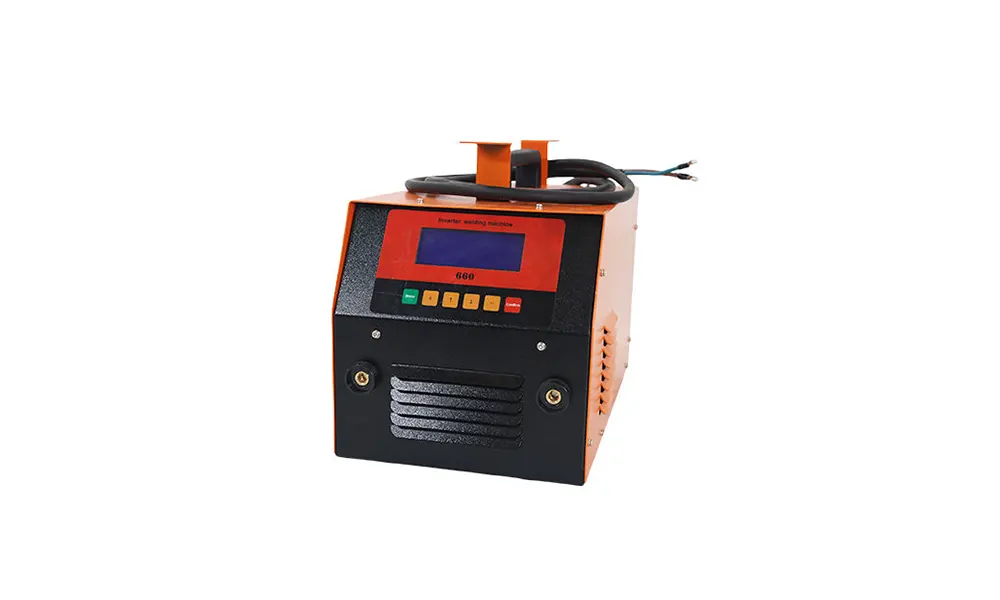
Attach the output cables from the electrofusion welder to the fitting terminals. Ensure firm contact. Input the fusion parameters—some machines read a barcode on the fitting, while others require manual entry of voltage and time based on the ASTM F1290 electrofusion protocol or the manufacturer’s label.
Step 5: Starting the Fusion Cycle
Initiate the cycle and monitor the display. The welder will apply the programmed energy and then move into a cooling phase. Never interrupt the cycle or disconnect the cables while cooling is in progress.
Step 6: Cooling Time
Once the fusion energy is delivered, the joint must cool under full clamping pressure. Cooling times vary by pipe diameter and fitting type. Refer to the table below for general guidance, but always follow the specific fitting manufacturer’s instructions.
| Pipe Diameter (mm) | Typical Fusion Time (seconds) | Minimum Cooling Time (minutes) |
|---|---|---|
| 20 – 32 | 40 – 60 | 4 – 6 |
| 63 – 110 | 80 – 180 | 8 – 15 |
| 125 – 200 | 200 – 400 | 15 – 30 |
| 225 – 315 | 420 – 700 | 30 – 45 |
* Values are approximate and must be confirmed with fitting specifications.
Step 7: Visual Inspection
After cooling, remove the clamps and inspect the joint. Look for the melt indicator pins (if present) that rise during the process. Check for uniform melt bead appearance around the fitting edges. Any signs of misalignment, insufficient pin rise, or burn marks require the joint to be cut out and remade.
Common Mistakes and How to Avoid Them
Even experienced operators can encounter problems. Below are the most frequent issues observed in the field and their solutions.
- Inadequate scraping: Rushed or incomplete surface preparation leads to weak interfacial bonding. Always use a sharp, properly adjusted scraper and verify the removed layer thickness.
- Contamination: Dirt, moisture, or oil on the pipe or fitting surface prevents proper fusion. Keep all components in sealed packaging until the moment of assembly.
- Incorrect parameters: Entering the wrong voltage or time can result in inadequate melting or thermal degradation. When in doubt, consult the PPI electrofusion guide for generic procedures.
- Moving the joint during cooling: This is one of the most common causes of immediate failure. Respect the full cooling time—no exceptions.
- Using incompatible components: Mixing pipe and fitting brands without verifying compatibility charts can compromise performance. Always check that your materials are certified for electrofusion.
Operator Qualification and Record Keeping
Proper training is not optional. Operators must be qualified according to applicable codes and standards. Many regulatory bodies require documented proof of competence, such as a fusion operator’s badge per the relevant ISO procedures. Furthermore, each joint should be recorded: date, location, operator name, machine serial number, fitting barcode, and weather conditions. Modern PE electrofusion technology allows data logging directly from the welder, simplifying traceability.
Maintaining Your Electrofusion Welder
A well-maintained machine is essential for consistent performance. After each use, clean the cables and connectors, inspect for any damage, and store the unit in a dry, protected environment. Have the machine calibrated at least once a year, or more frequently if it is used in harsh conditions. Companies like JQ-Fusion provide durable welding equipment designed for demanding field environments, backed by strict quality control processes that help ensure long-term reliability.
Key Takeaways for Leak-Free Joints
Mastering how to use an electrofusion welder comes down to discipline and attention to detail. Start with clean, properly scraped surfaces. Use the correct fusion parameters and respect the full cooling cycle. Document your work and maintain your equipment diligently. By following these guidelines and referencing authoritative standards like ASTM F1055 electrofusion fittings, you can consistently produce safe, leak-free pipe joints that stand the test of time.