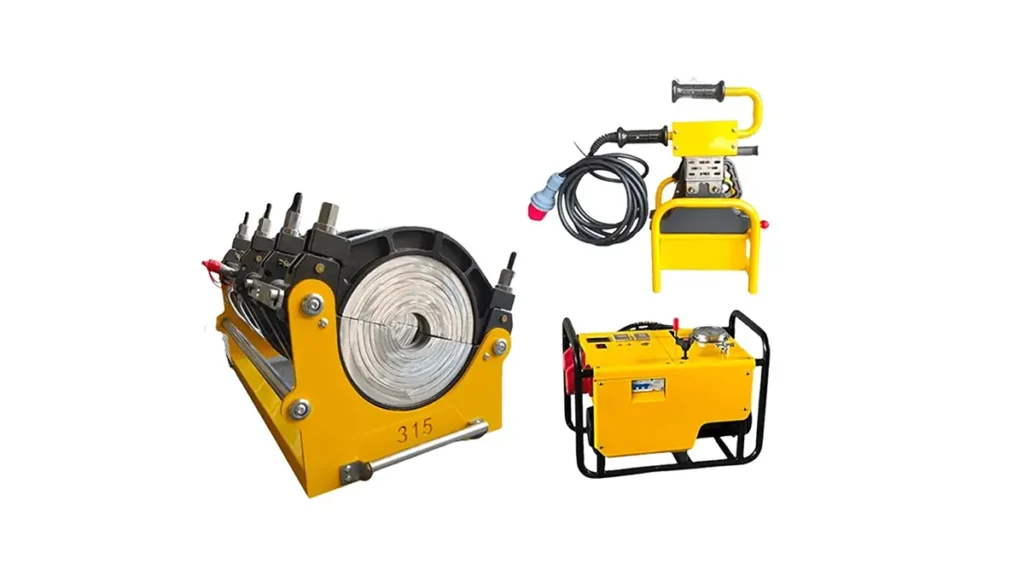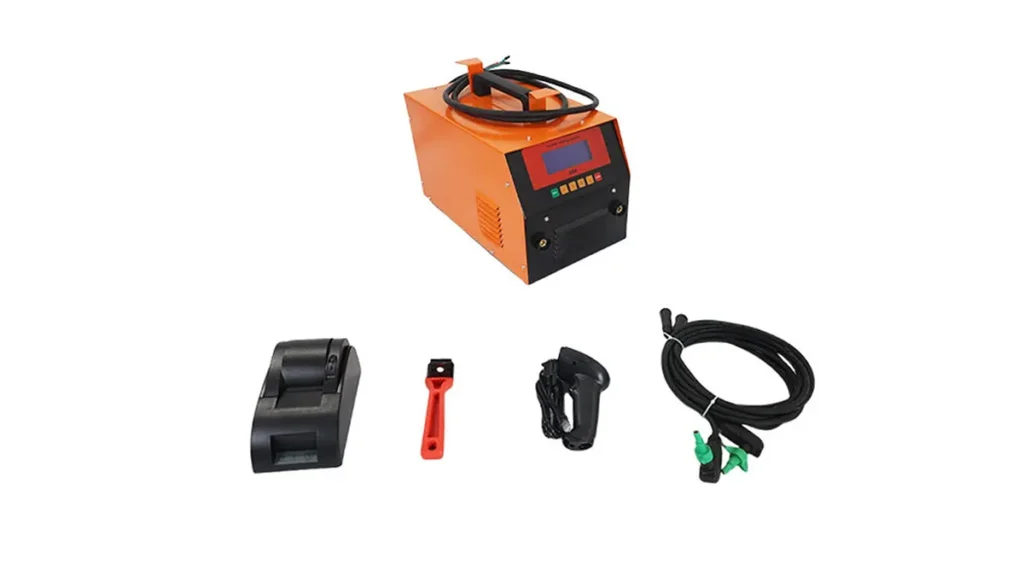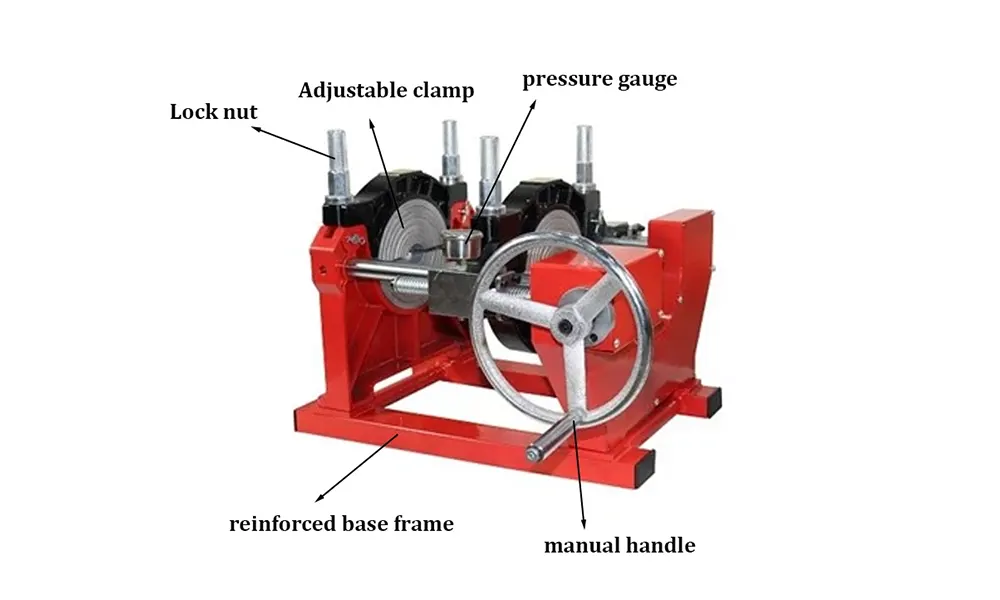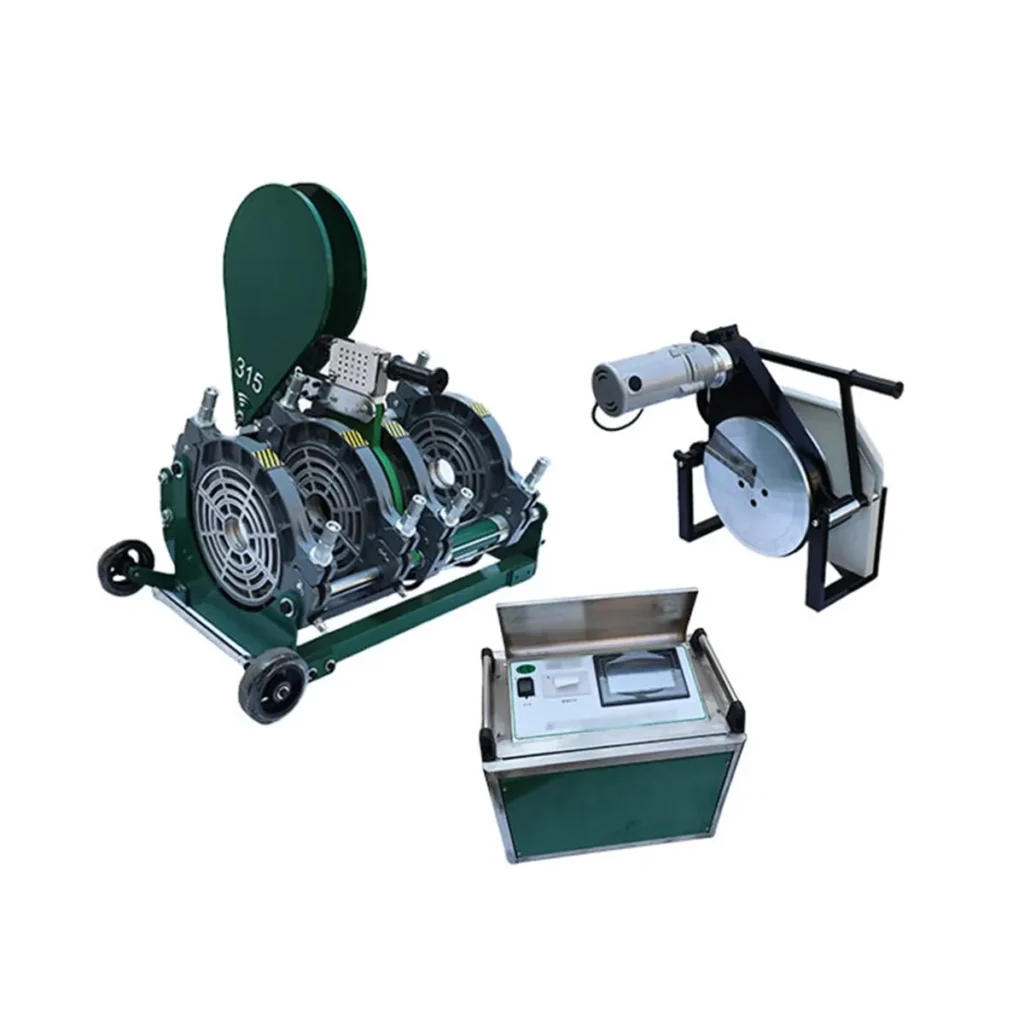
Polyethylene (PE) pipe welding is a critical process in modern pipeline infrastructure, used extensively in water supply, gas distribution, and industrial applications. Mastering the correct operation of a butt fusion welding machine ensures leak-proof joints that can last for decades. This step-by-step guide walks you through the essential procedures, safety measures, and best practices to achieve consistent, high-quality welds every time.
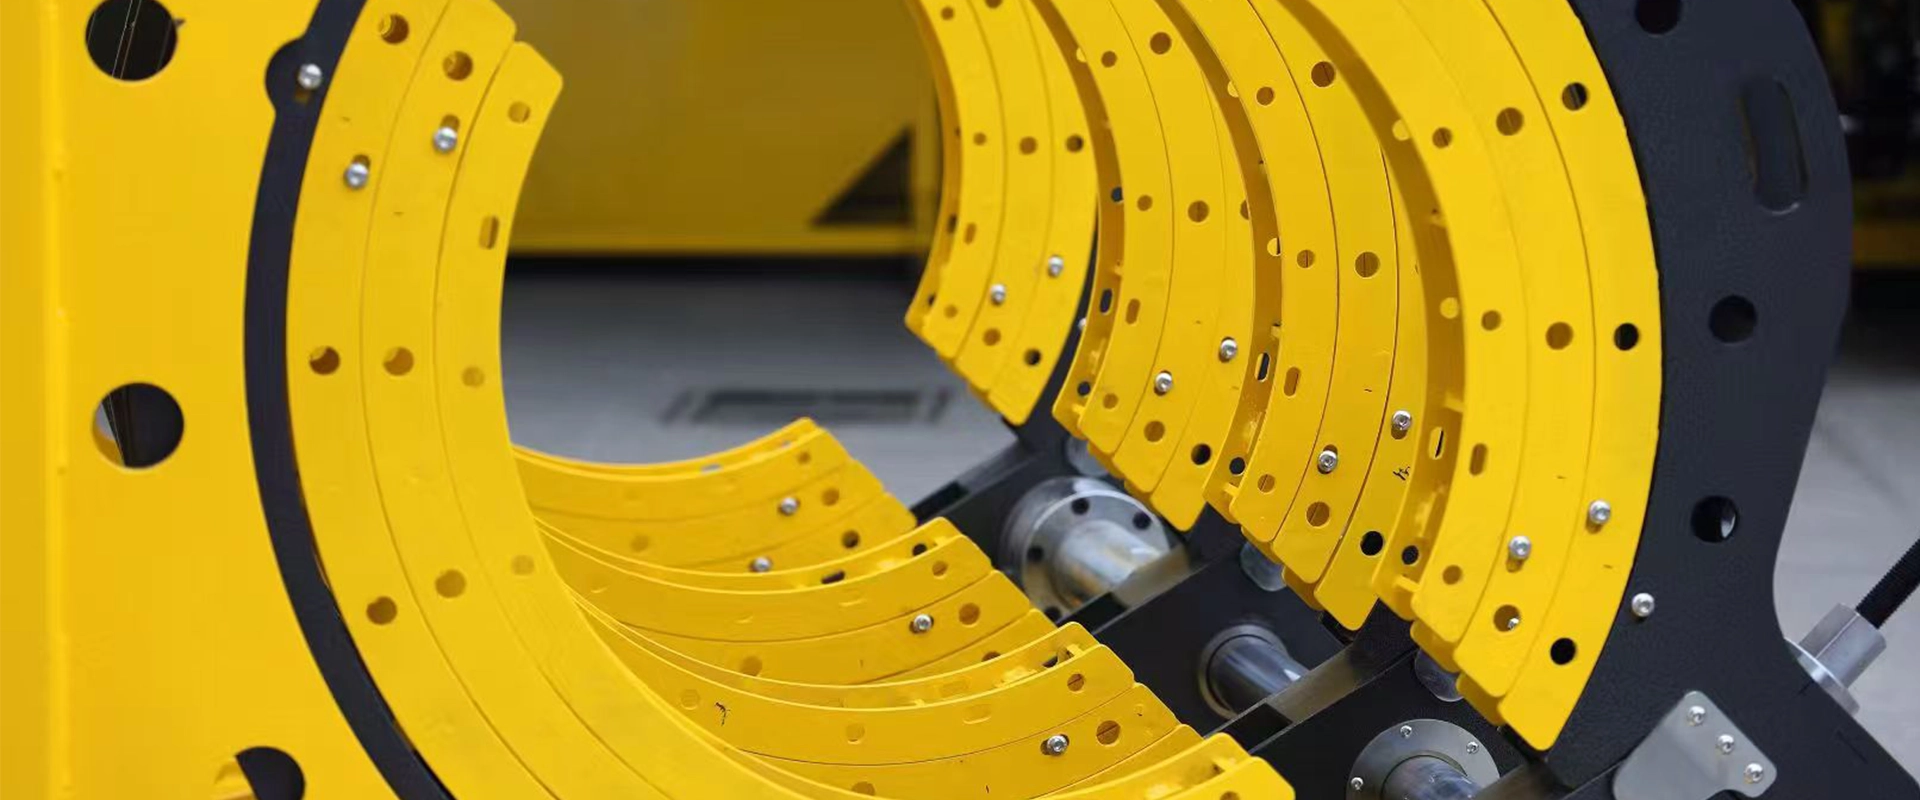
Understanding the Basics of Polyethylene Welding
Before operating any equipment, it is essential to understand what butt fusion welding actually involves. The process joins two PE pipe ends by heating them against a precisely temperature-controlled plate until they become molten, then pressing them together under controlled pressure to form a homogeneous joint. Key parameters that influence weld quality include:
- Temperature – Typically maintained between 200°C and 220°C (392°F – 428°F) depending on material specifications.
- Pressure – Must be calibrated according to pipe diameter and wall thickness.
- Time – Heating, soaking, and cooling durations must follow ISO 21307 butt fusion procedures or equivalent standards.
- Alignment – Pipe ends must be perfectly aligned to prevent misalignment defects.
Neglecting any of these factors can lead to weak joints, leaks, or even catastrophic pipeline failures. This is why using a properly maintained hydraulic butt fusion welding machine with accurate controls is non-negotiable for professional results.
Pre-Welding Preparation and Safety Checklist
Proper preparation prevents poor performance. Before starting any welding operation, complete the following checklist:
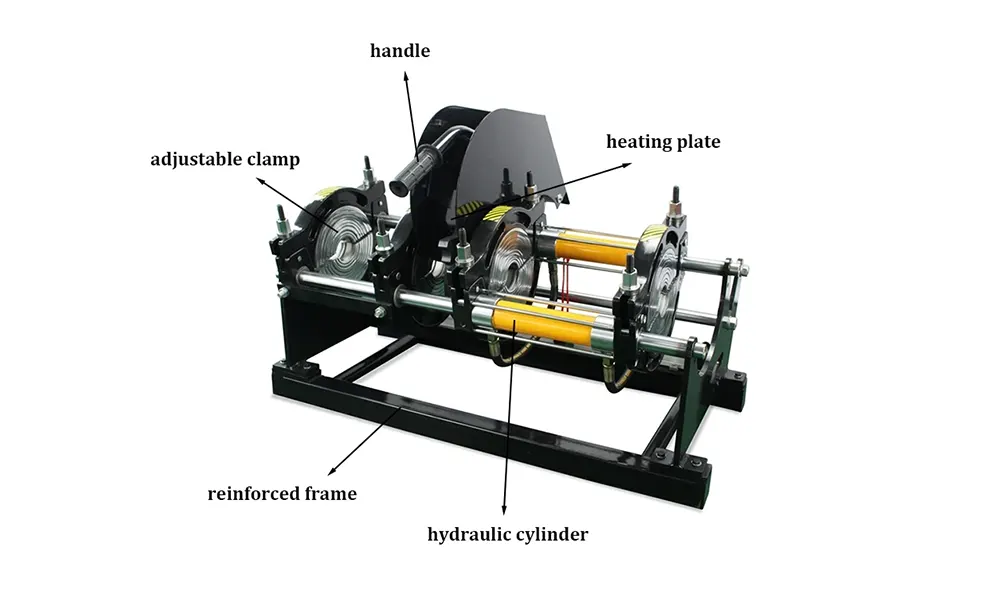
- Inspect the machine: Check that all clamps, hydraulic hoses, and the heating plate are in good working condition.
- Verify temperature calibration: Use a surface thermometer to confirm the heating plate reaches the required temperature evenly across its surface.
- Clean all contact surfaces: The heating plate, pipe ends, and trimmer blades must be free of dirt, grease, and moisture.
- Secure the work area: Ensure adequate ventilation, stable footing, and protection from wind or rain which can affect heating consistency.
- Wear appropriate PPE: Heat-resistant gloves, safety glasses, and steel-toe boots are mandatory.
Operators should also be familiar with PE butt fusion equipment standard requirements to ensure compliance with international quality benchmarks.
Step-by-Step Welding Procedure
Follow these steps carefully for each joint. Consistency is the key to repeatable, high-strength welds.
Step 1: Clamping and Aligning the Pipes
Place both pipe sections into the machine’s clamps. Tighten the clamps evenly to avoid deforming the pipe. Bring the pipe ends together and check for vertical and horizontal alignment. Any misalignment exceeding 10% of the pipe wall thickness must be corrected. Proper alignment ensures that the molten material fuses uniformly across the entire joint surface.
Step 2: Facing the Pipe Ends
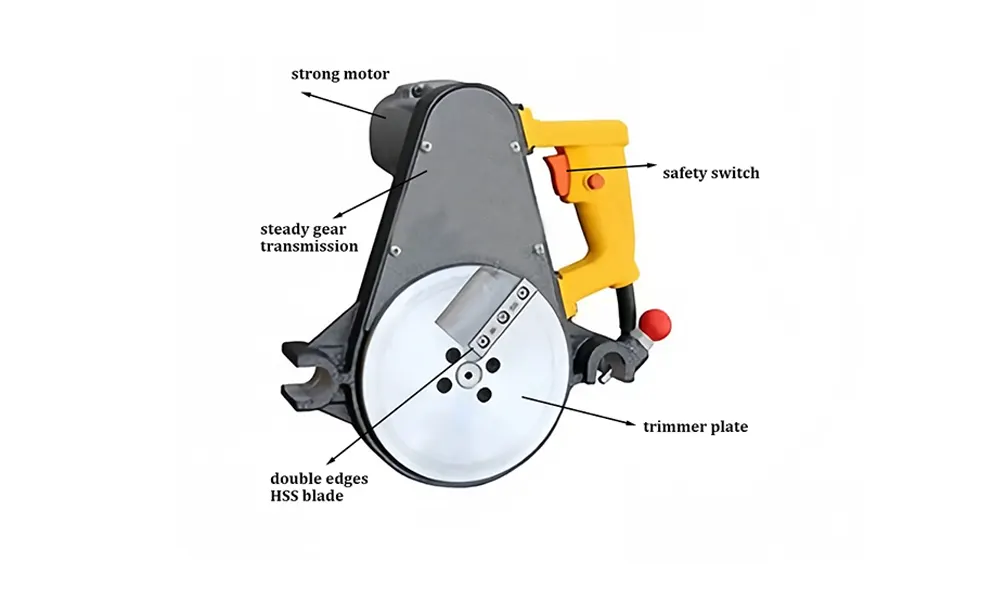
Engage the trimmer tool between the clamped pipe ends. Apply steady pressure and rotate the trimmer until continuous shavings are produced from both pipe ends. This creates clean, parallel, and smooth surfaces essential for even heat transfer. Remove the trimmer carefully, and inspect the faced surfaces — they should be smooth, flat, and free of contamination.
Step 3: Heating Phase
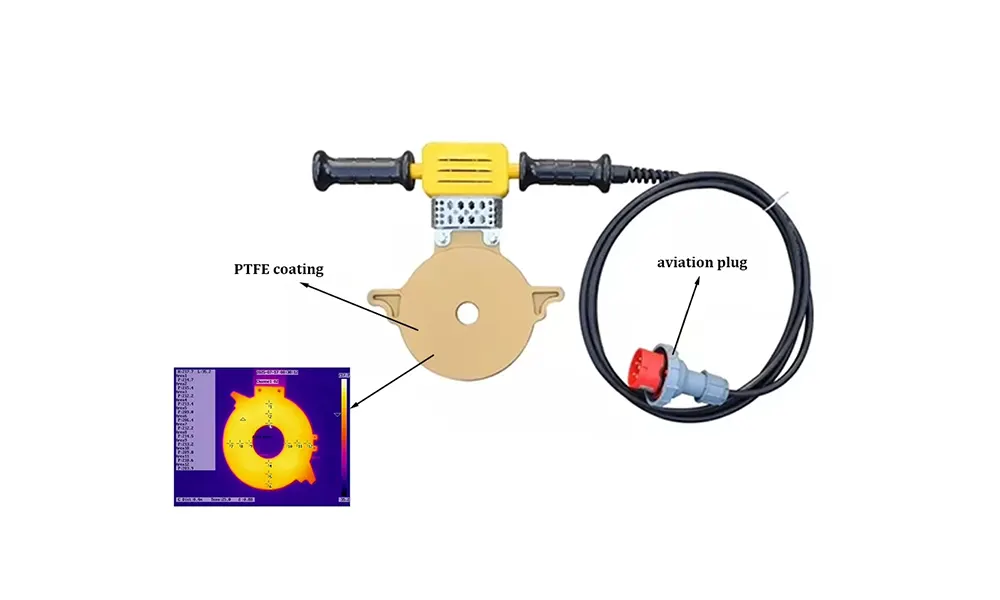
Insert the heating plate between the faced pipe ends. Move the pipe ends against the plate using the specified interfacial pressure. Maintain this contact until a uniform bead of molten material forms around the entire circumference of both pipe ends. This initial bead formation is critical — it indicates that the pipe material has reached proper melt temperature at the interface.
Step 4: Soaking and Heat Soak Time
Reduce the pressure to near zero while maintaining contact between the pipe ends and the heating plate. This is the soaking phase, which allows heat to penetrate deeper into the pipe wall. Soak times vary based on pipe wall thickness, material grade, and ambient conditions. Refer to the manufacturer’s guidelines or relevant PPI butt fusion procedure documentation for precise timing recommendations.
Step 5: Plate Removal and Fusion
Quickly but carefully withdraw the heating plate, and immediately bring the molten pipe ends together. The plate removal time must be as short as possible — typically under 3-5 seconds — to prevent cooling of the melt surfaces. Apply the specified fusion pressure steadily, building up to the required force. Do not exceed the recommended pressure, as over-compression can squeeze out too much molten material and weaken the joint.
Step 6: Cooling Under Pressure
Hold the joint under full fusion pressure until it has cooled sufficiently. The cooling time depends on pipe size and wall thickness. Never release the clamps prematurely — releasing pressure before the joint has solidified can cause misalignment or joint separation. Allow the joint to cool naturally; do not accelerate cooling with water or compressed air.
Key Welding Parameters Reference Table
The following table provides general guidance for common pipe sizes. Always verify parameters against specific material and equipment recommendations.
| Pipe Diameter (mm) | Bead-Up Pressure (bar) | Heating Time (seconds) | Cooling Time (minutes) |
|---|---|---|---|
| 63 – 110 | 3 – 5 | 30 – 60 | 4 – 8 |
| 160 – 250 | 6 – 10 | 60 – 120 | 10 – 15 |
| 315 – 450 | 12 – 18 | 120 – 210 | 18 – 30 |
| 500 – 800 | 20 – 35 | 210 – 360 | 35 – 60 |
Common Mistakes to Avoid
Even experienced operators can make errors that compromise weld integrity. Watch out for these frequent pitfalls:
- Insufficient facing: Incomplete trimming leaves rough surfaces that prevent proper heat transfer.
- Contaminated heating plate: Residual material on the plate can create cold spots or transfer impurities to the melt.
- Excessive plate removal time: Delays between plate removal and pipe joining allow the melt surface to cool below optimal temperature.
- Incorrect pressure settings: Too little pressure results in poor fusion, while too much forces out molten material and creates a weak joint.
- Premature clamp release: Disturbing the joint before complete cooling can introduce stress cracks or misalignment.
For operators seeking advanced control and reduced human error, automatic butt fusion machines with CNC controls provide programmed welding cycles that minimize variability and ensure compliance with PE fusion operator requirements.
Post-Weld Inspection and Quality Control
After the joint has cooled completely, perform a visual inspection. A high-quality butt fusion joint should exhibit:
- Uniform, symmetrical beads on both sides of the joint.
- Smooth transition between the bead and the pipe surface.
- No visible voids, cracks, or discoloration.
- Consistent bead width around the full circumference.
For critical applications, destructive testing on sample welds may be required to validate procedure compliance. Refer to the ASTM F2620 heat fusion standard for detailed inspection criteria and testing methods.
Maintaining Your Polyethylene Welding Machine
Regular maintenance extends equipment life and ensures consistent performance. Establish a routine that includes:
- Daily: Clean the heating plate surface with a non-abrasive cloth while warm. Inspect trimmer blades for sharpness.
- Weekly: Check hydraulic oil levels and inspect hoses for leaks or wear. Verify temperature calibration.
- Monthly: Lubricate moving parts, check clamp alignment, and test pressure gauge accuracy.
- Annually: Complete overhaul including seal replacement, electrical inspection, and recalibration of all sensors.
Properly maintained equipment not only produces better welds but also reduces downtime and extends the service life of your investment.
Frequently Asked Questions
What temperature should a polyethylene welding machine be set to?
The standard operating temperature for PE butt fusion is between 200°C and 220°C. Always confirm the specific requirements of the pipe material being used, as different PE grades may have slightly different optimal temperature ranges.
How long does it take to weld polyethylene pipe?
Total welding time varies significantly with pipe diameter and wall thickness. A 110mm pipe may take approximately 8-12 minutes from facing to cooling completion, while a 630mm pipe can require over an hour. The cooling phase typically accounts for the majority of the total cycle time.
Can polyethylene welding be performed in cold weather?
Yes, but extra precautions are necessary. In cold conditions, heating times may need to be extended, and wind shields should be used to maintain consistent heating plate temperature. The pipe material itself should be stored in a warmer environment before welding when possible.
What is the difference between butt fusion and electrofusion?
Butt fusion uses a heated plate to melt pipe ends that are then pressed together, while electrofusion uses embedded heating coils within special fittings that melt and fuse the joint when an electric current is applied. Each method has specific applications and advantages depending on the project requirements.
Mastering polyethylene welding takes practice, patience, and the right equipment. For reliable, durable pipe joints that meet international standards, choosing a quality manual butt fusion welding machine or hydraulic system from an experienced manufacturer is essential. JQ-Fusion provides a comprehensive range of butt fusion welding solutions designed for precision and long-term reliability across water, gas, and industrial pipeline projects worldwide.