
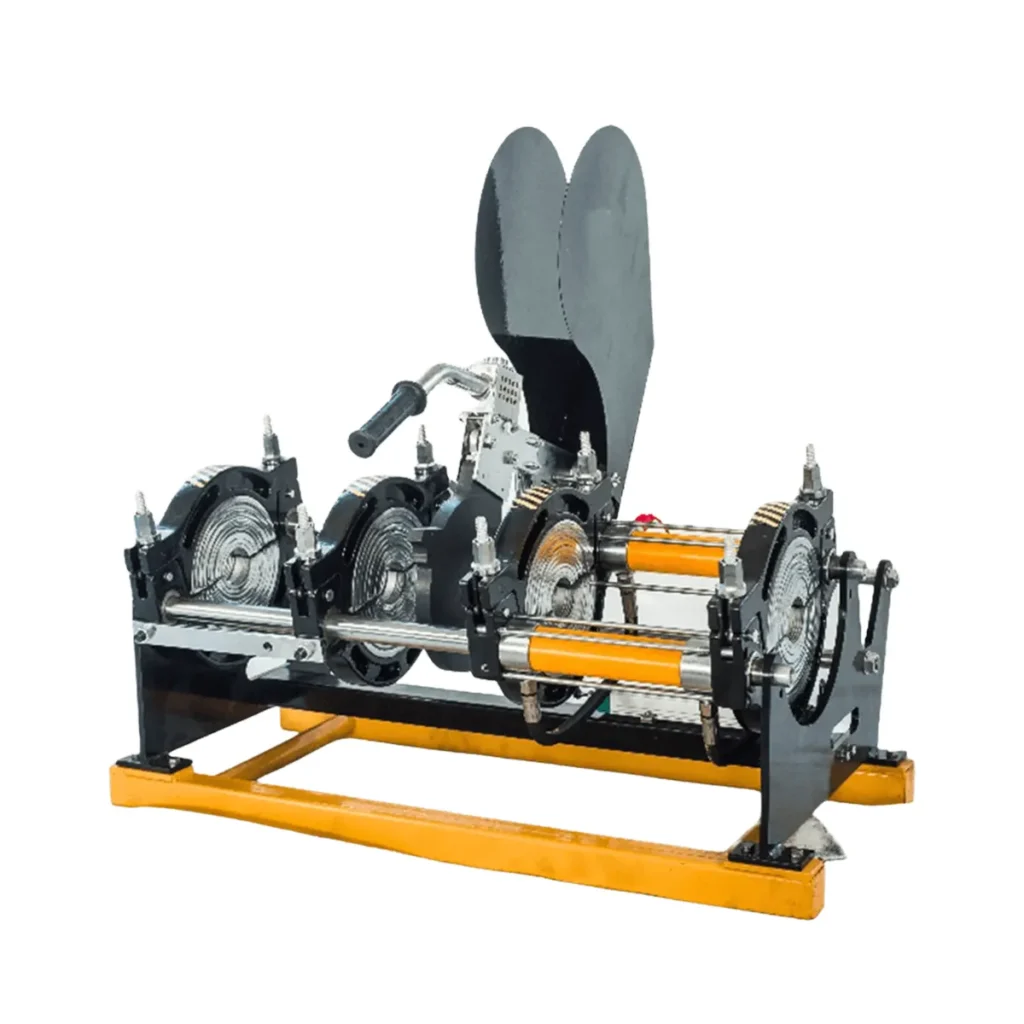
Hot melt welding machines are widely used for joining HDPE and other thermoplastic pipes with reliable, leak-free results. This step-by-step guide is written for beginners and installers who want a clear, SEO-friendly workflow to operate a hot melt (butt fusion) welding machine safely and effectively. Follow the steps below, and always consult your machine’s manual for model-specific settings.
Preparation: Tools, Materials & Safety
Tools and supplies: welding machine, facing tool/trimmer, heating plate, clamps, pipe scrapers, measuring tape, marker, cleaning cloth, suitable PPE (gloves, eye protection). Use pipes of the same material and SDR to ensure consistent fusion.
Safety checks
Verify the power source and hydraulic systems, inspect cables and hoses, and make sure the heating plate surface is clean. Always wear appropriate PPE and ensure the work area is well ventilated.
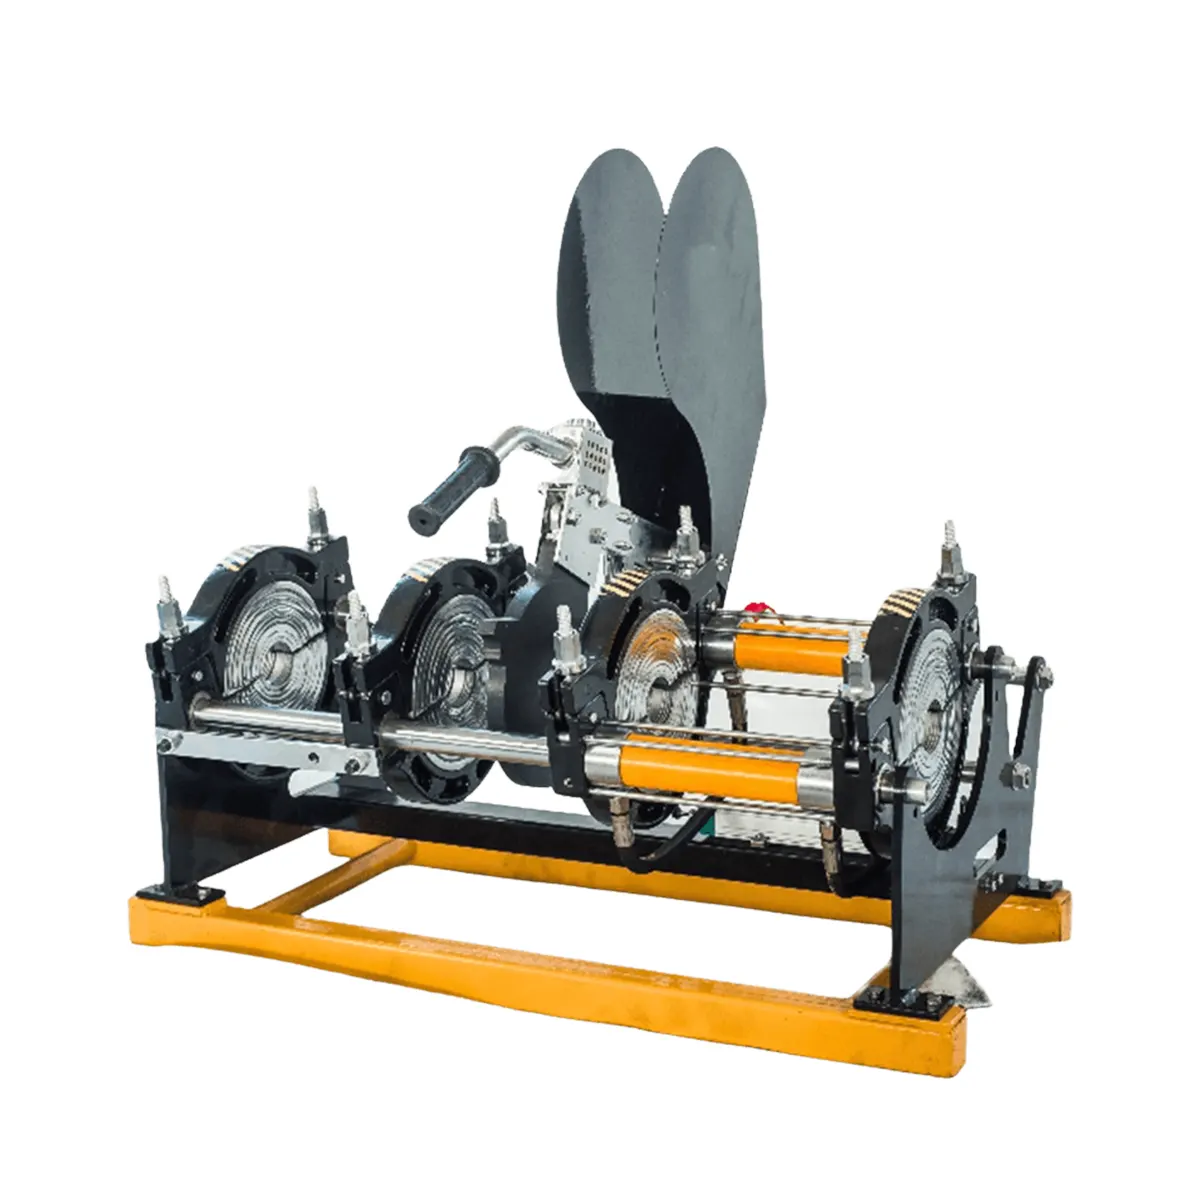
Step 1 — Machine Setup
Place the welding machine on a stable, level surface. Confirm the clamps and alignment fixtures match the pipe diameter. Turn on the machine and let the hydraulic/power systems build pressure to the recommended level.
Step 2 — Measure, Mark & Align
Measure pipe ends, mark the fusion zone, and insert pipes into the clamps. Use the alignment tools to center the pipe ends; accurate alignment reduces cold joints. Ensure both pipe ends are square and concentric before clamping.
Step 3 — Facing / Trimming
Use a facing tool to trim the pipe ends until they are clean, flat, and free of oxidation. Remove any debris or melt flash with a clean cloth and scraper. Proper facing is crucial for a strong weld.
Step 4 — Heating
Insert the heating plate between the pipe ends and apply light pressure. Set the heating time and temperature according to pipe material and diameter. Heating is complete when a uniform bead (melt layer) forms on both pipe ends.
| Pipe OD (mm) | Typical Heating Temperature | Approx. Heating Time (s) |
|---|---|---|
| 63–110 | 210–240°C | 30–90 |
| 160–315 | 210–240°C | 90–240 |
| 400–630 | 210–240°C | 240–600 |
Step 5 — Fusion (Join)
Carefully remove the heating plate and immediately apply the prescribed pressure to bring the molten faces together. Hold steady pressure for the specified fusion time. Avoid axial or rotational movement during this stage to prevent weak joints.
Step 6 — Cooling & Inspection
Keep the joint clamped while cooling to avoid stress. Cooling time depends on diameter and manufacturer guidelines — don’t rush removal. After cooling, remove clamps and inspect the weld bead for uniformity. Conduct a visual check and non-destructive tests if required.
Common Issues & Quick Fixes
Bead irregularities may indicate under- or over-heating. Misalignment often causes incomplete fusion — reface and reattempt. If contamination is found, cut back the joint and repeat the process.
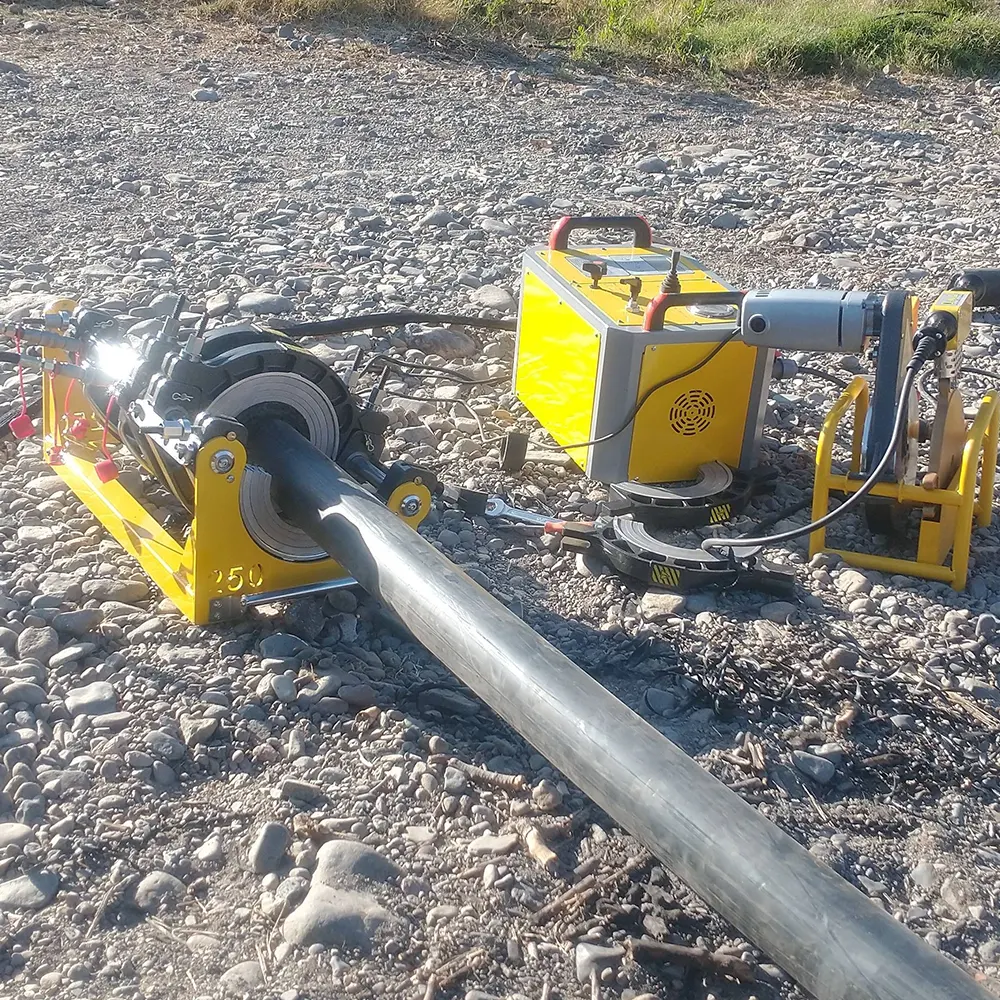
Pro Tips for Better Welds
Keep a welding log: record pipe material, SDR, heating temperature, times, pressure, and ambient conditions. This improves quality control and helps troubleshoot repeat issues.
Maintenance & Storage
Clean heating plates after each use and protect them with the manufacturer-recommended covers. Store the machine indoors when possible and perform periodic hydraulic and electrical checks.
For reliable HDPE butt fusion equipment and tailored support, consider contacting JQ-Fusion for machine options suitable for small to large diameter projects.



