
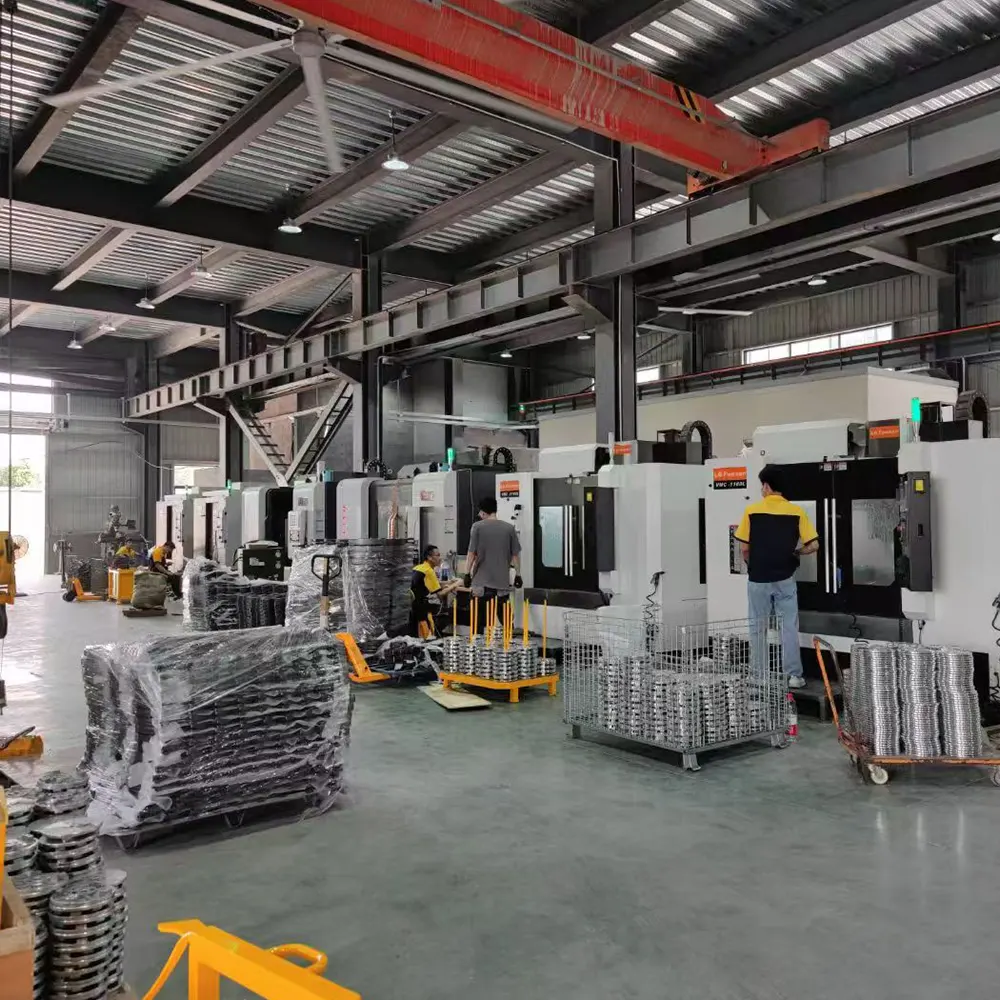
Achieving a leak-proof, high-strength joint in high-density polyethylene (HDPE) piping systems depends entirely on following a precise HDPE pipe welding procedure. Whether you are working on municipal water supply, gas distribution, or industrial pipelines, understanding the correct use of an HDPE pipe welding machine is critical. This guide provides a comprehensive, step-by-step walkthrough of the butt fusion welding process, aligning with international standards to ensure reliable, repeatable results in the field.
Understanding the Butt Fusion Welding Process
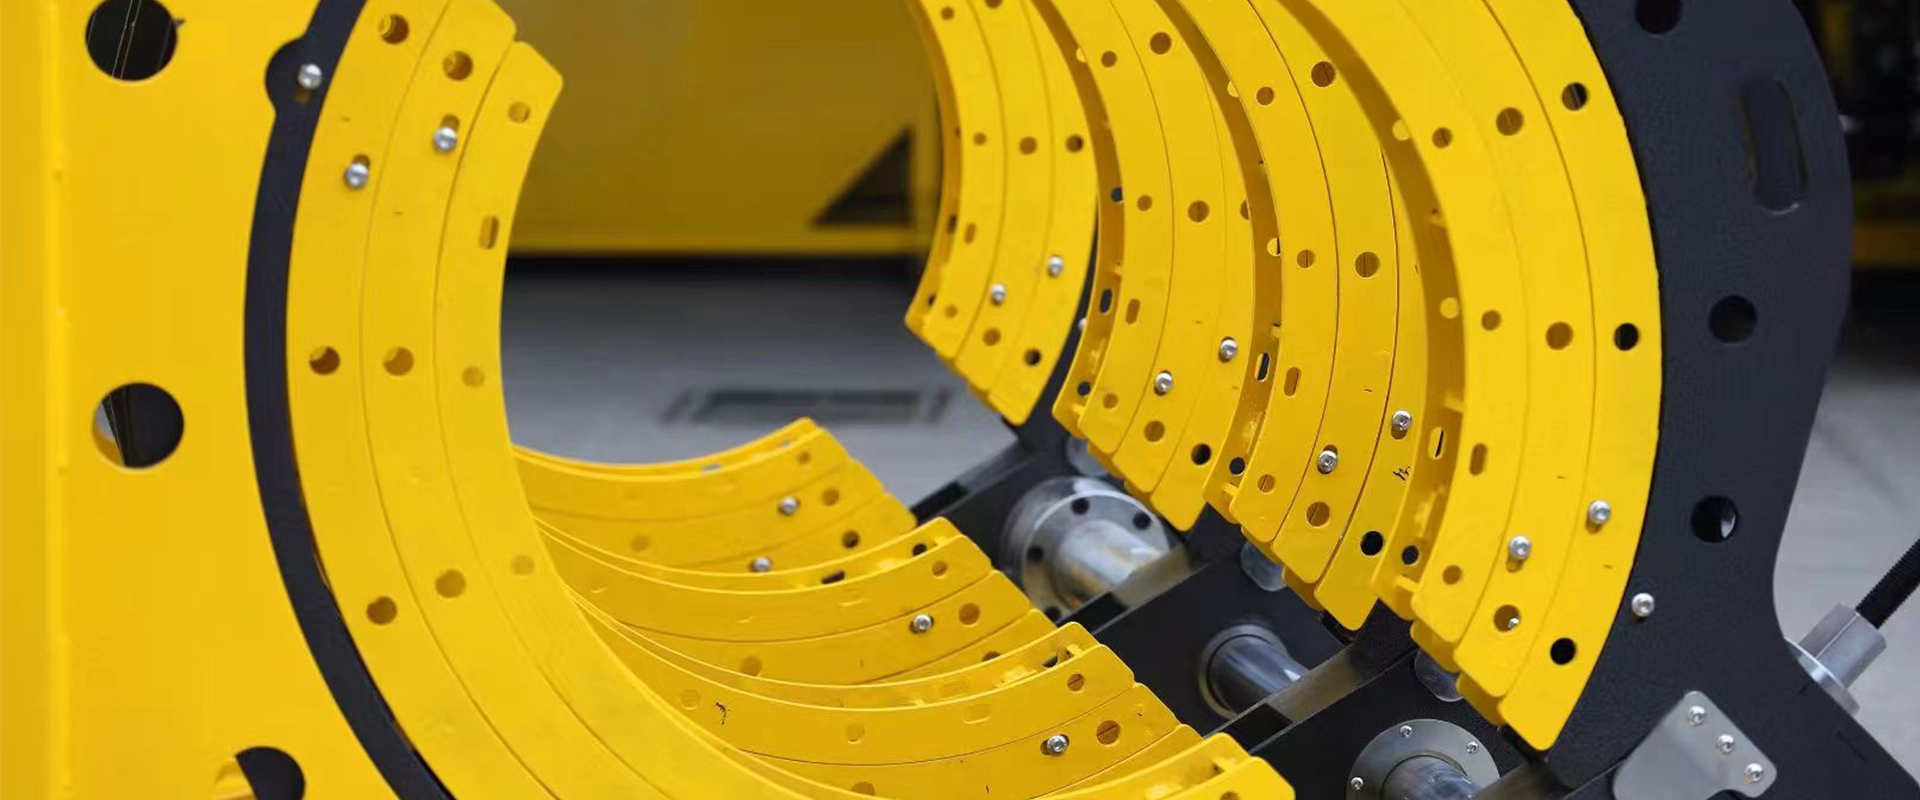
Butt fusion welding is the most widely used method for joining HDPE pipes and fittings. It involves heating two pipe ends against a precisely controlled hot plate until a melt bead forms, then pressing them together under controlled pressure to form a homogeneous, permanent bond. This procedure requires a properly calibrated hydraulic butt fusion welding machine and strict adherence to time, temperature, and pressure parameters.
Essential Preparation Before Welding
Proper preparation lays the foundation for a successful weld. Skipping these critical checks can lead to joint failure, no matter how advanced your HDPE pipe welding machine is.
- Verify Material Compatibility: Ensure the pipes and fittings have the same material grade and wall thickness (SDR). Welding dissimilar grades without specific validated procedures can compromise joint integrity.
- Inspect the Welding Machine: Check the automatic butt fusion welding machine or manual setup for hydraulic leaks, clamp alignment, and trimmer blade sharpness.
- Clean Pipe Surfaces: Wipe the pipe interior and exterior ends with a non-lint cloth to remove dirt, moisture, and grease. Any contamination can prevent proper fusion.
- Control the Environment: Protect the work area from rain, dust, and extreme temperatures. For cold weather operations, special precautions or temporary shelters may be required to maintain welding integrity.
Step-by-Step HDPE Pipe Welding Procedure
Following a systematic sequence is vital. The steps outlined below represent the standardized dual pressure technique commonly referenced in ISO 21307 butt fusion procedures.
Step 1: Securely Clamp the Pipes
Insert the HDPE pipes into the clamps of your HDPE pipe welding machine. Align the pipe ends, leaving enough gap for the trimmer and heater plate insertion. Tighten the clamps to prevent slippage during the welding cycle. Misalignment here will result in an offset bead and a weak joint.
Step 2: Facing the Pipe Ends
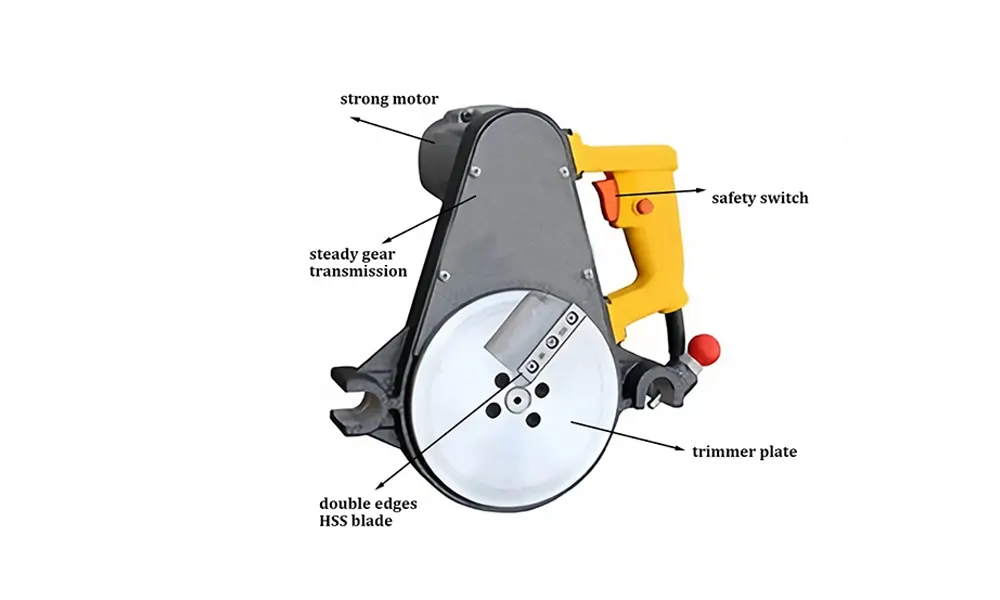
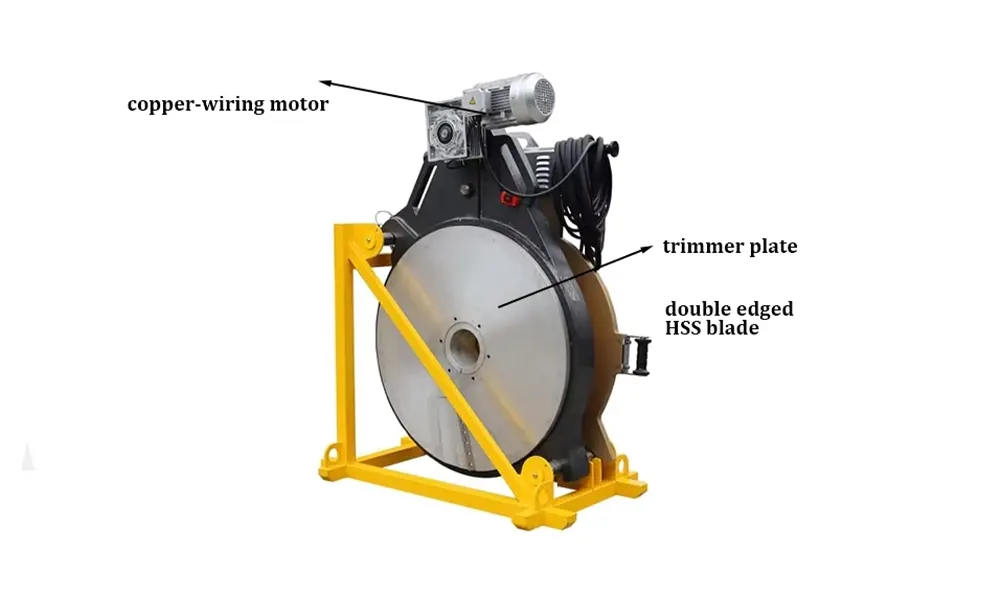
Insert the rotating facing trimmer. Bring the pipe ends together against the trimmer under a steady pressure to create clean, parallel faces. Continue trimming until a continuous ribbon of material emerges from both pipe ends, indicating full surface contact. Do not touch the faced surfaces after trimming — even minor contact can contaminate the weld.
Step 3: Heater Plate Insertion and Bead-Up
Check the heater plate temperature, which should typically be set between 200°C and 220°C (392°F to 428°F), depending on material and environmental conditions. Insert the hot plate between the pipe ends. Engage the carriage to bring the faced surfaces against the plate using the specified bead-up pressure until a uniform melt bead forms around both pipe circumferences.
Step 4: Heat Soaking
Once the bead is formed, immediately reduce the pressure to near zero without removing the pipes from the heater plate. This allows heat to penetrate into the pipe wall by conduction, creating a molten layer deep enough to form a strong bond. Accurate timing is critical and depends on wall thickness, as defined by the standard.
Step 5: Heater Plate Removal
After the specified heat soak time, quickly separate the pipe ends from the hot plate, remove the plate, and immediately bring the molten ends together. This step must be fast — any delay allows the molten material to cool and oxidize, potentially causing a cold joint. A skilled operator using a well-maintained HDPE pipe welding machine can complete this switch in seconds.
Step 6: Fusion and Cooling
Join the melted pipe ends and smoothly build up to the specified joining pressure. Hold this pressure steady during the cooling cycle. The molten interfaces will mix and solidify, forming a double bead — both internally and externally. Maintain full clamping pressure until the joint has cooled adequately. Releasing pressure too soon while the material is still soft will introduce residual stress into the weld.
Key Welding Parameters Reference Table
The following table summarizes typical parameters for common pipe sizes. Always refer to the pipe manufacturer’s specific guidelines and your machine’s specifications.
| Pipe Diameter (mm) | Bead-Up Pressure (bar) | Heat Soak Time (mm/min) | Cooling Time (min) |
|---|---|---|---|
| 63 – 110 | 1.5 – 2.0 | 40 – 70 | 6 – 10 |
| 160 – 250 | 2.0 – 3.0 | 70 – 120 | 10 – 18 |
| 315 – 500 | 3.0 – 4.5 | 120 – 200 | 18 – 30 |
| 630 – 1200 | 4.5 – 6.0 | 200 – 400 | 30 – 50 |
Visual Weld Inspection Checklist
After the joint cools, a preliminary visual inspection must be performed before the pipe is put into service. This non-destructive evaluation is a key quality control step required by ASTM F2620 heat fusion standards.
- Bead Size Consistency: The external bead should be uniform in size around the full circumference. Variations may indicate misalignment or uneven heating.
- Gap Between Beads: The “V” gap between the two beads, known as the weld seam, should be clean and free of contaminants.
- Bead Geometry: Beads should be rounded and symmetrical. Flat, wide, or uneven bead shapes often point to incorrect pressure settings.
- Surface Texture: The bead surface should be smooth and glossy, not chalky, pitted, or rough, which would indicate overheating or poor facing.
Common Welding Defects and How to Avoid Them
Troubleshooting is easier when you know what to look for. Below are frequent problems encountered during HDPE pipe welding and their solutions.
- Cold Joint (Low Fusion): Caused by insufficient heating, slow plate removal, or low pressure. Ensure the heater plate temperature is correctly calibrated and the changeover is swift.
- Misalignment: Results from worn machine clamps or improper loading. Regularly maintain your HDPE pipe welding machine by checking clamp inserts and alignment guides.
- Porous or Gritty Bead: Often due to contamination from dirty pipe surfaces or a malfunctioning trimmer blade. Always clean surfaces and replace dull blades immediately.
- Incomplete Fusion Bead: If the melt bead does not form uniformly, check the bead-up pressure and ensure the pipes are square against the hot plate.
Choosing the Right Welding Equipment
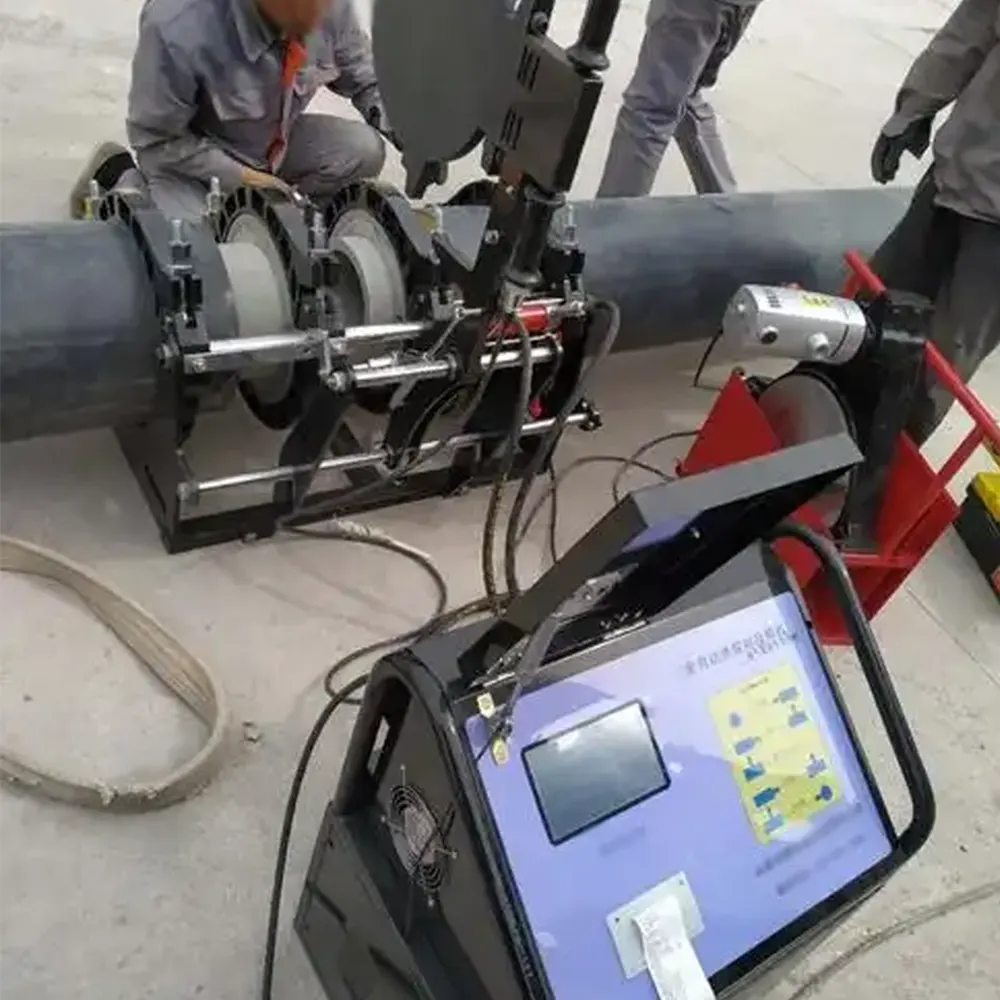
Selecting the correct HDPE pipe welding machine is as crucial as the procedure itself. For smaller diameters in confined spaces, a manual butt fusion welding machine offers portability and ease of use. For large-diameter pipes used in water mains or gas transmission, a hydraulic machine with precise digital controls ensures the force and alignment needed for multi-ton operations. In critical gas applications, data-logging CNC automatic machines provide verifiable records of every weld parameter, ensuring traceability and compliance with PPI butt fusion procedure qualifications.
As a leading HDPE pipe welding machine specialist, JQ-Fusion provides a full range of butt fusion solutions engineered for durability and precision, from compact manual models to fully automated hydraulic systems. Our equipment is built to support contractors in consistently achieving high-integrity welds that meet global standards.
Final Safety Reminders
Always wear appropriate personal protective equipment (PPE), including heat-resistant gloves and safety glasses, when operating the welding unit. Follow all manufacturer safety instructions for your specific HDPE pipe welding machine model. Never leave a hot plate unattended, and ensure the work area is clearly marked to prevent unauthorized access during welding operations.



