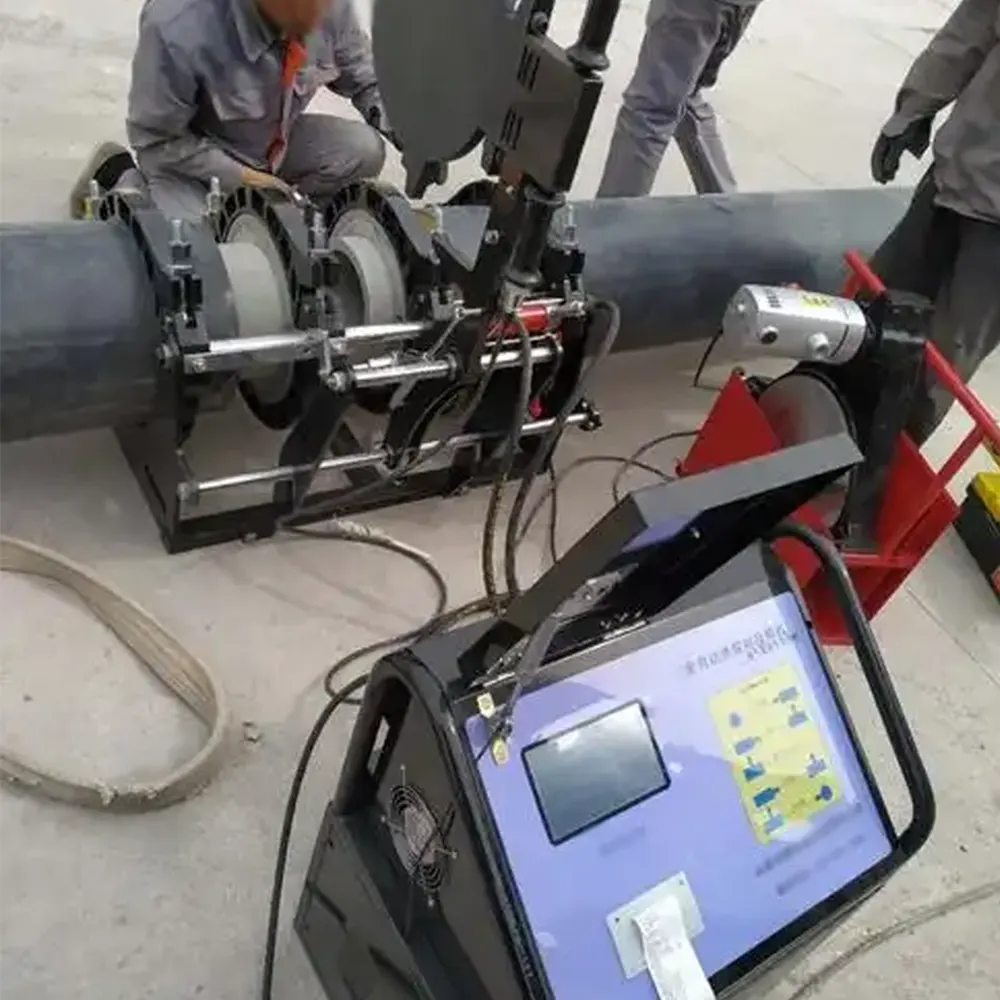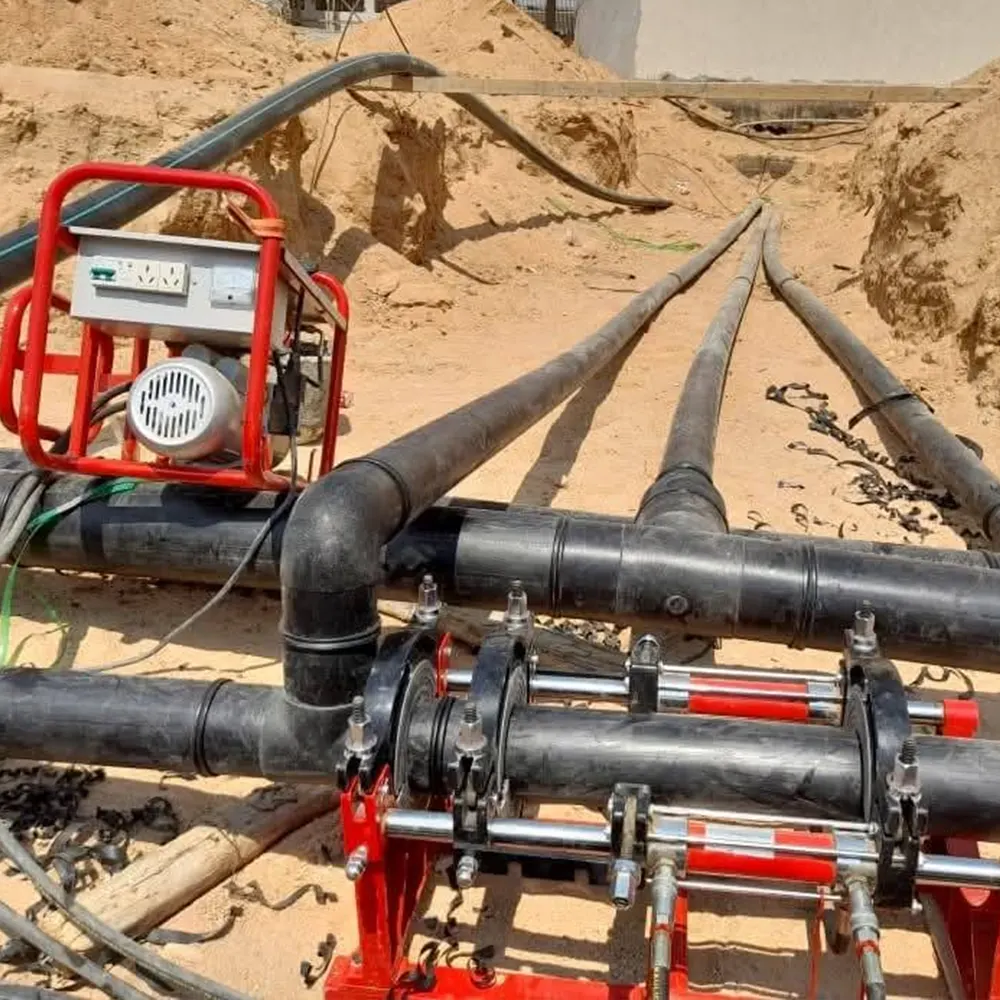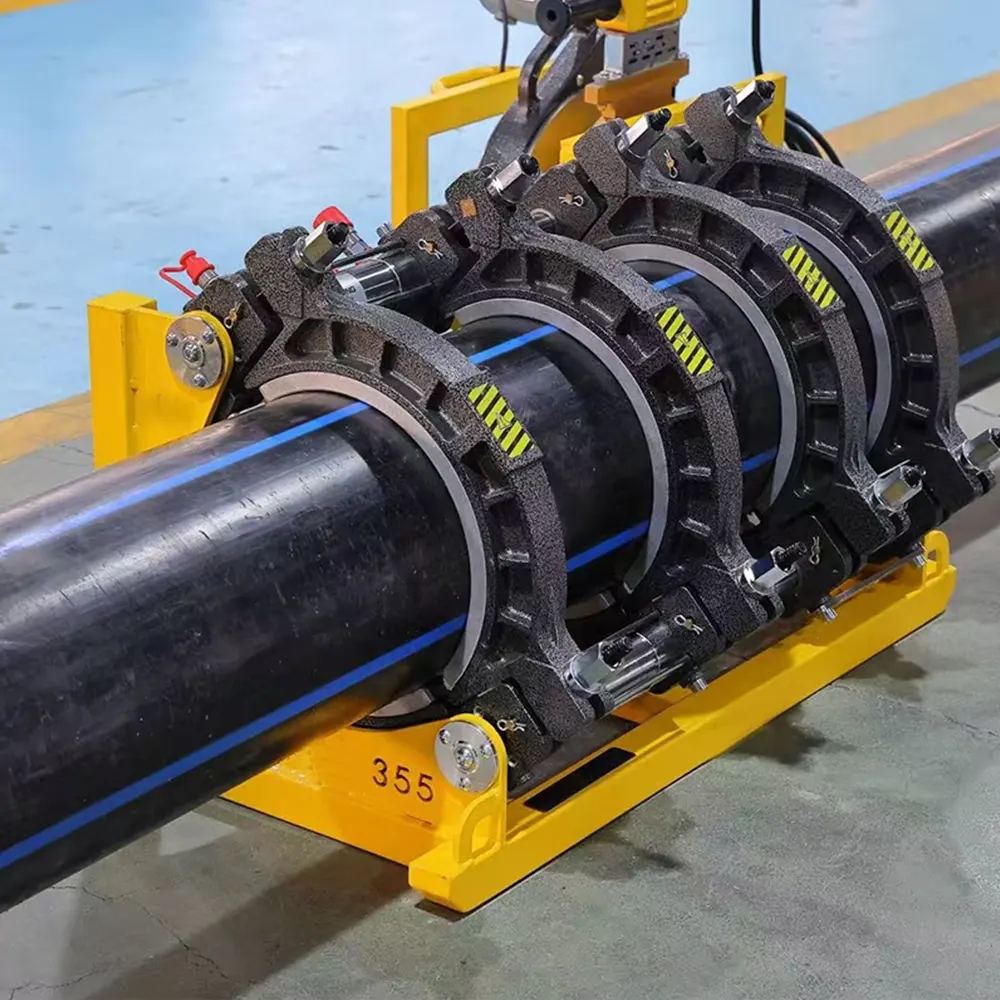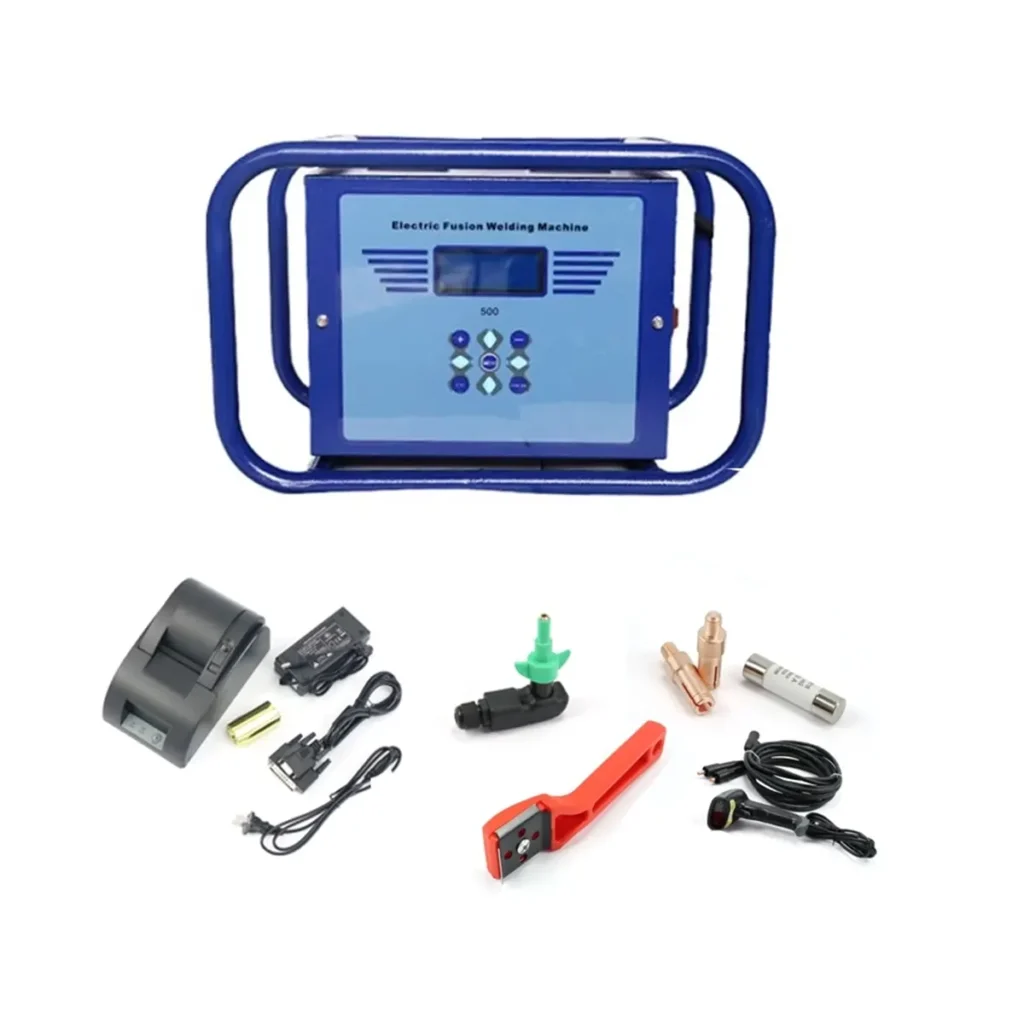
Electrofusion joining is a reliable, efficient method for connecting HDPE pipes in water, gas, and industrial pipeline systems. This step-by-step guide covers preparation, welding, quality checks, and troubleshooting so field crews and contractors can complete safe, long-lasting electrofusion joints.
Why Choose Electrofusion for HDPE Pipes?
Electrofusion offers consistent, high-strength joints with minimal excavation and fast on-site installation. Compared to mechanical fittings, electrofusion reduces leak risk and provides superior resistance to external loads and chemical exposure. It is ideal for pipelines used in municipal water, gas distribution, and industrial applications.
Key benefits
- High integrity seals with uniform heating of fusion couplers.
- Suitable for various pipe diameters and in constrained sites.
- Low maintenance joints and long service life when installed correctly.
Pre-Installation Checklist
Before starting, verify pipe compatibility, coupler specifications, and site safety. A proper checklist minimizes rework and prevents joint failure.
Tools & materials
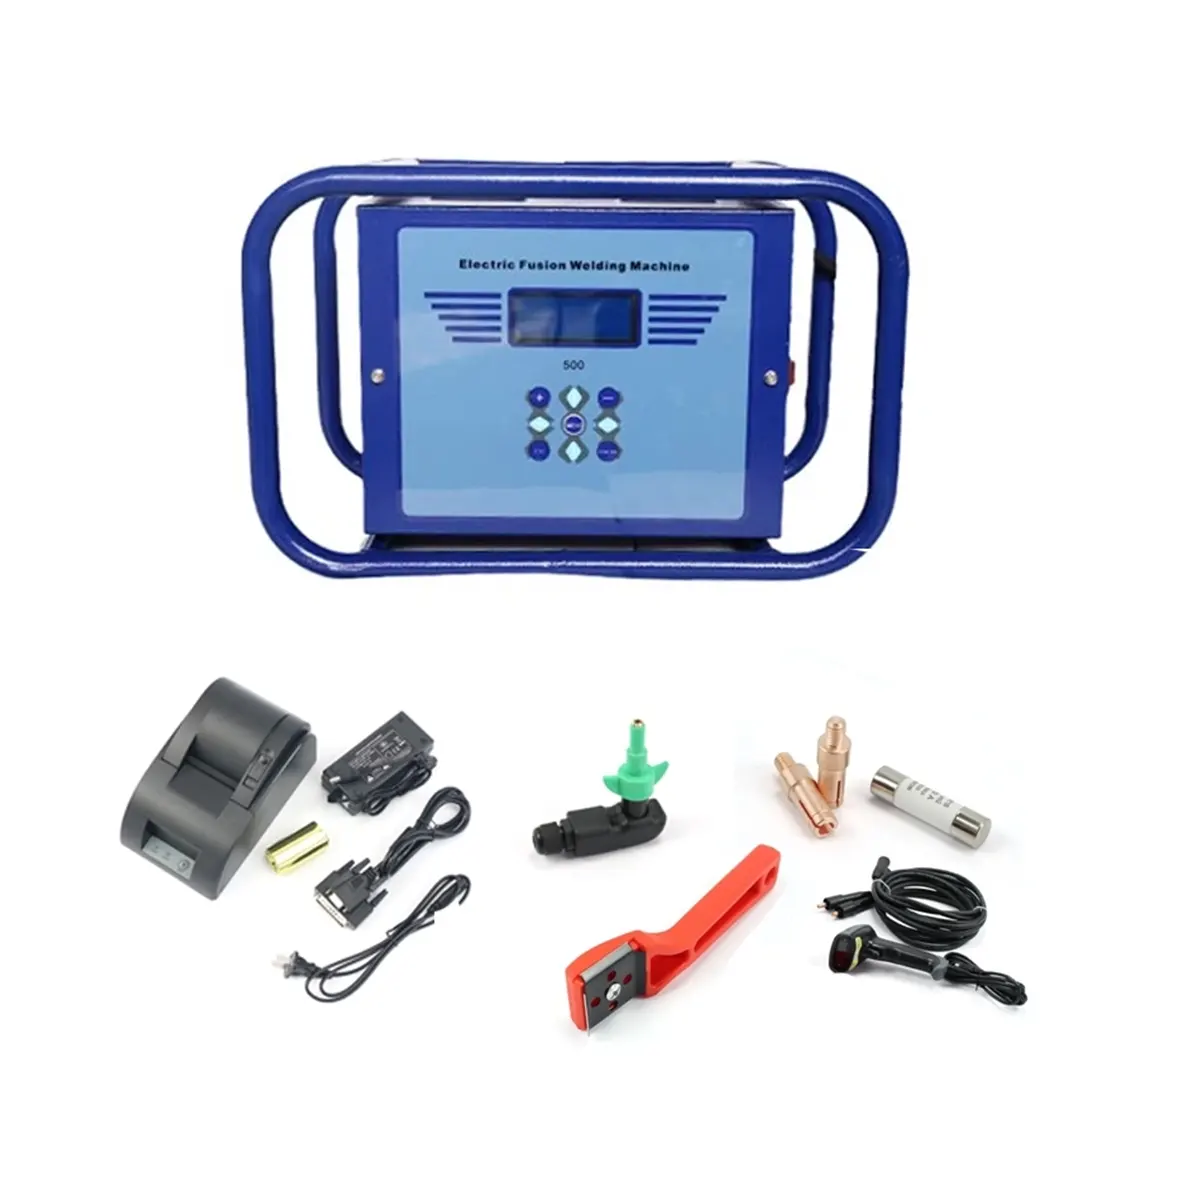
- Electrofusion control box and printer (calibrated)
- Appropriate electrofusion couplers and alignment clamps
- Scrapers, cleaning alcohol wipes, tape, and marker
- Pipe heater or fusion spacer (if required)
- Personal protective equipment: gloves, eye protection
Site conditions
Ensure dry, clean work area free of dirt and standing water. Avoid joining in extreme temperatures without proper measures (e.g., shelters or blankets).
Step-by-Step Electrofusion Procedure
1. Inspect and prepare pipe ends
Cut pipe ends square and remove burrs. Check for dents, deformation, or contamination. Scrape the PE surface with the correct tool to remove the oxided layer and any dirt until a uniform, clean surface is visible.
2. Mark and measure
Measure insertion depth based on the coupler datasheet and mark the pipe ends. Ensure alignment markings are visible and opposing ends are centered properly in the coupler.
3. Clean and clamp
Wipe the scraped surfaces with approved alcohol wipes and allow to dry. Use alignment clamps to hold pipes in axial alignment and prevent rotation during welding.
4. Connect control unit and program
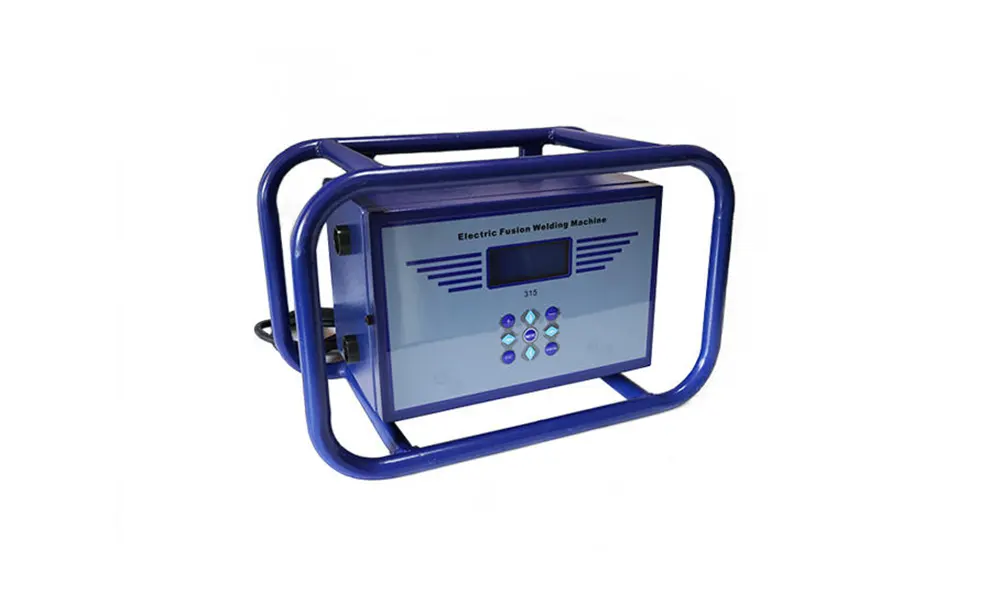
Enter the coupler code into the electrofusion control unit or scan the barcode. Verify parameters: voltage, current, and heating time displayed by the machine. If available, use a printer to log the weld record.
5. Execute the weld
Start the cycle. Do not disturb the joint during heating and controlled cooling. The control unit will indicate when heating is complete and when the joint has reached the safe cooling time.
6. Post-weld checks
After cooling, visually inspect for uniform bead formation and absence of gaps. Perform a pressure test or leak test as per project specifications.
Quality Control Parameters
Record these key values to ensure weld quality and traceability. Keep weld logs for future audits.
| Parameter | Recommended Range / Note |
|---|---|
| Coupler code & program | Match exactly to coupler label |
| Heating time | Per control unit / coupler datasheet |
| Cooling time (post-heat) | Follow specified cooling window; avoid movement |
| Alignment tolerance | Axial offset < 10% of coupler length (typical) |
| Pressure/leak test | Per project spec; typically hold test at design pressure |
Common Installation Mistakes & Fixes
- Insufficient scraping —> results in poor fusion. Use the correct scraper and remove oxidized layer fully.
- Incorrect coupler selection —> always match SDR and pipe material rating.
- Movement during cooling —> clamp firmly and respect cooling time to avoid weak joints.
- Uncalibrated control unit —> maintain and calibrate electrofusion units regularly.
Safety & Best Practices
Follow electrical safety protocols and wear PPE. Keep the control unit and cables away from water and sharp edges. Label completed joints with date, operator, and weld ID for traceability.
When to call the manufacturer
If you encounter repeated electronic errors, inconsistent heating cycles, or unknown coupler codes, consult the machine supplier or manufacturer. For equipment and electrofusion machine support, contact JQ-Fusion via the company website.
Quick Field Checklist (Printable)
- Pipe & coupler compatibility verified
- Tools and PPE available
- Control unit programmed and logged
- Surfaces scraped and cleaned
- Joint clamped; welding cycle run; cooling respected
- Visual inspection and pressure test completed
Troubleshooting tips
- No start or error codes —> check power supply, fuses, and cable connections.
- Incomplete bead —> review coupler placement, scraping, and heating parameters.
- Surface contamination —> re-scrape and clean; if damage to pipe, cut back and reattempt.
Following these steps will help ensure consistent, high-quality electrofusion joints for HDPE pipe installations. Keep accurate weld records, maintain equipment, and train personnel in proper technique to minimize rework and ensure pipeline reliability.