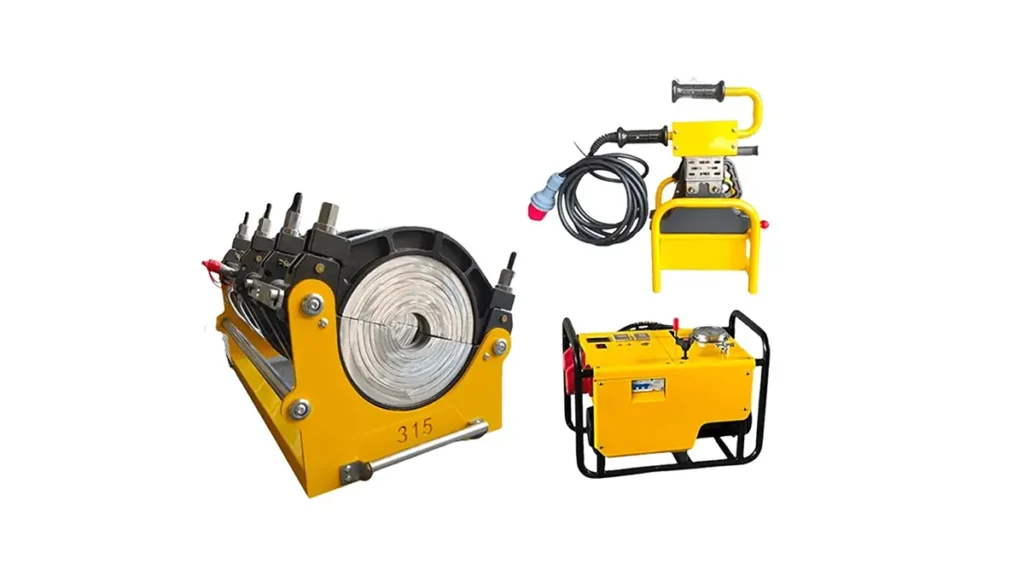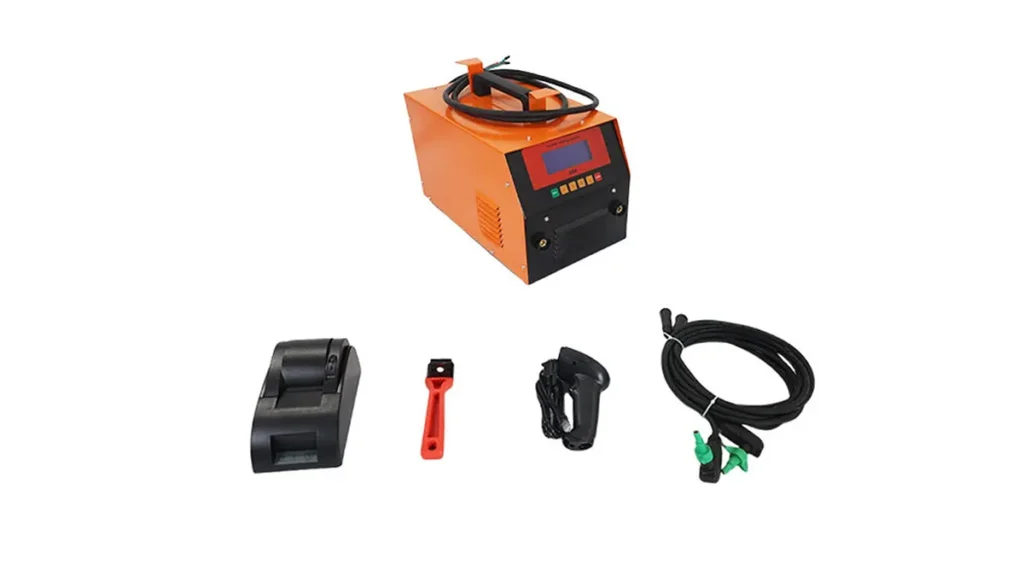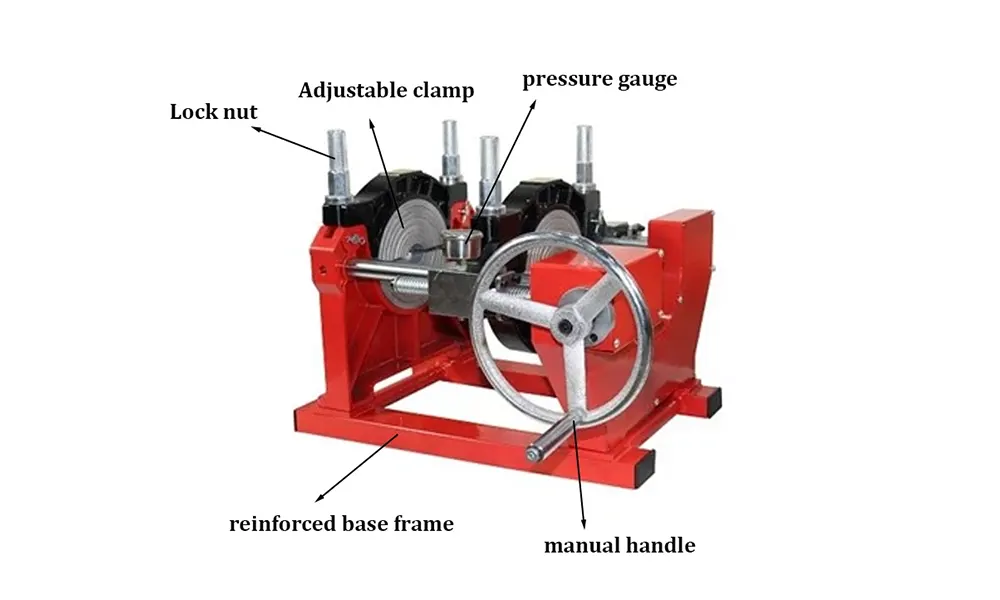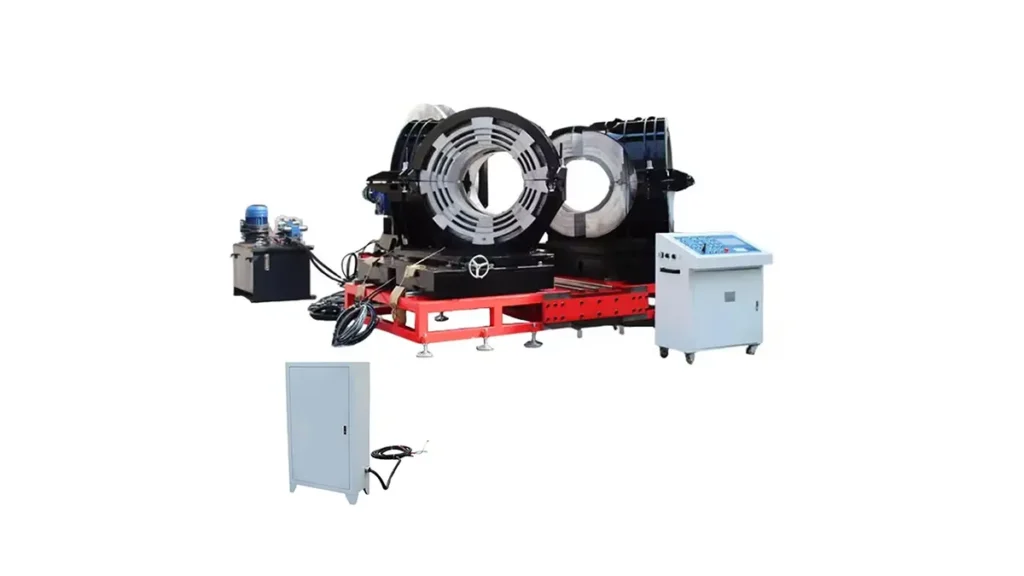
Electrofusion is a highly reliable method for joining polyethylene (PE) pipes, widely used in gas distribution, water supply, and industrial piping systems. The electrofusion machine welding process relies on special fittings with built-in heating coils that melt the pipe and fitting together, creating a homogeneous, leak-proof joint. Understanding the correct sequence of operations is critical to achieving joint integrity and long-term pipeline performance. This guide walks you through the essential steps, from preparation to final cooling.
What is the Electrofusion Machine Welding Process?
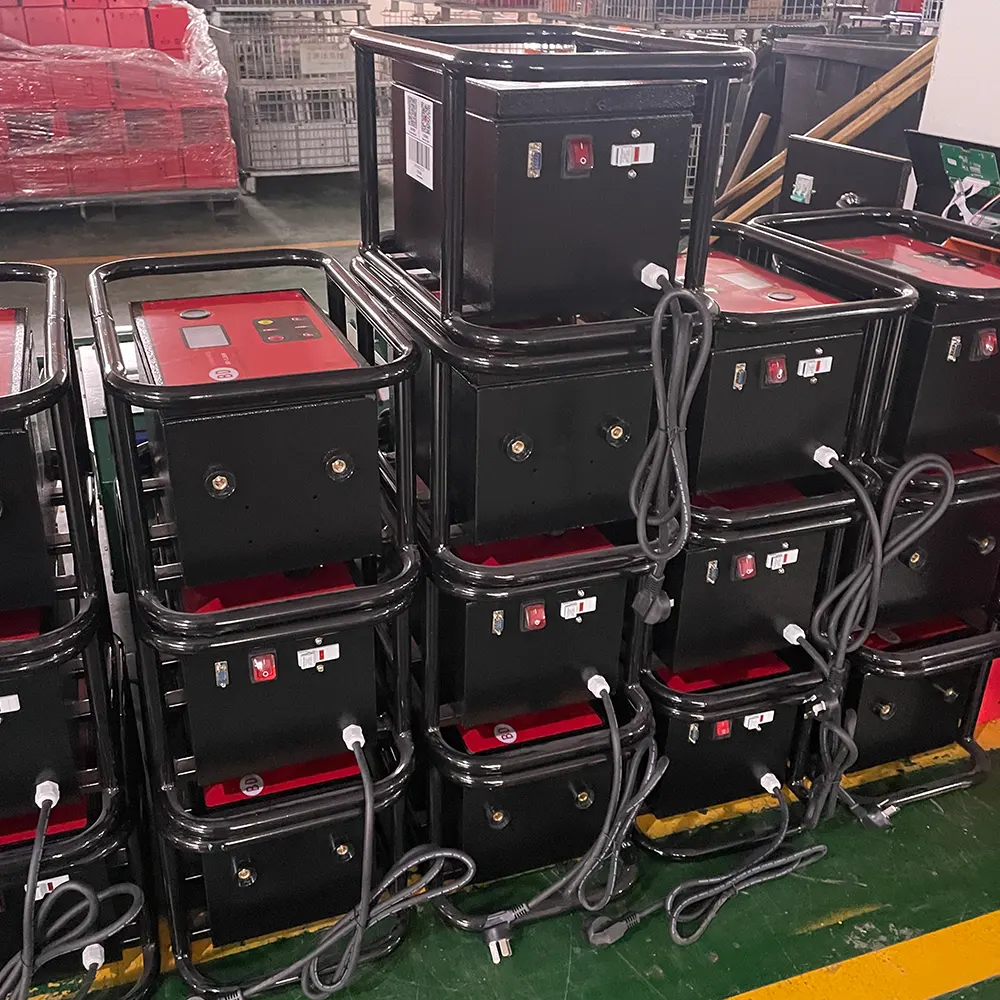
The electrofusion machine welding process uses an electrofusion control unit that sends a precise electrical current through the resistance coils embedded inside an electrofusion fitting. The heat generated melts the inner surface of the fitting and the outer surface of the pipe, fusing them together under thermal expansion. Once cooled, the joint achieves a strength equal to or greater than the pipe itself. This technique is particularly valuable in confined spaces, repair situations, and tie-ins where traditional butt fusion welding machines may not be practical.
Key Advantages of Electrofusion Joints
- Minimal pipe movement required during welding
- Ideal for saddle connections and tapping tees
- Automatic data logging ensures traceability and quality assurance
- Eliminates the need for large, heavy fusion equipment
- Reliable performance in gas and water critical applications
Step 1: Surface Preparation and Pipe Cutting
Begin by cutting the pipe ends square to the pipe axis using a dedicated rotary pipe cutter or a fine-toothed saw. The cut must be clean and perpendicular to ensure proper insertion depth into the fitting. Inspect the pipe surface for deep scratches, contamination, or oxidation that may compromise the weld.
Removing the Oxidized Layer
The next critical phase in the electrofusion machine welding process is scraping the pipe surface. Use a manual or mechanical scraper to remove the entire oxidized outer layer from the fusion zone to a depth of approximately 0.1–0.2 mm. Do not use sandpaper, as it can contaminate the surface. The insert depth must be clearly marked on the pipe to verify full insertion into the electrofusion fitting.
Step 2: Cleaning and Alignment
Wipe both the scraped pipe ends and the interior of the electrofusion fittings with approved isopropyl alcohol wipes. Any residual moisture, dirt, or oil can cause weld defects. Allow the surfaces to dry completely before assembly. Insert the pipe into the fitting up to the marked line and secure the assembly in a properly sized alignment clamp. The clamp must hold both the pipe and fitting firmly, preventing any relative movement during the heating and cooling phases.
Alignment Clamp Requirements
Proper alignment eliminates bending stress at the joint. The clamp should support the pipe on both sides of the fitting, and the installer should verify that the gap between the pipe and fitting stop is closed. Any misalignment can distort the melt pool and weaken the final joint.
Step 3: Connecting the Electrofusion Control Unit
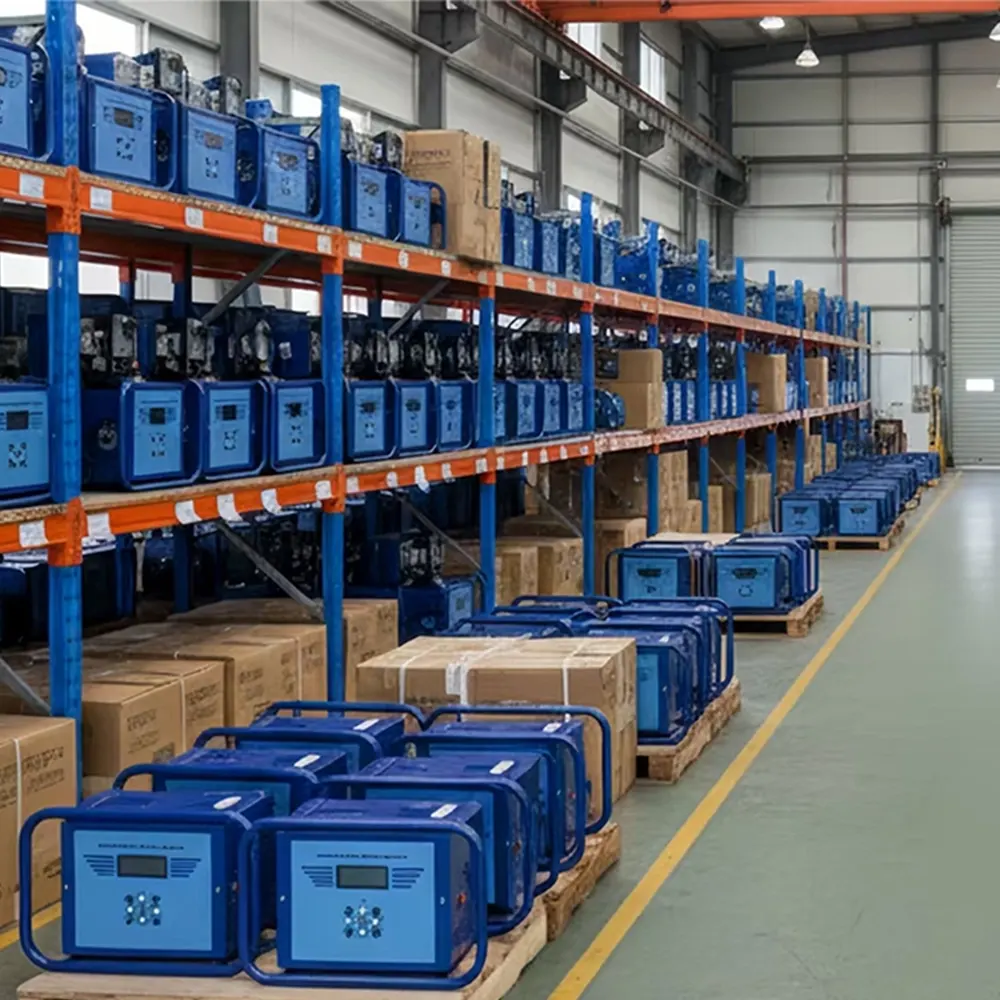
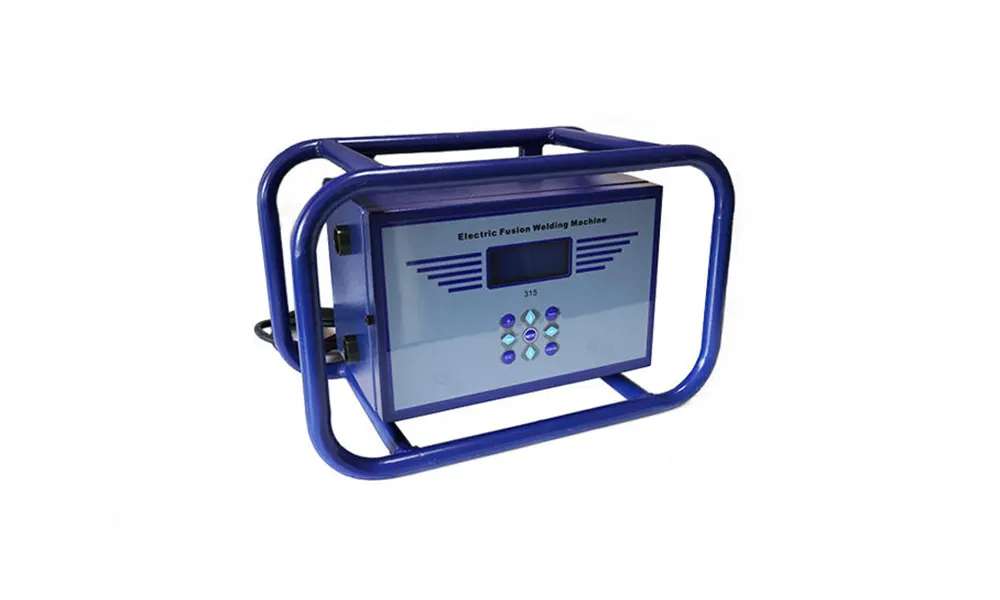
Attach the output leads from the electrofusion machine to the terminals of the fitting. The control unit reads a barcode or QR code on the fitting, which automatically programs the welding parameters such as voltage, current, and cycle time. If manual input is required, enter the exact fusion parameters specified by the fitting manufacturer. According to ISO 12176-2 for PE electrofusion equipment, the machine must be calibrated and capable of delivering precise energy output.
Parameter Verification
Before starting the cycle, check the following:
| Parameter | Verification Method |
|---|---|
| Fitting Barcode Data | Scanner confirmation on display |
| Ambient Temperature | Manual input or auto-sensing |
| Lead Resistance | Unit self-check before start |
| Scraped Depth | Visual and tactile check |
Step 4: Executing the Fusion Cycle
Start the electrofusion machine welding process and monitor the display for error codes or abnormal readings. The unit controls the heating time and energy automatically based on the fitting data. During the cycle, a small amount of melt bead may become visible at the fusion indicators on the fitting, confirming that the heating coils are working and the material has melted. Do not touch the fitting or pipe during the energizing phase.
Cooling Under Constraint
Once the heating cycle finishes, the joint must cool while still held in the alignment clamp. Removing the clamp before the specified cooling time causes joint displacement and stress cracking. The cooling duration depends on pipe diameter, ambient temperature, and fitting type; refer to the manufacturer’s cooling chart.
| Pipe Diameter (SDR 11) | Typical Fusion Time | Minimum Cooling Time |
|---|---|---|
| 63 mm | 60–80 seconds | 5 minutes |
| 110 mm | 90–130 seconds | 9 minutes |
| 160 mm | 150–200 seconds | 12 minutes |
| 200 mm | 210–270 seconds | 16 minutes |
Step 5: Inspection and Data Recording
After the electrofusion machine has cooled, remove the clamp and visually inspect the joint. Check the fusion indicators for proper pop-up, confirming adequate melt pressure. Any lack of indicator movement, uneven bead appearance, or burned plastic indicates a failed joint that must be cut out and redone.
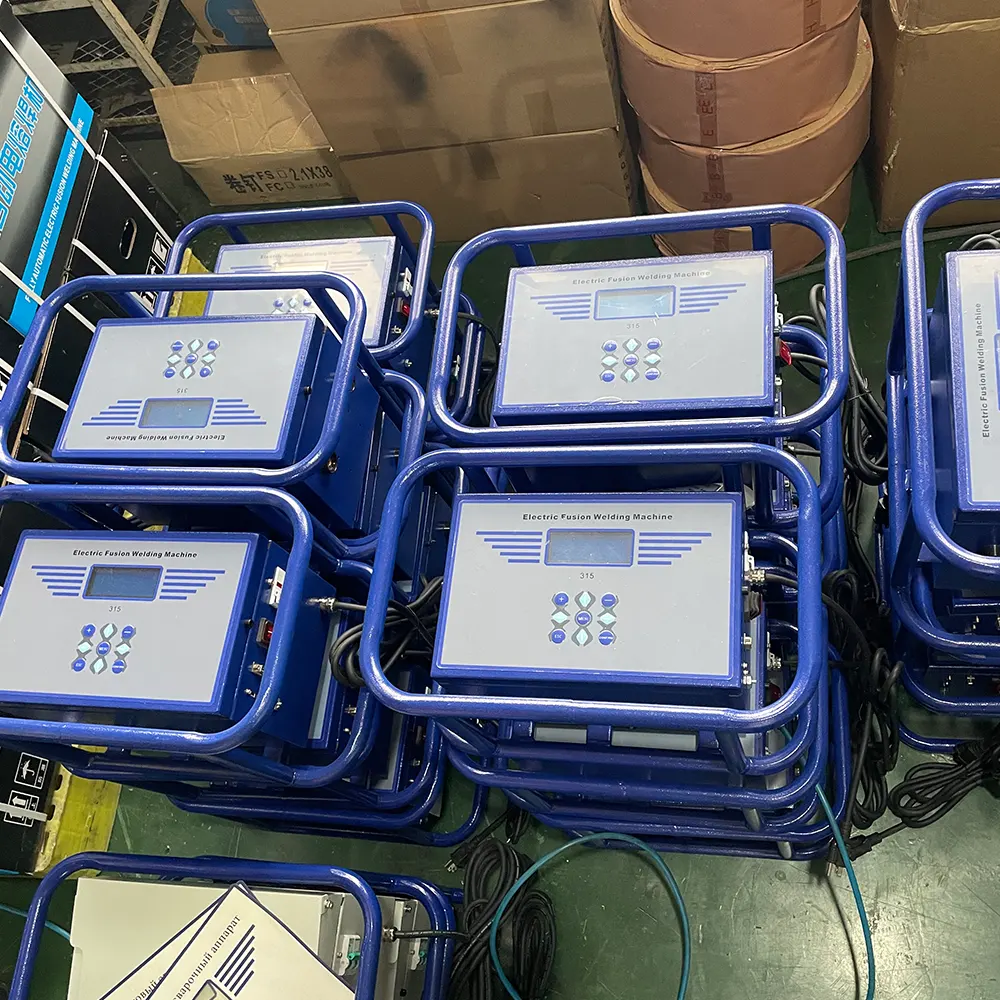
Data Logging for Quality Assurance
Modern electrofusion control units automatically record welding parameters. This data should be downloaded and stored as part of the project quality documentation. The ISO 12176-3 standard for fusion operator qualifications and traceability coding requirements ensure that each joint is linked to a specific machine, operator, and time stamp.
Common Pitfalls in the Electrofusion Machine Welding Process
- Insufficient scraping: Leaving oxidized material prevents proper melt mixing.
- Pipe misalignment: Uneven insertion causes cold spots and leak paths.
- Early clamp removal: Moving the joint before cooling distorts the weld.
- Moisture ingress: Water droplets inside the coupling flash to steam and create voids.
- Incompatible materials: Always verify that the fitting is rated for the specific PE pipe grade.
Selecting the Right Electrofusion Machine
Choosing a reliable and calibrated machine is fundamental. Equipment must comply with recognized standards such as ASTM F1290 and ISO 12176-2. For contractors and utility companies seeking dependable, high-quality electrofusion solutions, JQ-Fusion supplies a comprehensive range of fusion equipment built for global infrastructure projects. Our units undergo rigorous quality assurance testing to deliver consistent, repeatable welds in demanding field conditions.
For more technical guidance, refer to the PPI TR-49 Generic Electrofusion User Guide, which provides in-depth best practices for HDPE electrofusion joining. By following this step-by-step electrofusion machine welding process and adhering to manufacturer specifications, field crews can produce zero-leak joints that protect public safety and infrastructure investment for decades.