
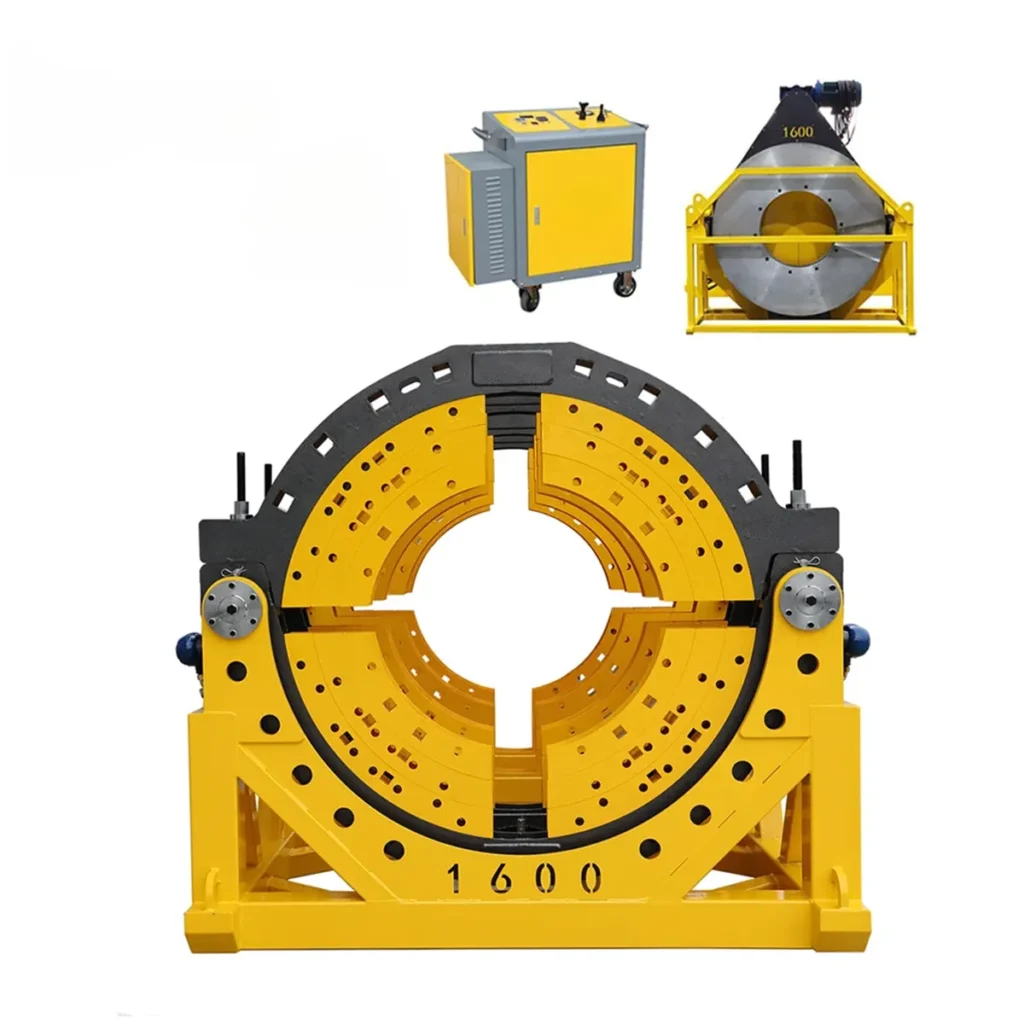
Achieving leak-free, durable pipe connections starts with a precise butt fusion machine welding procedure. Whether you are working on a water supply network or a gas distribution line, the integrity of the joint directly impacts the entire system. By adhering to industry standards such as ISO 21307 butt fusion procedures, you set the foundation for a seamless pipeline. This guide walks you through each critical stage, ensuring your operations align with best practices for safe, high-strength fusions.
Understanding the Single Low-Pressure Fusion Cycle
Traditional butt fusion relies on the dual-pressure method, but many modern projects utilize the single low-pressure procedure. This technique minimizes power consumption while maximizing bead quality. The process involves a precise sequence of heating and cooling under controlled mechanical pressure. It is vital that the butt fusion machine maintains a consistent interfacial pressure to allow polymer chains to inter-diffuse correctly.
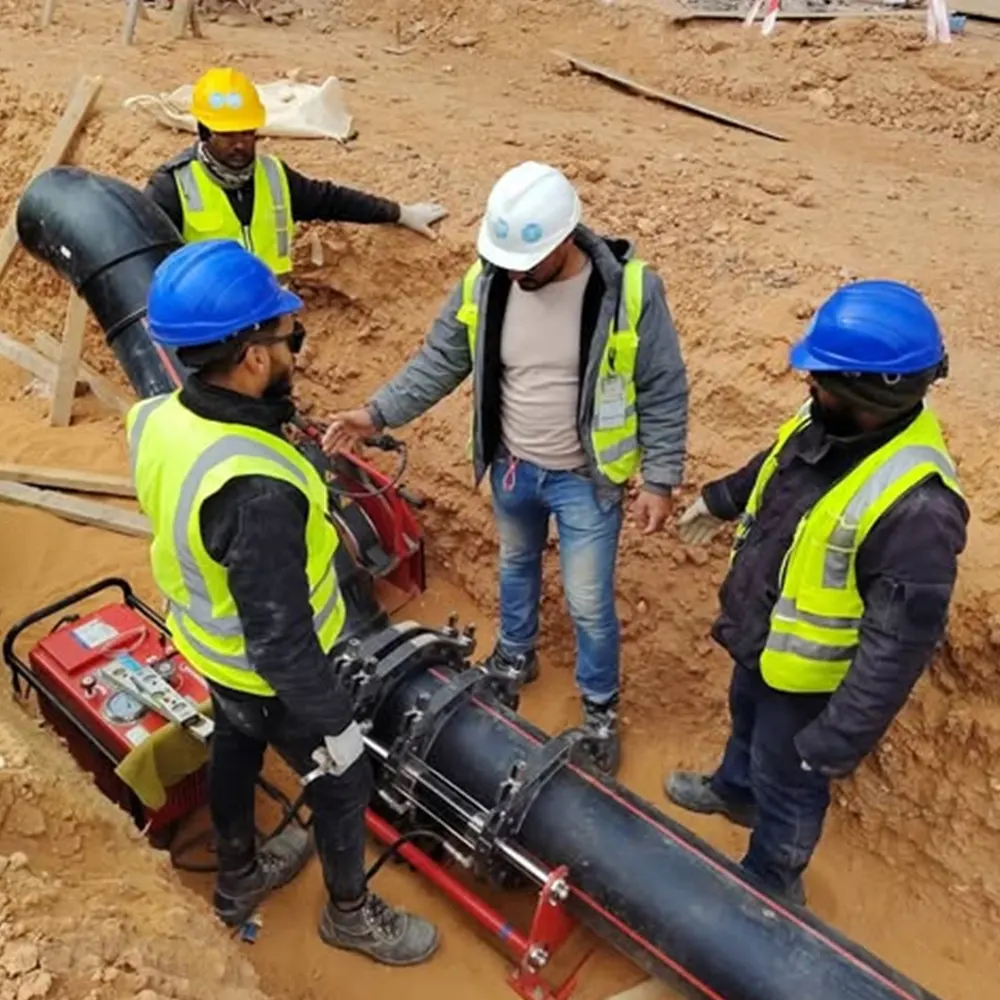
Pre-Welding Checks: Material and Equipment Prep
Before activating the heating plate, verify the material compatibility. Always check the pipe markings to ensure both components share the same grade of polyethylene. Additionally, you must verify the PE butt fusion equipment standard compliance of your machine. Inspect the heating plate for PTFE coating damage and ensure the thermocouple readings are accurate. A faulty temperature calibration is a leading cause of joint failure, making this a critical step in the welding procedure.
- Cleanliness: Wipe pipe ends and the machine clamps with isopropyl alcohol to remove dirt.
- Alignment: Check the clamps for proper alignment; mismatched clamps create high-low misalignments.
- Environmental Protection: Set up a shelter to shield the fusion area from direct sunlight, rain, and sand.
Step-by-Step Butt Fusion Machine Welding Procedure
Executing the butt fusion machine welding procedure correctly guarantees a joint stronger than the pipe itself. Neglecting the dwell time or fusion pressure steps weakens the molecular bond. Whether you are using a manual, CNC automatic, or hydraulic model, the fundamental physics of the weld remains the same.
1. Clamping and Facing
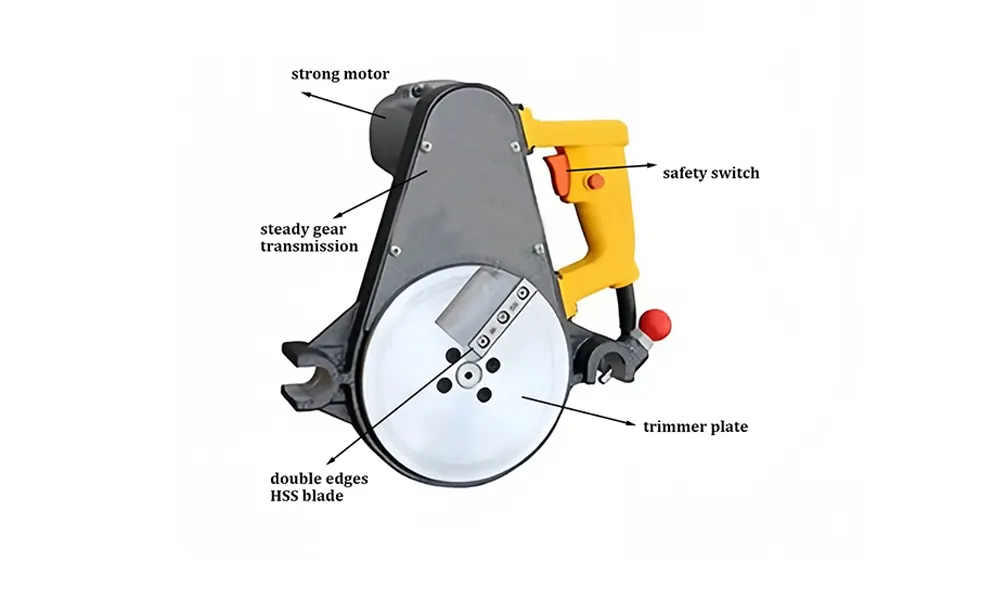
Insert the pipes into the machine clamps, leaving enough projection for the facing tool. Tighten the jaws to prevent slippage. Then, bring the trimmer into position and face the pipe ends until you achieve a continuous, parallel chip from both sides. The pipe ends should form a perfect blanket surface with no gaps. Remove the trimmer and bring the ends together quickly to check that the gap is minimal; per ASTM F2620 heat fusion, the maximum allowable gap varies by pipe diameter.
2. Heating Phase and Bead Melt
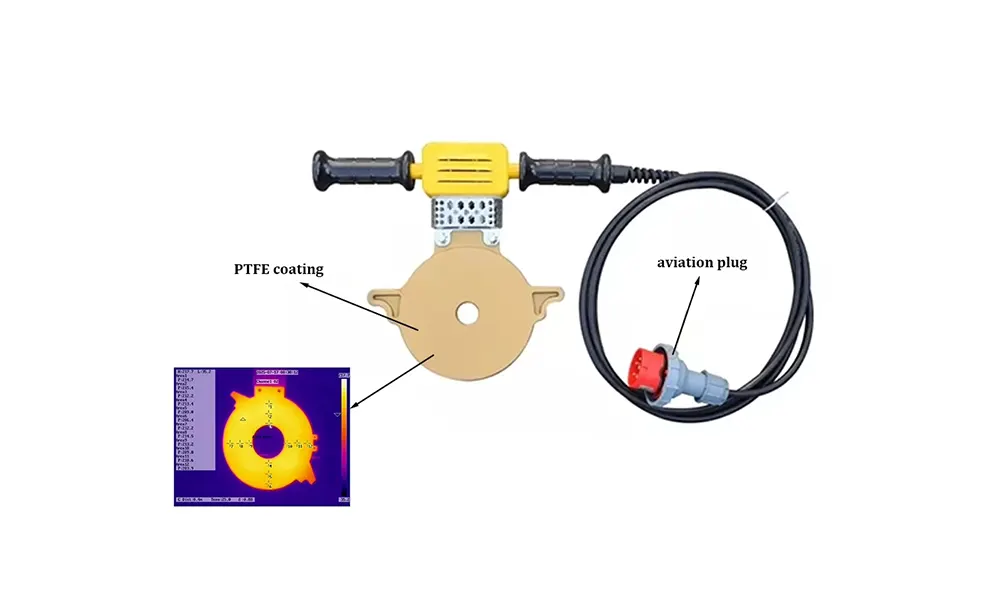
Insert the heated plate at the specified temperature (typically 400-430°F or 200-225°C). Apply the bead-up pressure against the plate. Watch the melt bead form around the circumference; once the correct bead height is achieved, immediately drop the pressure to the zero-drag condition. During this soak time, heat penetrates deep into the pipe wall, preparing the material for fusion.
3. Plate Removal and Fusion Pressure
After the soak timer ends, quickly separate the pipes, remove the heating plate, and bring the two molten ends together. The time taken to swap the plate — called the dwell or swap time — must be minimal. Ramp up steadily to the fusion pressure. Maintain this specific pressure as the bead cools. The hydraulic system in a butt fusion machine must hold the pressure without ram drift.
| Parameter | Typical Value | Importance |
|---|---|---|
| Interfacial Pressure | 0.15 MPa (1.5 bar) | Drives molecular entanglement |
| Heater Temperature | 200 – 225 °C | Prevents oxidation or cold fusion |
| Bead Size (Width/Height) | Controlled by drag pressure | Visual indicator of proper heat soak |
| Cooling Time | Charts per pipe SDR | Ensures full recrystallization |
4. Cooling Under Pressure
A critical phase where the joint must be immobilized. Do not release the clamps prematurely. The cooling cycle allows the polyethylene to recrystallize and solidify into a homogenous unit. Rushing this step in the butt fusion machine welding procedure results in a brittle joint.
Inspecting the Double Bead for Compliance
Once the joint cools, inspect the double melt bead that forms at the fusion line. The beads should be symmetrical and uniform in size around the entire circumference. A visual inspection checks for gas bubbles, discoloration, or misalignment. The size and shape of the beads directly correlate to the accuracy of your parameters.
- V-Shape Bead: Indicates proper alignment and pressure.
- Flat or Empty Bead: May signal low pressure or insufficient heat soak.
- Charred Bead: Heater temperature too high.
Safety Considerations for Fusion Operators
Thermal fusion involves high-temperature tools and heavy mechanical forces. Operators must wear heat-resistant gloves and eye protection. The machine’s frame should be electrically grounded. While performing the butt fusion machine welding procedure, never stand directly behind the removable heating plate. High-voltage testing of the electrofusion process requires additional isolation protocols.
Common Troubleshooting and Solutions
Even experienced welders encounter deviations. Understanding how to correct errors in the welding procedure keeps the project on track. Always reference the pipe manufacturer’s fusion charts when troubleshooting.
| Issue | Potential Cause | Corrective Action |
|---|---|---|
| Pipe Slippage | Worn clamp inserts or low hydraulic clamp pressure | Replace rubber inserts; increase clamp torque |
| Uneven Melt Bead | Damaged heater surface or uneven facing | Clean PTFE coating; resurface pipe ends again |
| Porous Joint Structure | Dirty pipe ends or moisture contamination | Re-scrape and wipe down with approved solvent |
Selecting Reliable Butt Fusion Equipment
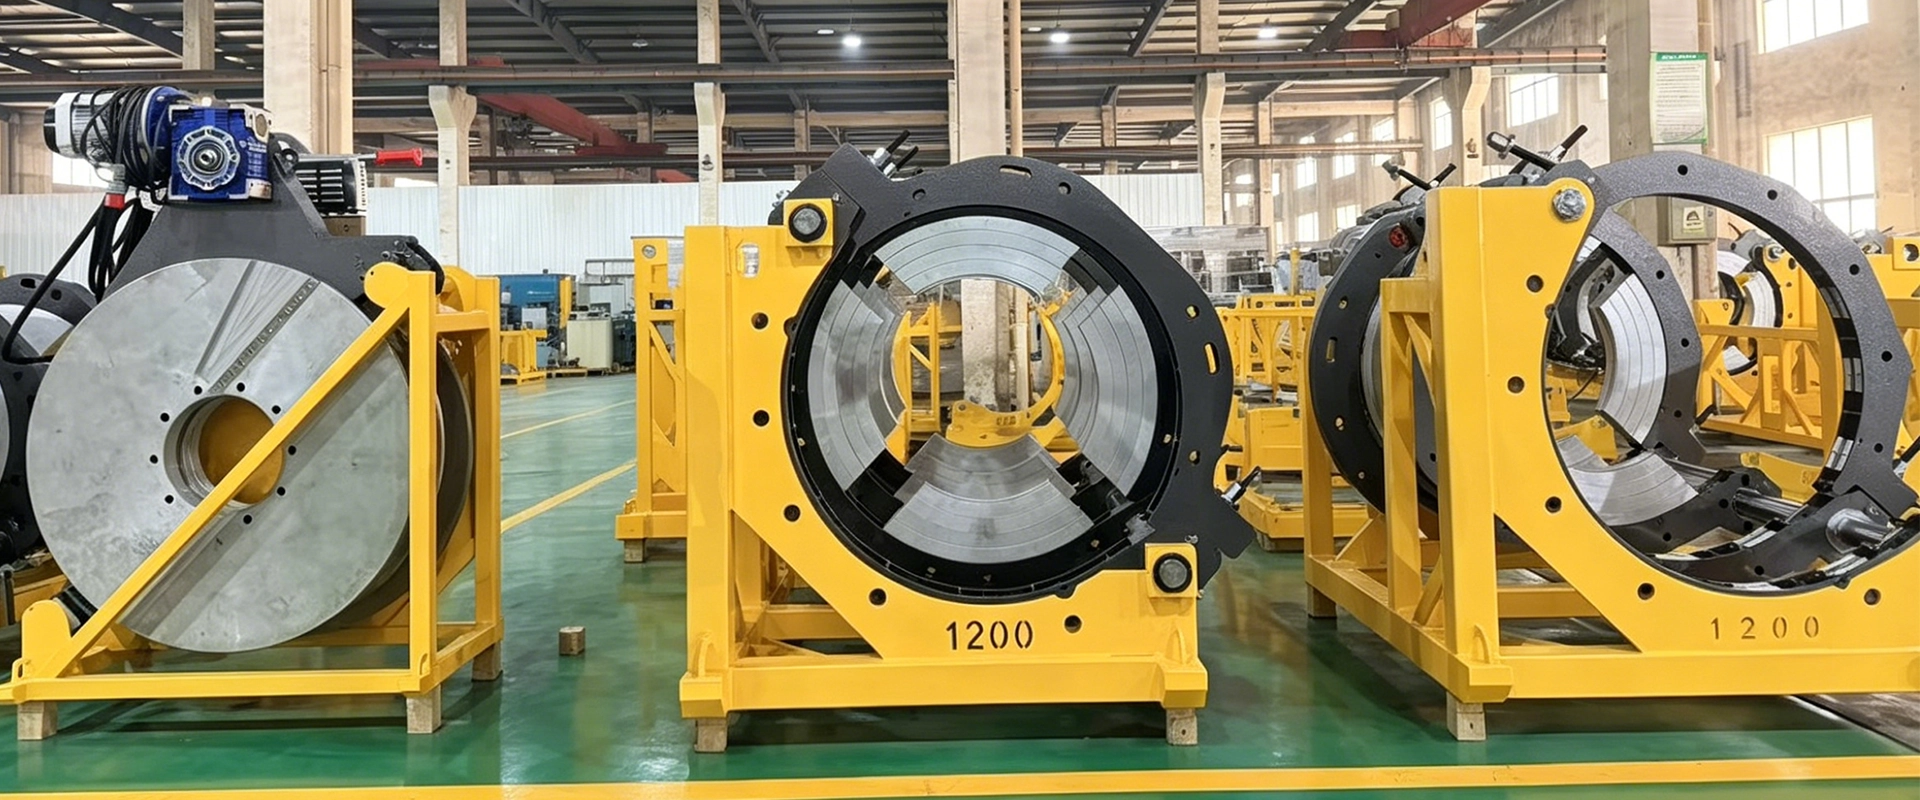
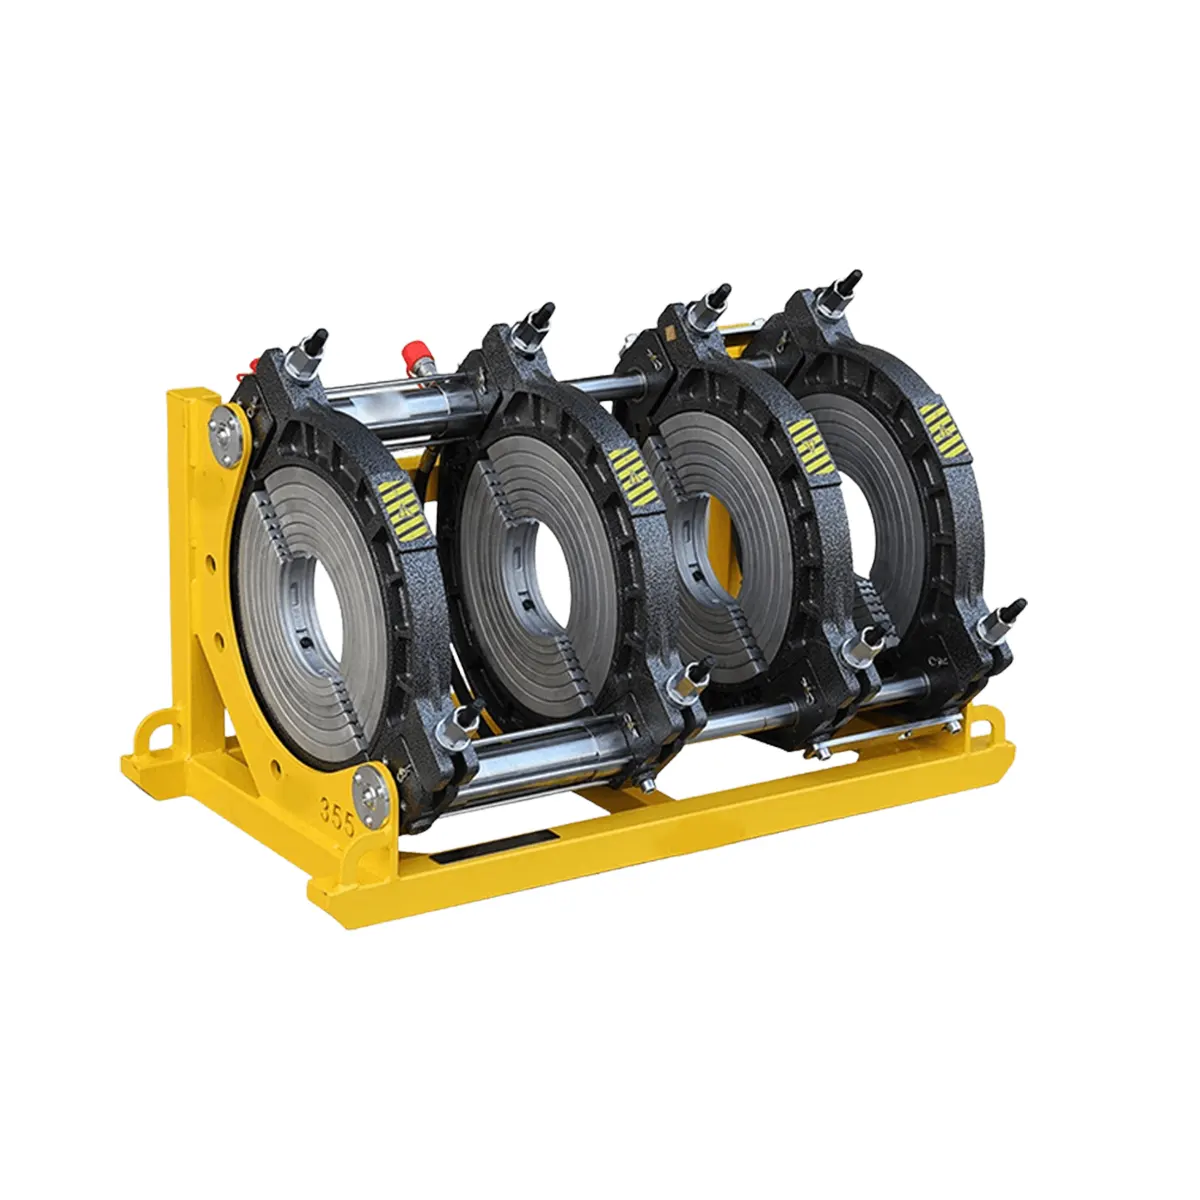
The precision of the welding procedure is heavily dependent on the quality of the hardware. A well-machined frame, accurate digital temperature controller, and strong hydraulic unit differentiate an industrial machine from a hobbyist tool. For contractors looking to standardize their fleet, working with specialized manufacturers ensures access to spare parts and technical backup. JQ-Fusion, for instance, provides a range of solutions tailored specifically to the rigorous demands of polyethylene pipe joining, supporting consistent execution of the butt fusion machine welding procedure across global job sites.
Digital Data Logging and Traceability
Modern CNC machines now capture every metric of the butt fusion machine welding procedure. From interfacial pressure curves to ambient temperature, this data log provides a digital passport for every joint. This aligns perfectly with PE fusion traceability requirements, allowing utility companies to audit the weld integrity long after the trench is backfilled.
By strictly following this step-by-step methodology, operators ensure the polyethylene network delivers a service life that often exceeds half a century. Never short-cut the cooling phase or guess the interfacial pressure; instead, rely on calibrated instruments and consistent technique to achieve flawless results.



