
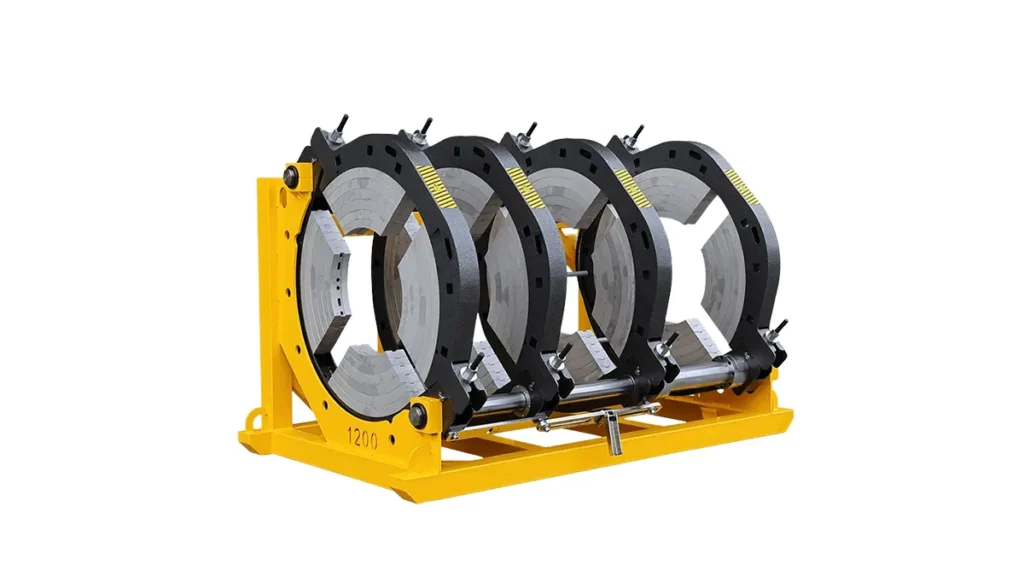
Learning how to operate a butt fusion machine is essential for creating strong, leak-free joints in HDPE piping systems. This process, standardized by global guidelines like ISO 21307, involves heating pipe ends and pressing them together to form a homogeneous bond. Whether you are working on water supply, gas distribution, or industrial pipelines, mastering this procedure ensures long-term reliability and compliance with equipment standards. This guide walks you through every step, from preparation to final inspection.
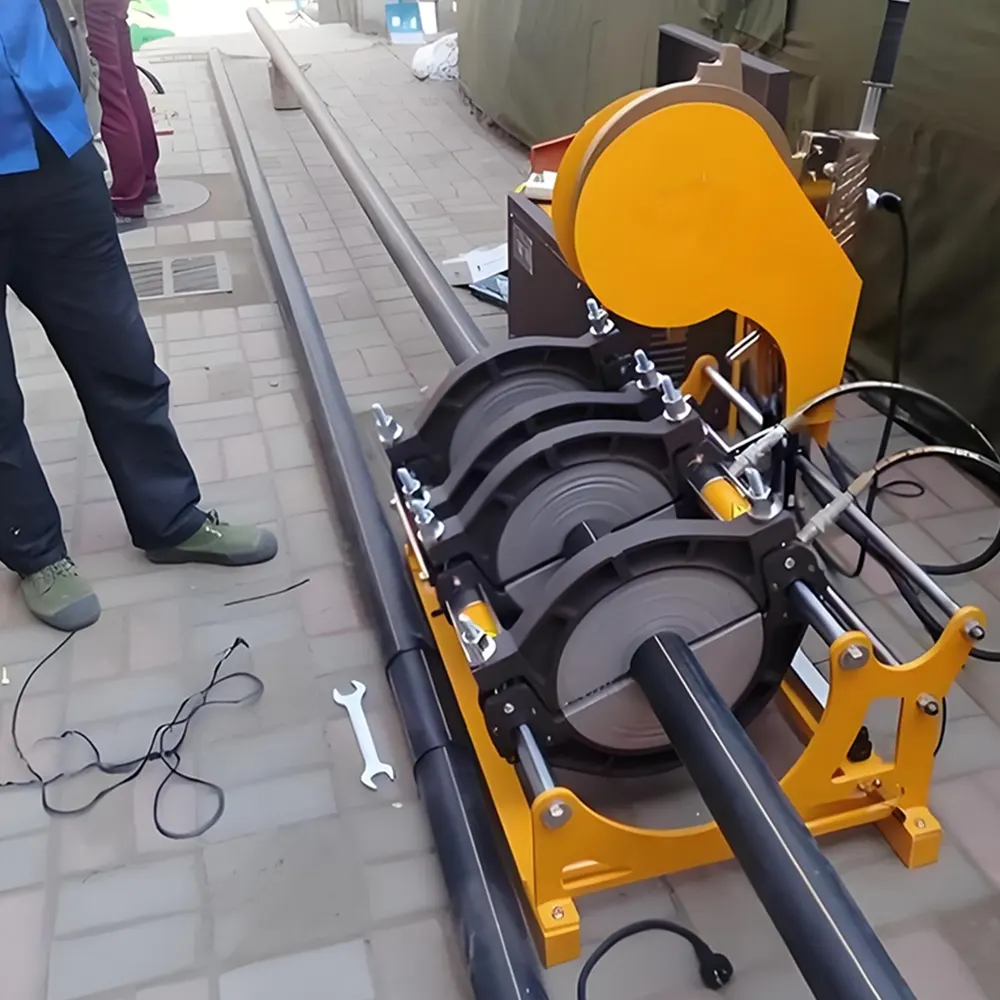
1. Safety Preparations and Workspace Setup
Before you begin, prioritize safety. Always wear appropriate personal protective equipment (PPE), including heat-resistant gloves, safety glasses, and steel-toed boots. Clear the work area of debris and ensure proper ventilation, especially when working in confined spaces. Verify that the machine’s power source matches the local voltage requirements and that all cables are undamaged. Inspect the butt fusion machine components: the heating plate, trimmer, and hydraulic unit (if applicable). A clean, dry environment is critical, as moisture or dirt can compromise the fusion joint quality.
2. Understanding Your Machine’s Key Components
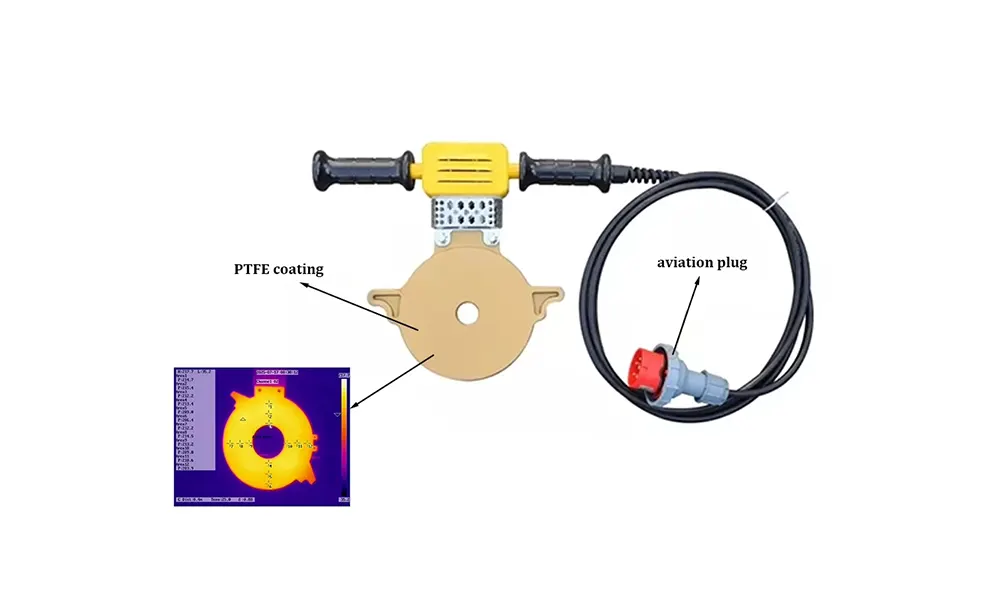
Familiarize yourself with the main parts. The machine frame secures the pipes, while the facing trimmer squares the pipe ends. The heating plate is the core element, typically coated with non-stick material and capable of reaching precise temperatures. Digital control units on modern models allow you to monitor and adjust parameters in real time. Below is a quick reference for common operational specifications.
| Component | Function | Key Consideration |
|---|---|---|
| Heating Plate | Melts pipe ends | Maintain 400°F – 450°F (204°C – 232°C) |
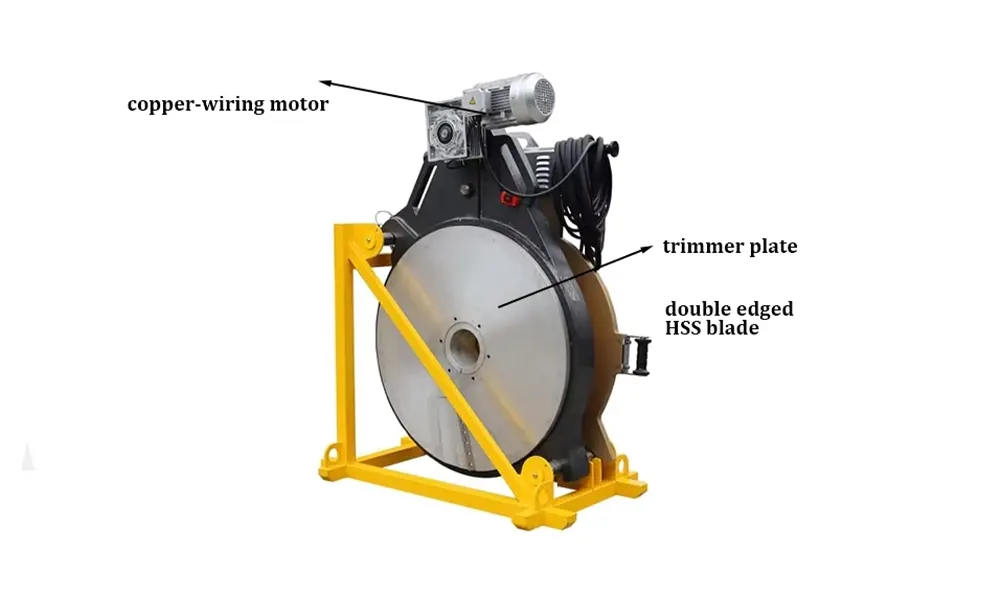
| Facing Trimmer | Squares and cleans ends | Ensure continuous, unbroken shavings |
| Hydraulic Unit | Controls fusion pressure | Calibrate based on pipe diameter and SDR |
3. Step-by-Step Operating Procedure
Executing the fusion cycle correctly requires strict adherence to the sequence. Always consult the pipe manufacturer’s specifications for the exact dwell times and pressures. The fundamental stages are outlined below.
Step 1: Clamping and Facing the Pipes
Place the pipes into the machine’s clamps, ensuring the ends extend slightly beyond the frame. Tighten the clamps to prevent movement. Activate the facing trimmer and bring the pipe ends together against the rotating blades. Continue facing until a continuous strip of material is removed from both ends, confirming full squareness. Stop the trimmer and inspect the ends—they must be smooth and parallel with no gaps when touched together.
Step 2: Heating Phase
Check that the heating plate has reached the target temperature, usually around 420°F (215°C) for PE materials. Clean the plate with a non-abrasive cloth. Move the plate between the pipe ends and apply the specified bead-up pressure. You will see molten material form a bead around the circumference. Once the bead reaches the correct size, reduce the pressure to the heat soak pressure. This allows heat to penetrate the pipe without further material displacement. The soak time varies with pipe thickness.
Step 3: Heater Removal and Fusion Joining
This is the most time-sensitive step. After the soak phase, quickly separate the pipes, remove the heating plate, and immediately bring the molten ends together. Apply the fusion pressure smoothly and hold it steady. The two melt beads will merge into a single, uniform double bead. Avoid any vibration or sudden force during this phase. For hydraulic butt fusion machines, lock the pressure to maintain consistency automatically.
Step 4: Cooling Under Pressure
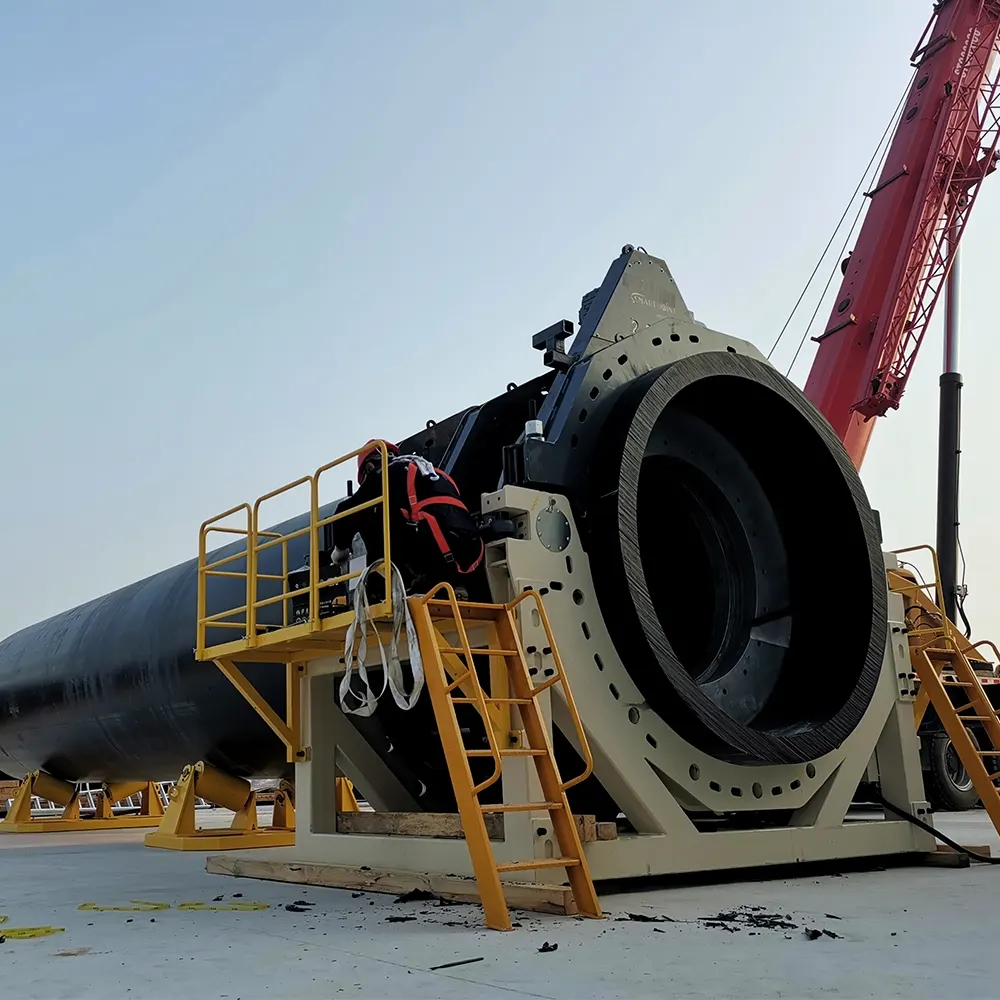
Do not disturb the joint. Keep the fusion pressure applied while the material solidifies. The cooling time is determined by the pipe wall thickness and ambient conditions. Removing the pipe from the clamps too early can cause the joint to fail. A general rule is to allow approximately 10 seconds per millimeter of wall thickness. Forced cooling with water or air is strictly prohibited as it can cause stress cracking.
4. Inspection and Quality Control
Once the joint has cooled completely, visually inspect the external bead. It should be smooth, symmetrical, and doubled in size relative to the original bead-up. An asymmetrical or cracked bead indicates misalignment or contamination. Perform a destructive bend-back test on sample joints daily to verify the procedure’s integrity. The failure should occur in the pipe wall, not the fusion line. Document the weld parameters using a data logger if available, as this provides verifiable traceability for your project records.
Common Mistakes to Avoid
- Incorrect Temperature: A plate that is too hot can degrade the material, while a cold plate leads to weak adhesion.
- Misalignment: Pipe ends must match perfectly; high-low mismatch creates stress points in the joint.
- Contamination: Oil, grease, or dirt on the pipe ends or heating plate will prevent proper fusion.
- Reducing Cooling Time: Releasing the fixture early is a leading cause of premature joint failure in the field.
5. Maintenance and Professional Support
Regular maintenance keeps your equipment operating safely. Clean the heating plate after each use and check the trimmer blades for sharpness. Calibrate the hydraulic system and temperature controllers periodically against certified instruments. If you encounter persistent joint quality issues, consult the equipment manufacturer. JQ-Fusion provides dedicated technical support and training for operators working with complex pipeline systems, ensuring you get the best performance from your investment. For more detailed troubleshooting, refer to the product support page.



