HDPE pipe welding depends on one critical factor: temperature control. Even a small deviation can weaken the joint, reduce service life, and increase the risk of leakage. That is why technicians, contractors, and project managers rely on an HDPE welding temperature settings table to guide every fusion cycle. It helps standardize the process, improve consistency, and reduce avoidable mistakes on site.
In butt fusion welding, the goal is not simply to “heat the pipe.” The goal is to bring the pipe ends to the right molecular state so they can fuse into a single continuous body. This requires the right combination of heating plate temperature, heating time, changeover time, and cooling time. The table is a practical tool that translates technical requirements into real working values.
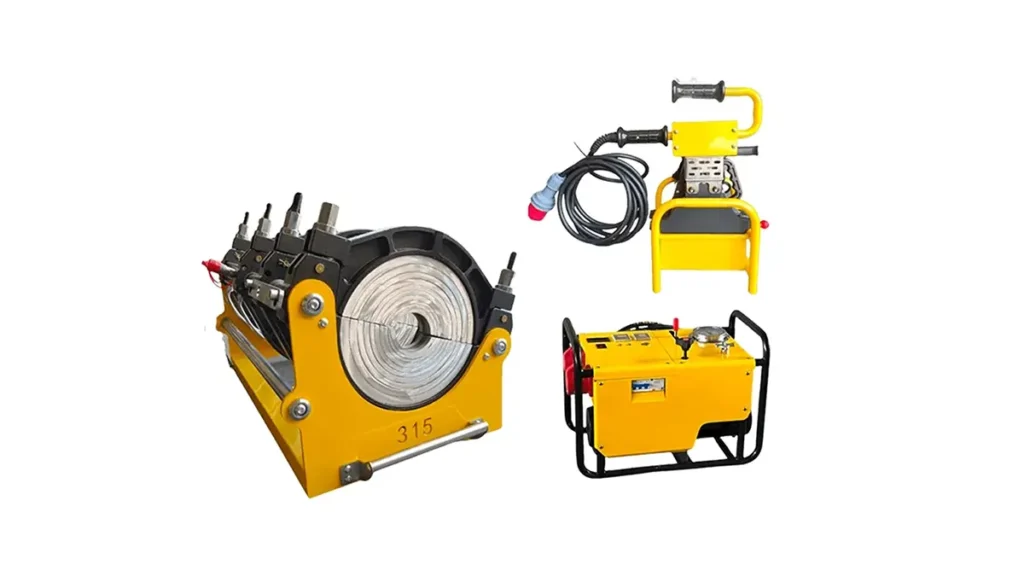
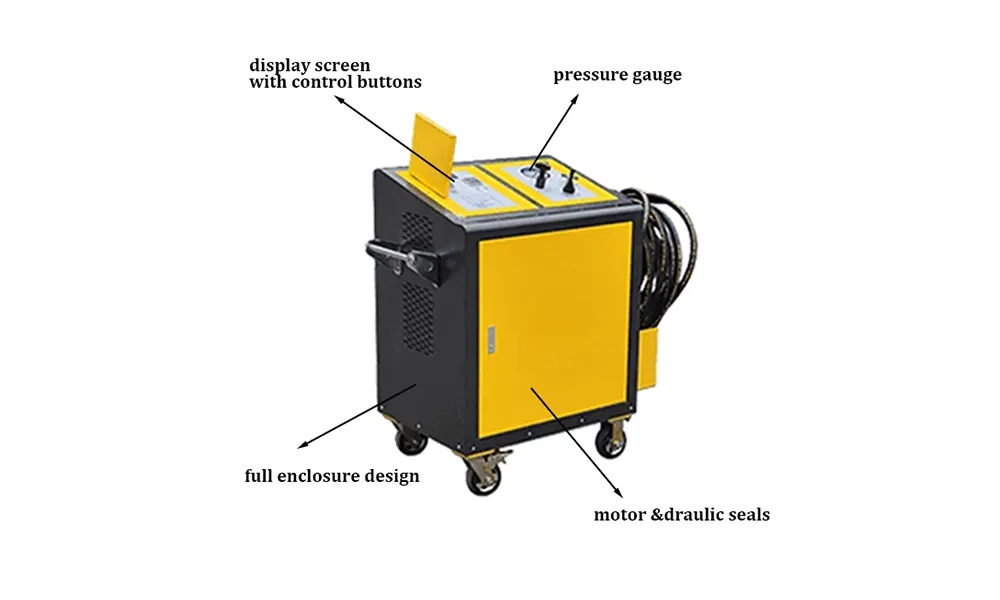
For companies working on water supply networks, gas distribution systems, mining lines, or industrial piping, temperature accuracy matters just as much as machine quality. Reliable equipment and stable heating performance are essential for consistent results. If you are looking for dependable welding equipment, you can explore a butt fusion machine built for demanding pipeline projects.
What Is an HDPE Welding Temperature Settings Table?
An HDPE welding temperature settings table is a reference chart that shows the recommended temperature and timing values for butt fusion welding HDPE pipes. It is designed to help operators set the heating plate correctly and apply the proper fusion sequence based on pipe size, wall thickness, and site conditions.
Most tables include several key items:
● Heating plate temperature — the target surface temperature for melting the pipe ends.
● Heating time — the period needed to soften the pipe ends evenly.
● Changeover time — the time allowed to remove the heater and join the pipe ends.
● Cooling time — the time required before the joint can be handled or loaded.
The exact values can vary by machine type, pipe size, and manufacturer recommendations, but the principle is always the same: use controlled heat and consistent timing to achieve a strong fusion joint.
Why Temperature Settings Matter So Much
HDPE is a thermoplastic material, which means it softens when heated and solidifies when cooled. In butt fusion, this behavior is used to create a permanent weld. However, if the temperature is too low, the pipe ends may not fuse completely. If it is too high, the surface can overheat, degrade, or form a weak, brittle layer.
Correct temperature control supports joint strength, long-term reliability, and smoother welding operations. It also helps reduce rework, saving time and material on large projects.
In many field applications, operators face changing weather, wind, humidity, and power supply conditions. A good temperature settings table acts as a stable reference that keeps welding within the correct range, even when working conditions are not ideal.
Typical HDPE Welding Temperature Range
Although the optimal values should always follow the pipe and machine manufacturer’s guidance, the most common butt fusion heating plate temperature for HDPE is around 200°C to 220°C. Many projects use 210°C as the standard target temperature.
However, this does not mean every job should use the same number without checking. Pipe diameter, wall thickness, material grade, and ambient temperature all influence the ideal settings. For this reason, operators should treat the table as a guide, not a replacement for technical procedure.
Important: Always confirm the heating plate temperature with a calibrated thermometer or built-in digital control system before starting the weld.
Example of a Practical Temperature Table
Below is a simplified example of how a welding temperature settings table may look in field use:
Pipe Size: Small to Medium Diameter
Heating Plate Temperature: 210°C
Heating Time: According to pipe wall thickness
Changeover Time: As short as possible
Cooling Time: Based on pipe size and pressure requirements
Pipe Size: Large Diameter
Heating Plate Temperature: 210°C to 220°C
Heating Time: Longer due to mass and wall thickness
Changeover Time: Controlled carefully
Cooling Time: Extended to ensure joint stability
These values are intentionally general because real welding settings should be taken from the machine manual, pipe standard, and site procedure. Still, the chart structure makes it easy for operators to quickly check the right values during production.
How to Use the Table Correctly
Using the table is simple, but it must be done with discipline. Here is a practical workflow that welders often follow on HDPE pipe projects:
Step 1: Identify the pipe specification. Confirm the pipe material grade, diameter, and wall thickness before selecting the settings.
Step 2: Check the machine model. Different butt fusion machines may have different control systems, heating plate performance, and pressure ranges.
Step 3: Set the heating plate temperature. Adjust the heater to the correct target and wait until it stabilizes.
Step 4: Prepare the pipe ends. Align, face, and clean the pipe surfaces to remove dirt, oxidation, and moisture.
Step 5: Follow the heating time. Place the pipe ends against the heater for the required duration, ensuring even melting.
Step 6: Complete the changeover quickly. Remove the heater and join the pipe ends without delay to prevent heat loss.
Step 7: Maintain cooling under pressure. Hold the joint steady until the cooling period is complete.
This process seems straightforward, but accuracy in each step affects final weld quality. A reliable table reduces guesswork and helps operators follow a repeatable standard.
Common Factors That Change the Settings
Not every job site allows the same settings. Several factors can influence the ideal welding temperature and timing:
• Pipe wall thickness: Thicker walls require longer heating and cooling times.
• Material grade: Different HDPE grades may react slightly differently to heat.
• Ambient temperature: Cold weather can increase heat loss and affect fusion timing.
• Wind and moisture: Outdoor conditions can reduce heating efficiency if not controlled.
• Equipment condition: Heater plate accuracy, hydraulic pressure stability, and clamp alignment all influence results.
For professional contractors, these variables are a reminder that equipment quality matters. Stable machines with accurate temperature control can significantly improve welding consistency across different environments.
Signs of Incorrect Temperature Settings
When the temperature is too low, the joint may show insufficient melt, poor bead formation, or weak fusion strength. When the temperature is too high, the molten material may appear scorched, overly glossy, or degraded. Both situations can lead to defective welds.
Some warning signs include:
Uneven fusion bead appearance
Excessive material squeeze-out
Surface discoloration
Weak joint under pressure testing
Visible misalignment or poor contact during heating
If these symptoms appear, the operator should stop and review the table, check the heater plate, and verify the machine setup before continuing.
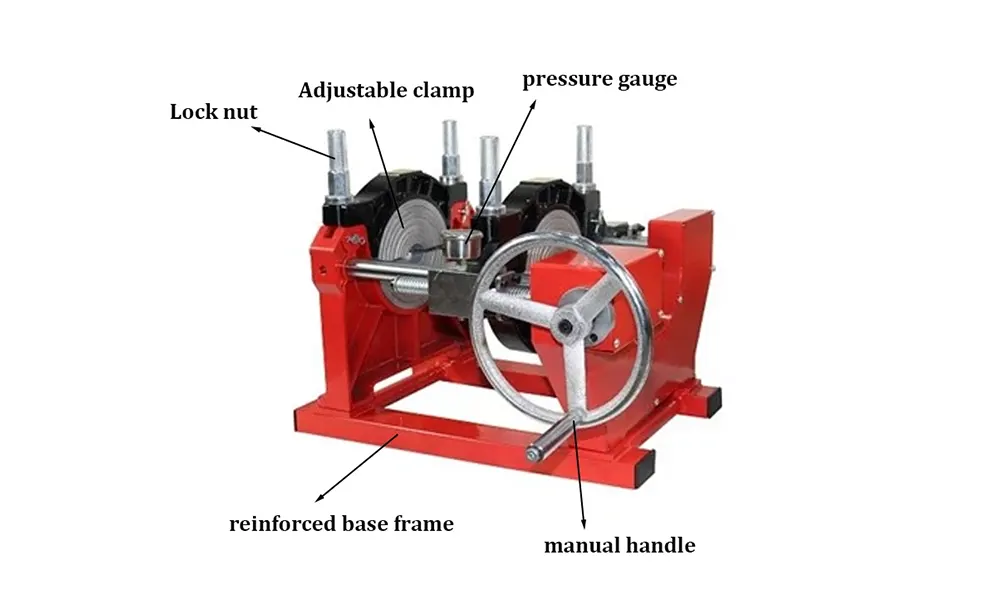
How Better Machines Improve Temperature Accuracy
The quality of the welding machine directly affects how accurately the temperature settings can be applied. A machine with stable pressure control, strong clamp alignment, and reliable heating performance makes it easier to produce repeatable welds.
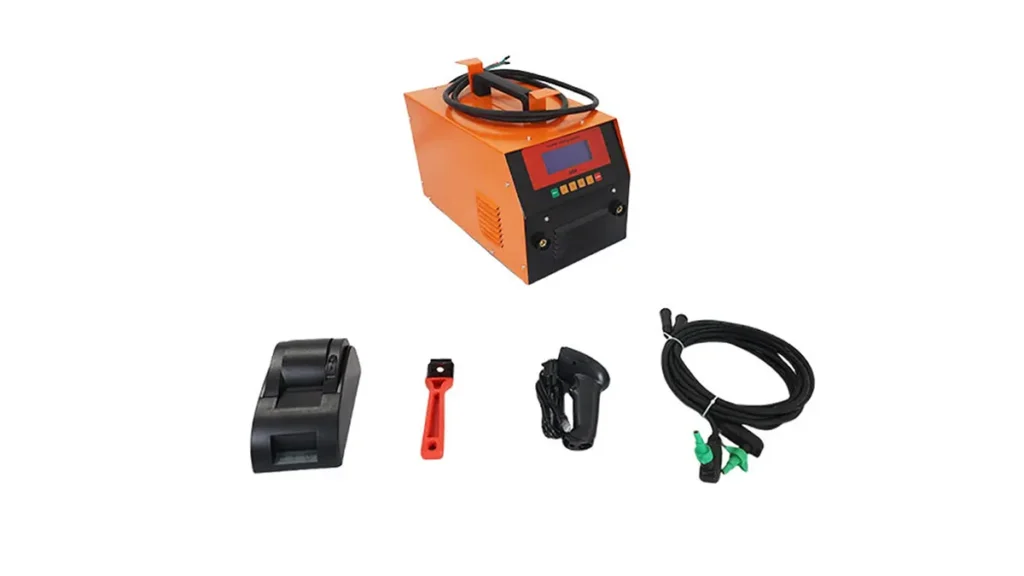
That is one reason many pipeline contractors look for equipment from experienced manufacturers with strict quality control and technical support. Modern hydraulic and CNC systems can help operators maintain better consistency, especially on large infrastructure projects.
If you need more product details, technical support, or customized solutions, you can also visit JQ-Fusion to see how professional welding equipment is built for field performance. Their experience in HDPE pipe welding machines and customization services is especially useful for contractors handling different project requirements.
Why Project Teams Prefer Standardized Welding Tables
Large construction teams often include different operators, shifts, and work zones. A standardized table helps everyone follow the same process and reduces variation from person to person. This is especially important when welding long-distance pipelines or critical infrastructure where every joint must meet the same standard.
Standardization also improves training. New operators can learn faster when they can follow a clear reference rather than depending only on experience. In this way, the table becomes both a technical tool and a training aid.
Practical Tips for Better Results
Keep the heating plate clean and free from residue.
Check calibration regularly to avoid temperature drift.
Use correct pipe preparation tools before fusion.
Protect the work area from wind, dust, and moisture.
Allow sufficient cooling time before moving the joint.
Good preparation is just as important as correct temperature. Even the best table will not solve problems caused by poor pipe alignment or dirty surfaces.
Final Thoughts
An HDPE welding temperature settings table is one of the most useful tools in butt fusion welding. It transforms technical welding requirements into clear working values that operators can apply on site. When used properly, it improves consistency, supports joint strength, and helps reduce costly errors.
For contractors, distributors, and pipeline installers, the real value of the table comes from combining correct settings with reliable equipment and disciplined workflow. Strong machines, accurate heating, and proper operator training work together to produce durable HDPE joints that can serve for many years.
In short, the table is not just a chart. It is a practical guide to welding quality, safety, and long-term pipeline performance.
FAQs
1. What is the normal HDPE welding temperature?
The most common heating plate temperature is around 210°C, with many projects using a range of 200°C to 220°C depending on pipe specifications and machine guidance.
2. Can I use the same settings for all pipe sizes?
No. Pipe diameter, wall thickness, and material grade can change the required heating time, cooling time, and sometimes the temperature reference.
3. What happens if the welding temperature is too low?
Low temperature can cause incomplete fusion, weak joints, and poor pressure resistance, which may lead to failure during operation.
4. Why is cooling time important in butt fusion?
Cooling time allows the joint to solidify under pressure and develop full strength. Rushing this stage can damage the weld before it stabilizes.
5. Do I need a special machine to follow the temperature table?
You need a properly calibrated butt fusion machine with stable heater plate performance and accurate control functions to apply the table correctly.