
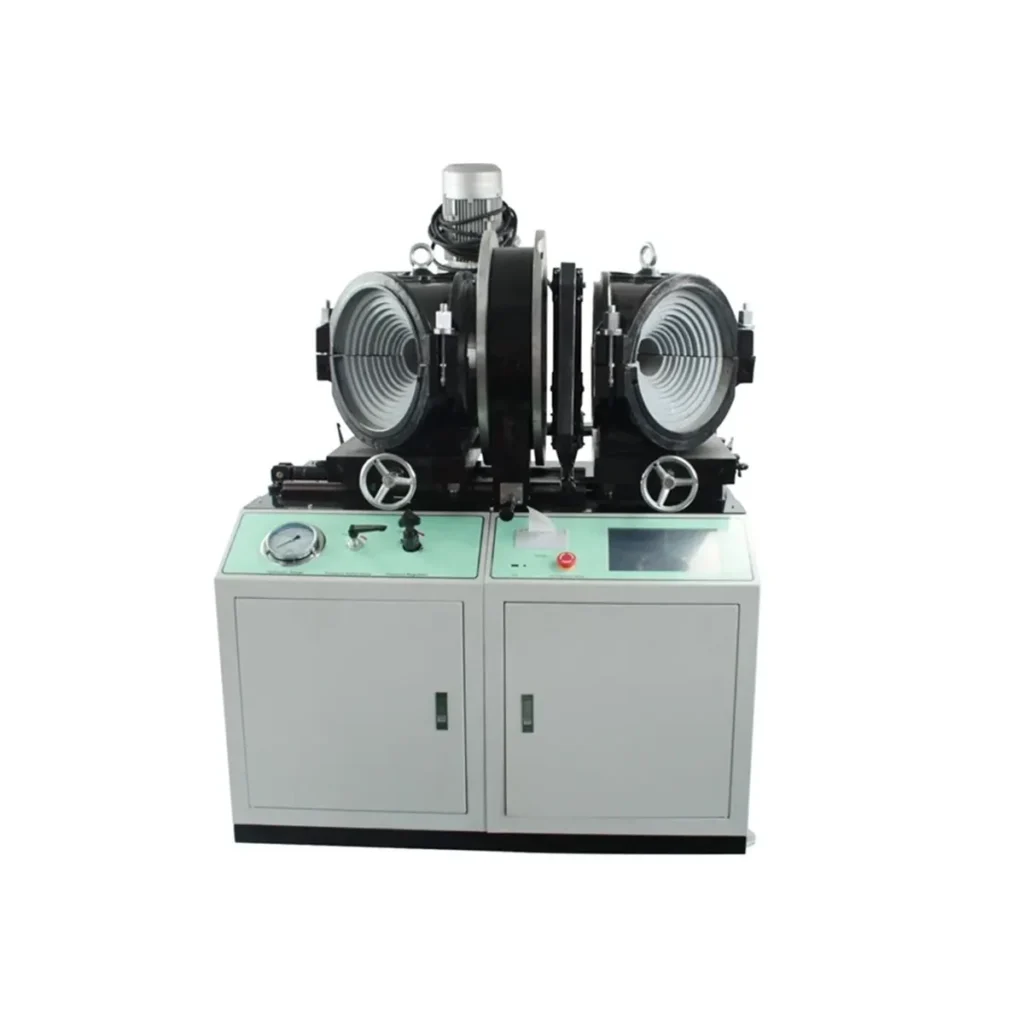
Electric fusion fitting installation and welding require precise preparation, correct equipment, and consistent execution to achieve leak-free HDPE joints. This guide lays out a clear, SEO-friendly step-by-step workflow and process diagram for electrofusion and butt-fusion fittings—ideal for contractors, pipeline technicians, and engineers using modern fusion machines.
Overview: When to Use Electric Fusion Fittings
Electric fusion (electrofusion) fittings are commonly used for joining HDPE pipes in water supply, gas distribution, and industrial piping systems. They are preferred for repair work, tight-space applications, and where mechanical access for butt-fusion frames is limited. For large-diameter pipelines, butt fusion or multi-angle fitting welding machines are often applied to achieve strong, homogenous joints.
Key Benefits
Reliable seals, consistent weld quality, minimal excavation time, and compatibility with a wide range of HDPE materials make electric fusion fittings an efficient choice on modern projects.
Pre-Installation Checklist
Before beginning any fusion operation, confirm the following to reduce rework and improve joint reliability:
- Pipe and fitting material compatibility (check resin grade & SDR).
- Clean, dry surfaces free of dirt, oil, and oxidation.
- Correct fusion machine settings and calibrated temperature controller.
- Required PPE for operators and site safety controls.
- Manufacturer welding chart and traceability labels available at the joint.
Step-by-Step Electric Fusion Installation & Welding Process
The following process applies to standard electrofusion fittings. For butt-fusion and multi-angle fitting welding use equivalent control steps with the specific machine parameters.
1. Site Preparation and Pipe Alignment
Measure and mark pipe cut lengths, square-cut pipe ends, and secure the pipe in a stable fixture or clamp. Proper alignment prevents eccentric loads and ensures uniform heating across the fusion collar.
2. Surface Cleaning and Preparation
Remove all surface contaminants with approved cleaning wipes. Use a mechanical scraper for oxidized layers on the pipe end if required. Clean the fusion fitting ID and pipe OD right before insertion to prevent contamination.
3. Insertion, Clamping & Electrical Connection
Insert pipe ends into the electrofusion fitting until the marked insertion depth. Clamp securely to avoid movement. Attach the fusion control unit leads to the fitting’s terminals and verify a stable connection.
4. Programmed Welding Cycle
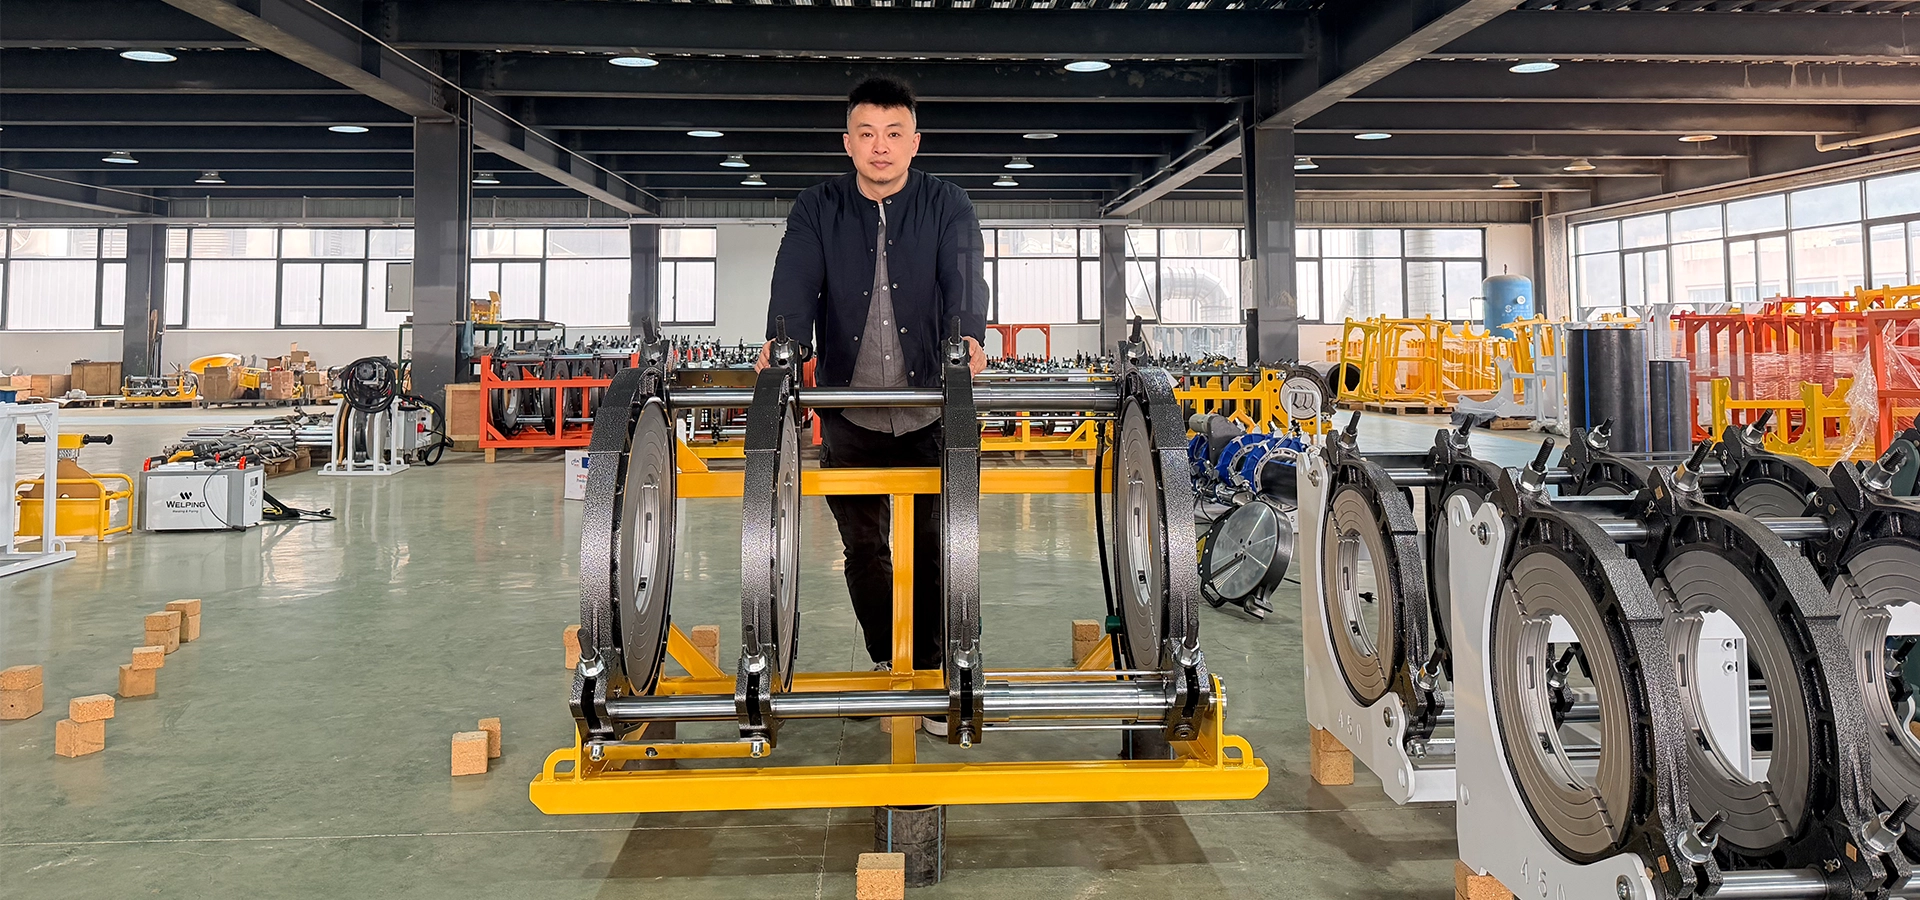
Enter the fitting code or select the corresponding program on the fusion controller. Start the automated heating cycle and monitor the recorded parameters (voltage, current, time). Modern controllers display a progress timeline—do not disturb the assembly until the cool-down phase is completed.
5. Cooling and Joint Inspection
Allow the joint to cool under clamps for the manufacturer-recommended time. After cooling, remove clamps and visually inspect for uniform bead formation and absence of voids. For critical systems, perform pressure or non-destructive testing as required.
Typical Welding Parameters (Reference)
| Fitting / Pipe Size | Typical Heating Time | Cooling Time (min) |
|---|---|---|
| 20–63 mm (small OD) | 30–90 s (machine chart) | 5–20 |
| 75–250 mm | 1–4 min | 20–60 |
| >250 mm (butt fusion) | Consult butt-fusion program | 60–120 |
Quality Assurance & Common Troubleshooting
Maintain a welding log, including program ID, operator, ambient temperature, and batch codes. Typical problems and fixes:
- Insufficient bead: ensure correct temperature and full electrical contact.
- Excessive flash or melt-back: reduce heating time or verify fitting code entry.
- Uneven bead: check pipe alignment and clamp torque.
Safety Notes
Always follow site safety standards: insulated gloves for electrical connections, eye protection, and secure handling of hot parts. For gas applications, ensure purge and testing procedures are followed to prevent ignition risks.
Choosing the Right Machine
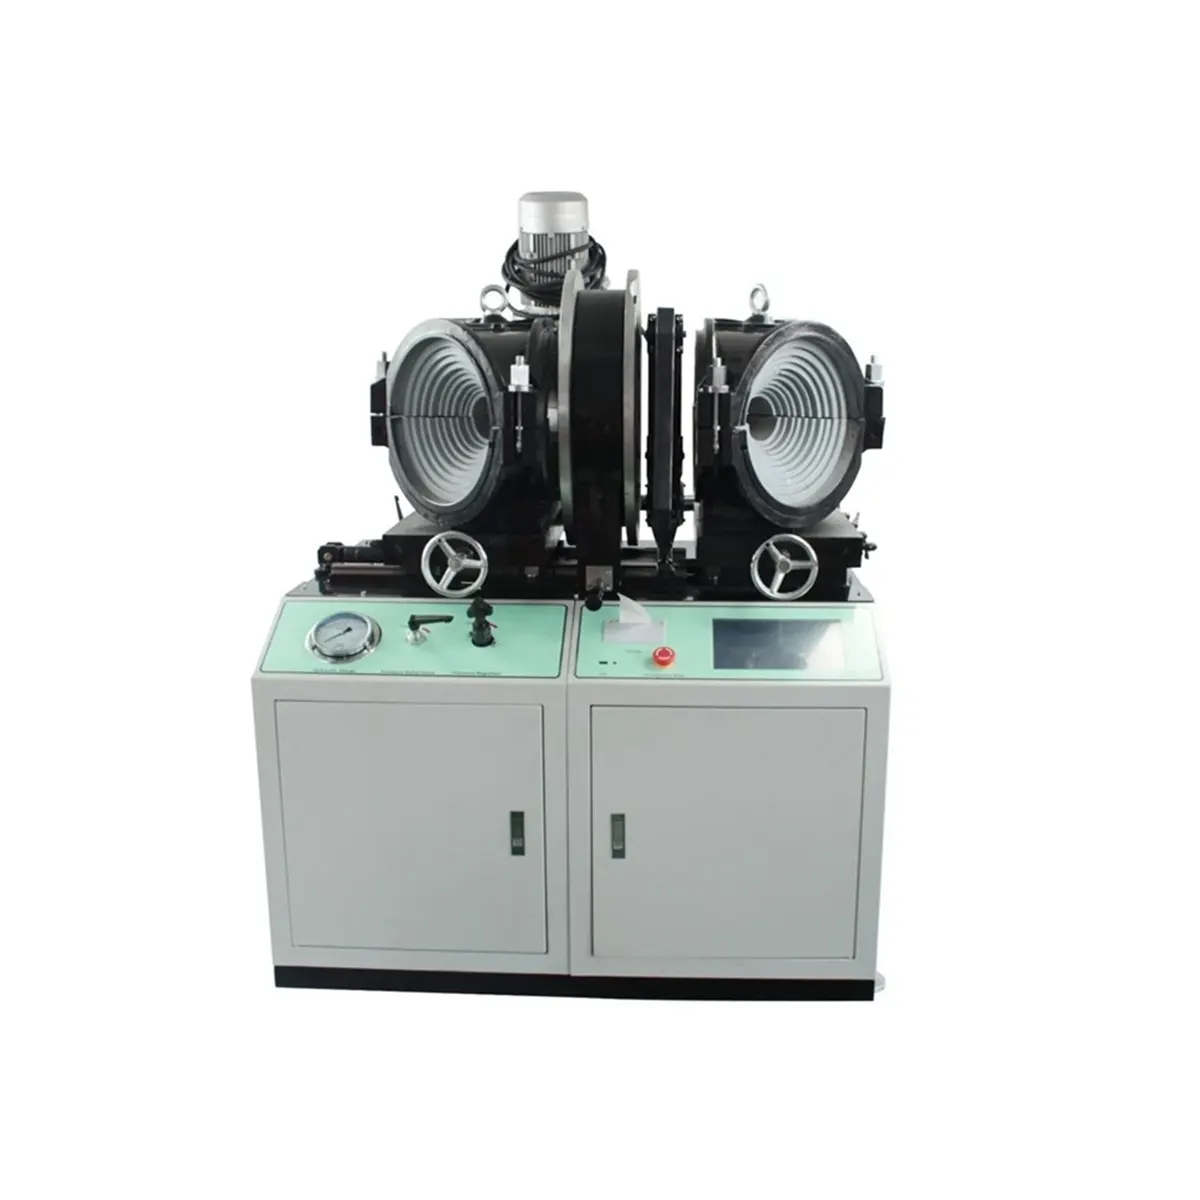
Select manual, hydraulic, or CNC automatic fusion machines depending on pipe diameter, project scale, and access constraints. For complex multi-angle fittings and large diameters, dedicated multi-angle or hydraulic butt-fusion machines provide controlled pressure and alignment for uniform welds.
Manufacturer Support
For tailored machinery and technical support, contact JQ-Fusion for machine selection guidance, welding charts, and after-sales training to optimize field performance.
Quick Checklist Before Leaving Site
Log weld data, secure spare fittings, confirm no visible defects, and store fusion equipment per manufacturer instructions to maintain calibration and longevity.



