
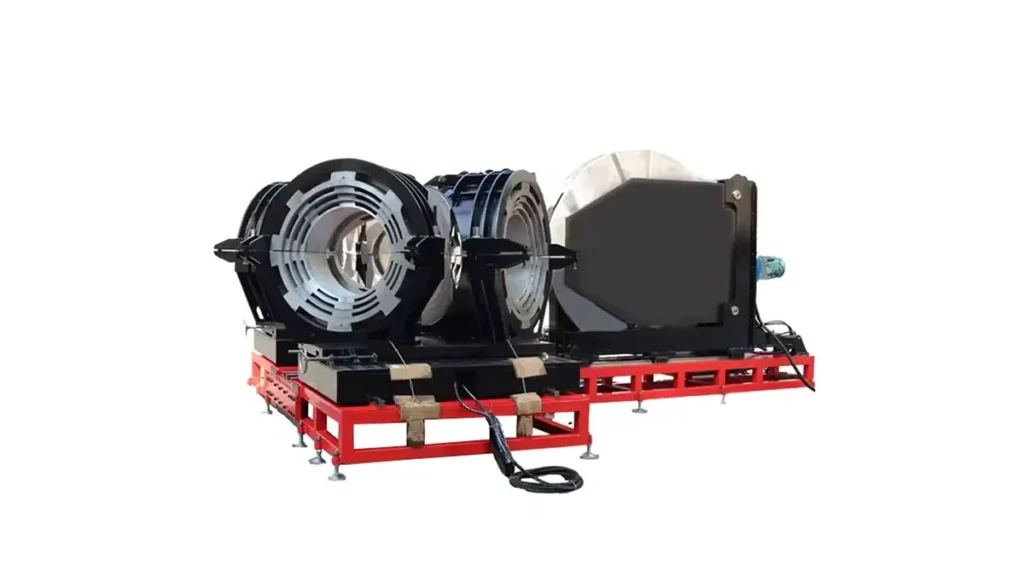
Electrofusion jointing is a widely used method for connecting polyethylene (PE) pipes, especially in gas and water distribution networks. It creates a permanent, leak-proof, and highly reliable joint by using an integrated heating element. This article provides a detailed, step-by-step guide to the electrofusion procedure, highlighting best practices and key considerations for a successful weld.
Understanding Electrofusion Technology
At its core, electrofusion uses a fitting—such as a coupler, elbow, or tee—that has a built-in electric resistance coil. When power is applied via a specialized electrofusion control unit, the coil heats up, melting the inner surface of the fitting and the outer surface of the pipe. As the material cools under maintained pressure, it fuses into a homogeneous, integral joint that is often stronger than the pipe itself.
Key Advantage: Unlike butt fusion machine processes, electrofusion is excellent for confined spaces, repair work, and connecting pipes to pre-installed fittings without needing to move the pipeline.
Essential Equipment and Preparation
Before starting, ensure you have the correct equipment and that the work area is safe. Critical tools include:
- Electrofusion Fitting (correct size and pressure rating)
- Electrofusion Welding Control Unit
- Pipe Cutter and Scraper/De-Scaling Tool
- Cleaning Materials (isopropyl alcohol and clean wipes)
- Clamps or Alignment Tools
- Measuring Tape and Marker
Preparation is 80% of success. Always check the fitting’s barcode or data matrix code with the control unit to verify welding parameters like voltage, time, and cool-down period.
Step-by-Step Electrofusion Jointing Procedure
Step 1: Pipe Cutting and Preparation
Cut the pipe ends square using a dedicated pipe cutter. A clean, perpendicular cut is crucial for proper alignment and insertion depth. Measure and mark the insertion depth on the pipe end using the gauge from the fitting or a marker.
Step 2: Cleaning and Scraping
This is the most critical step to ensure a strong weld. Use a dedicated scraping tool to remove the oxidized surface layer from the pipe end. The scraping length should exceed the insertion depth. Immediately after scraping, clean the scraped area and the inside of the electrofusion fitting with isopropyl alcohol and a clean, lint-free cloth. Do not touch the cleaned surfaces.
Warning: Never skip scraping. Surface oxidation prevents proper fusion. Contamination from dirt, grease, or moisture is the leading cause of joint failure.
Step 3: Alignment and Clamping
Insert the pipe ends into the electrofusion fitting up to the marked depth. Ensure the pipes are centered and aligned correctly. Use alignment clamps or supports to hold the assembly in place during heating and cooling. Any movement during this phase can weaken the joint.
Step 4: Connecting the Control Unit
Connect the leads from the electrofusion control unit to the terminals on the fitting. Ensure connections are clean and secure. Most modern units will automatically read the fitting’s code and lock in the correct welding parameters.
Step 5: Initiating the Fusion Cycle
Start the weld cycle on the control unit. The unit will automatically apply the correct voltage for the programmed time. You will observe the indicator pins or beads on the fitting begin to rise as the material melts and expands. Do not disturb the assembly.
Step 6: Cooling Time
Once the heating phase ends, the joint must cool under pressure without any movement. The control unit typically monitors this cool-down period. Do not remove clamps or stress the joint until the full cooling time has elapsed. This allows the molecular structure to solidify and gain full strength.
Post-Weld Inspection and Best Practices
After cooling, visually inspect the joint. The raised indicator beads should be fully formed and uniform. Check for any gaps or visual defects. Document the weld data (fitting ID, weld time/date) for quality records. For critical applications, follow local codes which may require destructive or non-destructive testing of sample joints.
Pro Tip: Environmental factors matter. Avoid performing electrofusion in rain, high winds, or extreme temperatures unless using appropriate protective shelters. Always refer to the fitting manufacturer’s and butt fusion machine supplier’s guidelines for specific environmental limits.
Common Applications and Advantages
Electrofusion is indispensable for service connections, tie-ins, repairs, and complex networks where butt fusion machine access is limited. Its main advantages include minimal required clearance, consistency through automated controls, and the ability to join different pipe grades or sizes with the appropriate fitting.
Frequently Asked Questions (FAQs)
1. Can electrofusion be used on wet pipes?
No. The pipe and fitting must be completely dry. Moisture will turn to steam during heating, creating voids and causing joint failure. Dry the pipe thoroughly before scraping and cleaning.
2. How long does an electrofusion joint take to cool completely?
Cooling time depends on pipe size and ambient temperature, often taking several minutes. The control unit specifies the minimum cooling time. For large diameters, it can be an hour or more. Never accelerate cooling with water or air.
3. What is the difference between electrofusion and butt fusion?
Butt fusion joins two pipe ends directly together using a butt fusion machine to heat and fuse them. Electrofusion uses a separate fitting with an integrated heater. Butt fusion is typically for long, straight runs; electrofusion is ideal for fittings, repairs, and confined spaces.
4. What happens if the power fails during welding?
If a power failure occurs during the heating phase, the joint is compromised. The fitting must be cut out and replaced with a new one. Do not attempt to re-weld the same fitting.
5. Are all electrofusion fittings and control units compatible?
Not always. While many systems use universal parameters, it is a best practice to use the control unit recommended by the fitting manufacturer to ensure parameters are perfectly matched and warranty is maintained.



