
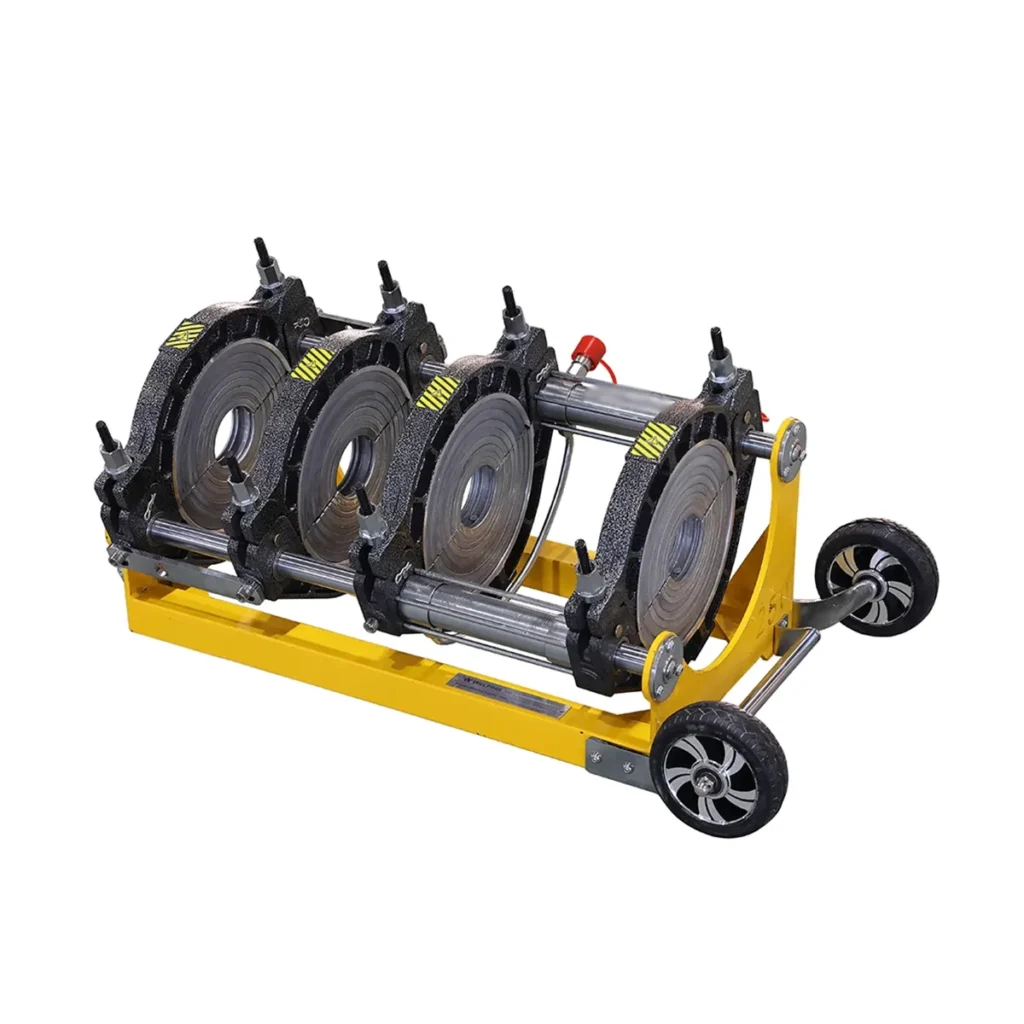
Heat fusion is the industry-standard method for joining PE/HDPE pipes, but even experienced operators encounter common challenges that affect joint quality and project timelines. This guide explains the most frequent PE pipe heat fusion problems, their root causes, and practical solutions to help contractors, installers, and engineers achieve reliable, leak-free welds.
Understanding Heat Fusion Basics
Heat fusion joins HDPE pipe ends by heating the prepared surfaces and applying controlled pressure until the material fuses into a homogeneous joint. Key variables: surface condition, alignment, heating temperature, heating time, fusion pressure, and cooling time. Controlling these factors reduces common defects such as cold joints, excessive flash, and weak fusion zones.
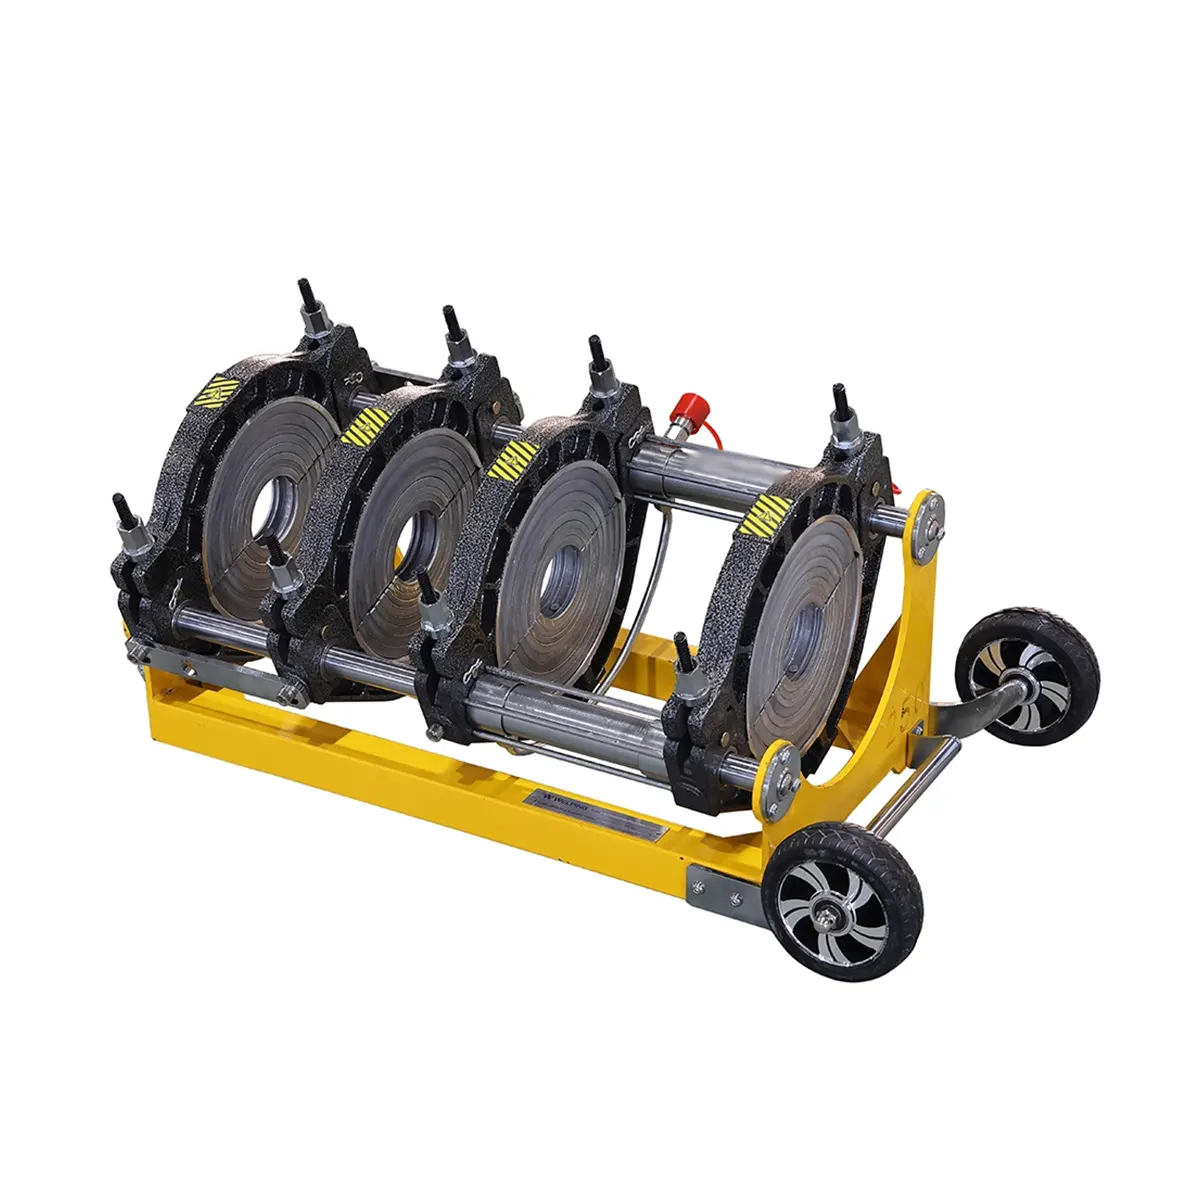
Top 8 Common Problems and What Causes Them
Below are the frequent issues encountered on-site with concise causes you can act on immediately.
• Cold or Incomplete Fusion — inadequate heat, insufficient soak time, or low fusion pressure.
• Excessive Flash or Melt Bead — overheating, too long heating time, or excessive alignment pressure during heating.
• Misalignment and Ovality — poor pipe clamping, uneven clamps, or damage to pipe ends.
• Surface Contamination — dirt, grease, moisture, or oxidized surface from poor trimming or storage.
• Uneven Bead Size — inconsistent pressure during fusion or uneven heating plate contact.
• Overheating and Degradation — high plate temperature or prolonged contact raising molecular degradation risk.
• Poor Cooling Management — removing clamps or disturbing the joint before adequate cooling/solidification.
• Equipment Calibration Issues — worn heaters, inaccurate temperature sensors, or faulty pressure gauges.
Quick Visual Clues to Inspect
• Smooth, continuous flash around the pipe circumference indicates good fusion if bead thickness is controlled.
• Discontinuous or cracked flash, visible gaps at root, or a dull, chalky bead often signal incomplete fusion.
• Bulging, discolored, or charred areas point to overheating or degraded material.
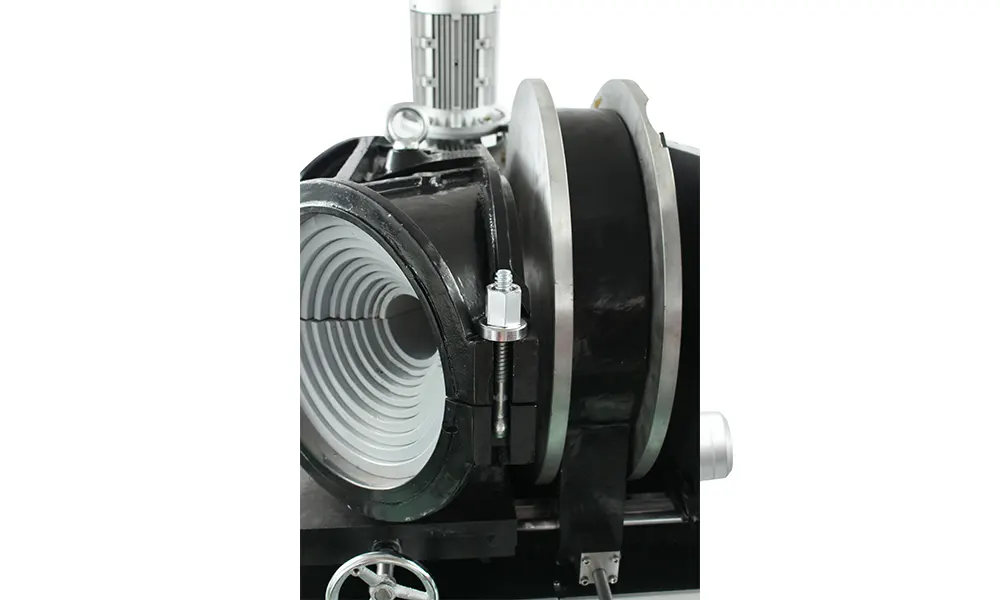
Problem / Cause / Solution: Actionable Table
| Problem | Most Likely Cause | Practical Solution | Tools Needed |
|---|---|---|---|
| Cold / Incomplete Fusion | Low temperature or insufficient heating/soak time | Confirm heater temp, follow recommended heating time (by pipe OD & SDR), reheat and re-fuse if within accepted limits | Thermometer, fusion machine temp readout |
| Excessive Flash | Overheating or too long heat dwell time | Reduce heater temperature or dwell time; trim flash to spec | Trimmer, calipers |
| Misalignment / Ovality | Improper clamping or damaged pipe ends | Re-clamp using correct clamping sequence; re-trim ends; use alignment fixtures for large OD | Clamps, pipe saddle, trimmer |
Step-by-Step Troubleshooting Workflow
Follow this sequence when a fusion looks suspect:
1. Stop work and record joint parameters (temperature, pressure, times).
2. Visually inspect bead and joint area for discontinuities, discoloration, or contamination.
3. Check equipment calibration (heater plate temperature, pressure gauges).
4. If contamination or poor preparation is found, re-trim surfaces and repeat the fusion procedure.
5. If equipment malfunction is suspected, remove machine from service and replace/repair before continuing.
Best Practices to Prevent Common Issues
Preventive measures are the most cost-effective approach:
• Use properly maintained and calibrated fusion machines with verified temperature control.
• Always follow manufacturer fusion parameters: temperature, pressure, heating time, and cooling time based on pipe SDR and OD.
• Keep pipe ends clean and dry; trim using a round trimmer to remove oxides and achieve perpendicular faces.
• Use alignment jigs for large-diameter pipes and ensure clamps secure the pipe without distortion.
• Protect heaters and fusion plates from damage; inspect for scratches, contamination, and wear before use.
Equipment Maintenance & Calibration Checklist
• Check heater plate flatness and cleanliness before each shift.
• Verify temperature sensor accuracy against a calibrated thermometer monthly or per project QA plan.
• Inspect hydraulic systems for leaks and consistent pressure output; top up fluids as recommended.
• Replace worn clamping pads and bolts to prevent uneven clamping force.
Quality Control, Testing, and Documentation
Adopt a simple QA protocol for each welded joint to ensure traceability and compliance:
• Record: machine ID, operator, pipe material (PE100/PE80), OD/SDR, heater temperature, heating/cooling/soak times, fusion pressure, ambient temperature.
• Perform destructive test samples where required by project specs; use non-destructive methods (visual, ultrasonic) for inline QA when allowed.
• Keep a daily fusion log and photo documentation for each critical splice—this reduces rework and supports warranty claims.
Common FAQs (Short Answers)
Q: How long should I let a fused joint cool? A: Cooling depends on pipe diameter and SDR; follow standard tables (commonly 10–60 minutes for small to mid-size, longer for large OD).
Q: Can I re-fuse a failed joint? A: Sometimes—re-fusion is possible if the surfaces can be properly re-trimmed and the material wasn’t degraded. Document parameters and consult project rules.
Q: Does weather affect fusion quality? A: Yes—cold or windy conditions increase heat loss; adjust times and protect the joint area or use shelters.
Practical On-Site Tips for Faster Recovery
• Keep a portable calibration thermometer and spare heater plate protector in your field kit.
• Train a second operator to assist with alignment and clamping for larger pipes—this reduces human error.
• Use temporary wind barriers or heaters for cold-climate projects to maintain consistent fusion temperatures.
When to Call the Manufacturer or Service
• Repeated temperature drift, erratic pressure behavior, or physical damage to the machine requires qualified service.
• Use genuine spare parts and follow the machine manual for preventive maintenance. For specialized machines or large-diameter fusion units, consult the manufacturer for field service or calibration—JQ-Fusion provides global support and parts for HDPE butt fusion equipment.
Final Checklist Before Backfill
• All joints visually inspected and logged.
• Critical joints tested per project QA requirements.
• No visible signs of overheating, cracking, or incomplete beads.
• Adequate cooling time observed and clamps removed only after joint reaches required set strength.
Quick Reference: Minimal Tool Kit for Reliable Fusions
• Fusion machine (manual/hydraulic/automatic), calibrated thermometer, trimmer, calipers, alignment fixtures, spare heater plate, protective covers, basic hydraulic tools.
For more detailed specifications, troubleshooting support, and spare parts, visit JQ-Fusion.



