
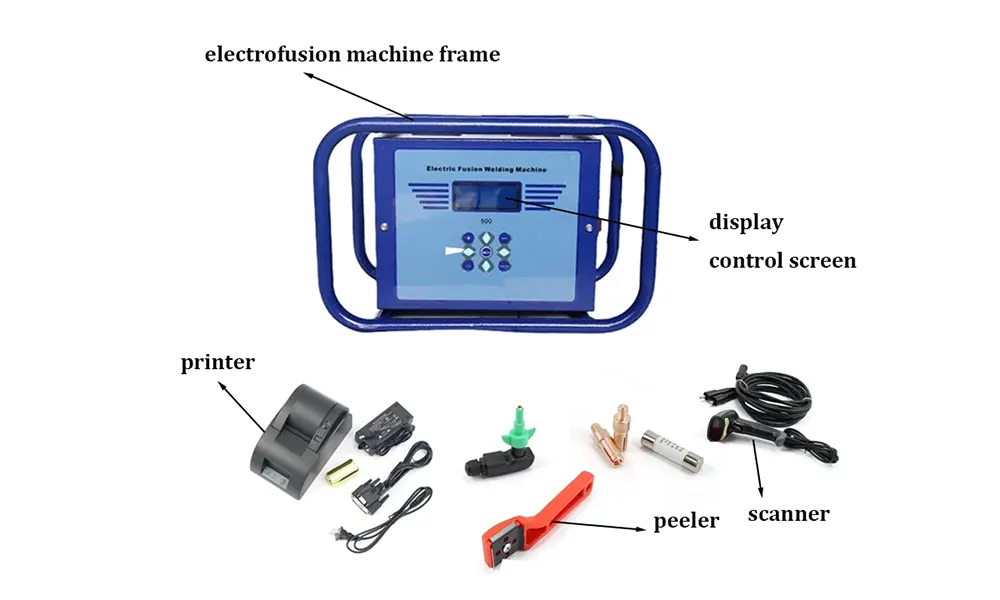
Butt fusion welding is the most reliable method for joining High-Density Polyethylene (HDPE) pipes. Whether you are working on water supply, gas distribution, or industrial pipelines, mastering how to use a butt fusion machine is critical to ensuring leak-free, long-lasting joints. This guide walks you through every stage of the process, from preparation to final inspection, providing best practices that align with international standards like ISO 21307 butt fusion procedures.
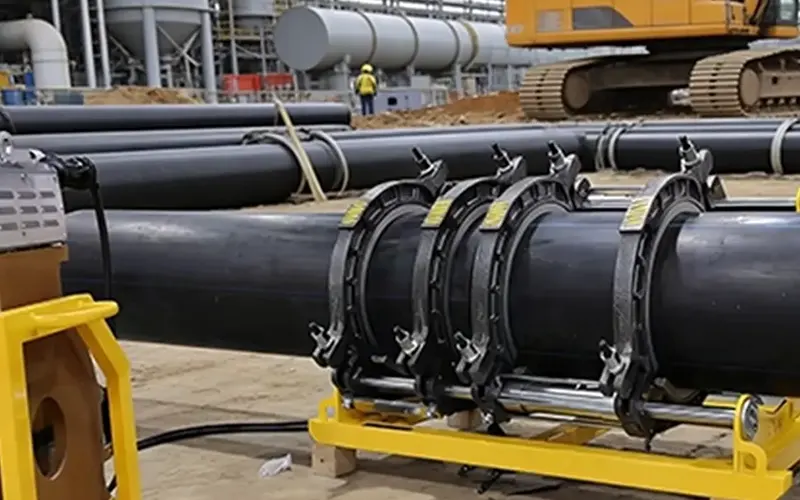
1. Pre-Welding Preparation
Before you even turn on the machine, thorough preparation is mandatory. Overlooking this stage can lead to cold welds or joint contamination.
- Check the Equipment: Inspect the butt fusion machine frame, the hydraulic unit, and the heating plate. Ensure the non-stick coating on the heating plate is clean and damage-free.
- Verify Pipe Specifications: Confirm the pipe material, diameter, and Standard Dimension Ratio (SDR). You must only weld pipes made from compatible PE grades.
- Clean the Surfaces: Wipe the pipe ends and the interior of the clamps with a lint-free cloth using isopropyl alcohol. Any dirt, grease, or moisture will compromise the weld integrity.
2. Clamping and Facing the Pipe Ends
Properly securing the pipes in the clamps ensures perfect alignment. Misalignment is one of the primary causes of joint failure.
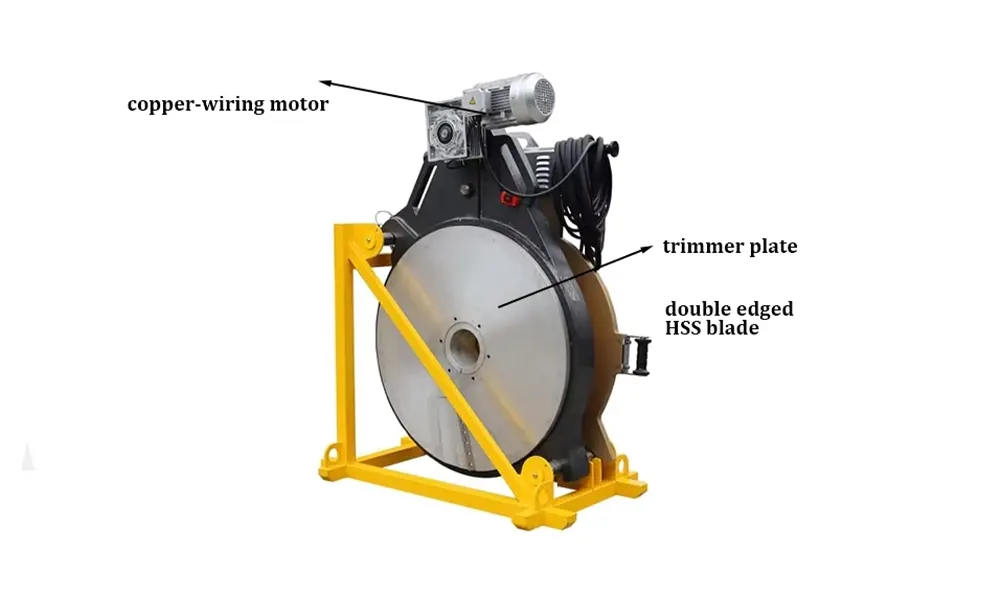
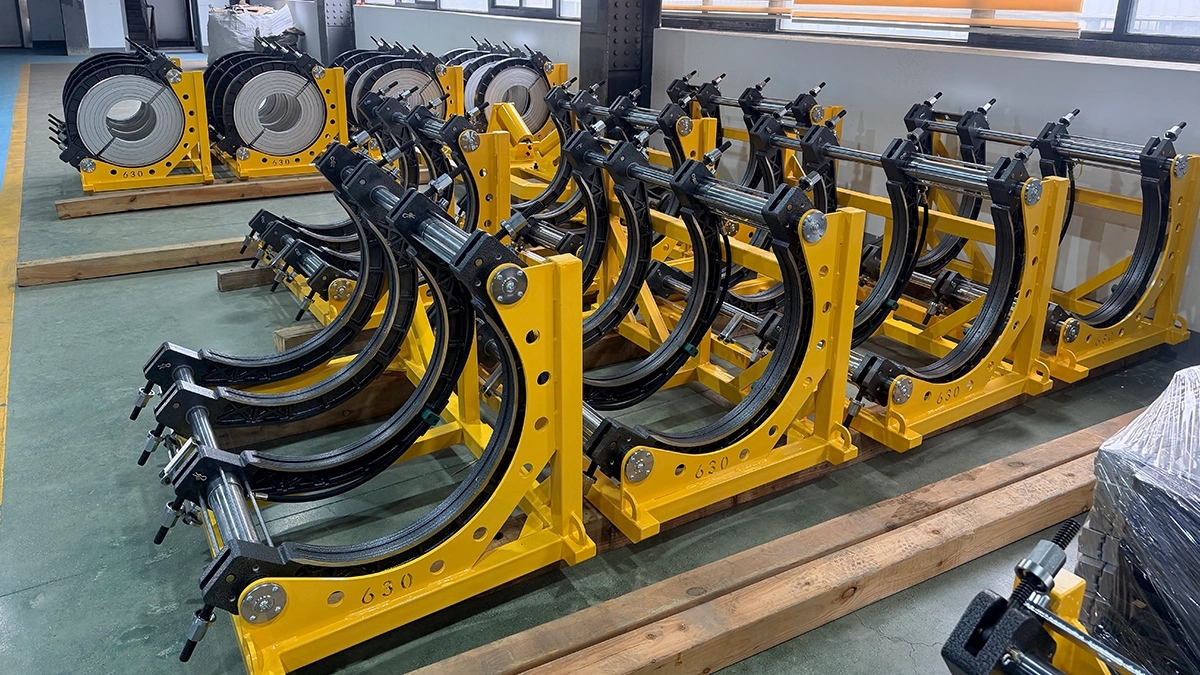
- Place the pipes into the butt fusion welding machine clamps. Tighten the upper jaws to secure them. The high point of the pipe wall should be between 60-70% of the clamp height.
- Insert the facing tool (trimmer) into the frame. Lock the carriage and start the trimmer. Move the carriage slowly until both pipe ends are planed and continuous shavings come from both sides.
- Bring the pipe ends together to check for zero-gap alignment. The maximum allowable gap is typically 0.3mm. Adjust the clamps if necessary to remove any high-low misalignment.
3. The Key Welding Parameters
The fusion process relies on controlled temperature, time, and pressure. These values vary based on pipe diameter, wall thickness, and regional standards. Always consult the PPI butt fusion procedure for specific project requirements.
| Parameter | Standard Recommendation | Observation |
|---|---|---|
| Heating Plate Temperature | 200°C – 220°C (392°F – 428°F) | Check surface with a pyrometer pen. |
| Bead-Up Pressure | 0.15 MPa (Interfacial Drag + Bead-up) | A uniform melt bead must form instantly. |
| Heat Soak Time | Based on ASTM F2620 heat fusion charts | Reduces pressure to near zero drag. |
| Fusion (Cooling) Time | Based on diameter and SDR | Do not remove pressure or move the pipe. |
4. Step-by-Step Welding Cycle
Once facing is complete, you move directly to the heating and fusion stages. Timing is critical to prevent oxidation of the melt surface.
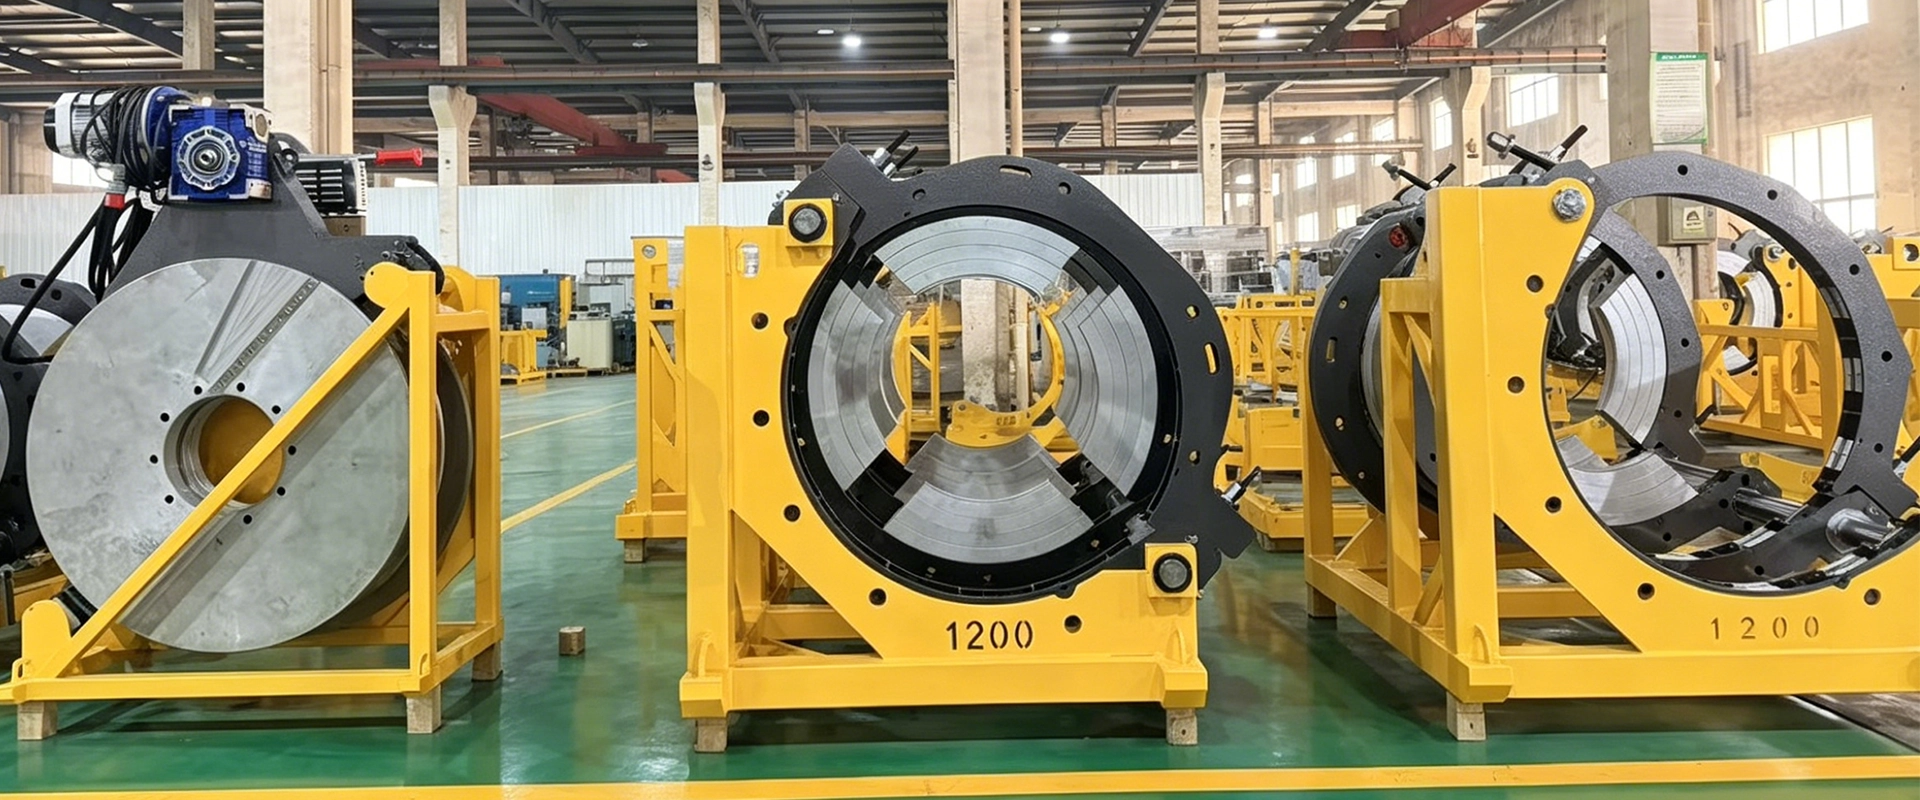
- Stage 1: Heating & Bead-Up. Slide the clean heating plate between the pipe ends. Apply the specified bead-up pressure until a double melt bead of uniform height curls against the plate.
- Stage 2: Heat Soaking. Release the pressure to almost zero (touch force only). Let the heat penetrate the pipe ends without pushing them further. Monitor the timer strictly.
- Stage 3: Plate Removal. Quickly and smoothly withdraw the heating plate. This must happen as fast as possible, typically within a few seconds, to prevent the melt from cooling.
- Stage 4: Fusion & Cooling. Bring the pipe ends together briskly and build up to the specified fusion pressure. Hold this pressure steady during the entire cooling cycle. The resulting double bead size serves as a visual quality indicator.
5. Visual Inspection & Quality Control
The cooling pipe must not be disturbed. After the full cooling time has elapsed, release the clamps. Perform a visual inspection of the external bead.
- The double fusion bead should be symmetrical and uniform in size around the entire circumference of the pipe.
- The inner bead should not be severely pinched or restrict the flow path. A smooth transition indicates a perfect butt fusion weld.
- If you notice a flat, shiny, or separated bead, this indicates a potential failure. Cut a test strap and perform a bend-back test in a vice, a common destructive test outlined in PE butt fusion equipment standards.
6. Common Mistakes to Avoid
Even experienced operators can make errors. Here are critical pitfalls to avoid when operating your equipment:
- Contaminated Heating Plate: Always clean the plate before each weld. Burnt PE residue causes sticking and uneven heat transfer.
- Incorrect Drag Pressure Check: Failing to measure the drag pressure of the carriage results in incorrect overall fusion force, leading to weak joints.
- Moving the Pipe During Cooling: Premature removal of the clamp causes residual stress cracks. Patience here defines joint integrity.
- Welding in Wet Conditions: Moisture on the pipe end can create a foamy, brittle weld. Always ensure the work site is dry.
Safety Reminder: Always wear heat-resistant gloves and safety glasses. The heating plate operates at extreme temperatures and can cause severe burns. Secure loose clothing and clear the work area of tripping hazards.
Choosing a Reliable Machine Manufacturer
The precision of your weld largely depends on the engineering of the machine itself. Brands like JQ-Fusion specialize in manufacturing advanced HDPE welding equipment, from manual models to fully automatic CNC systems. Their commitment to rigid frame structures, accurate temperature controllers, and durable clamps ensures that when you follow the correct technique, the machine delivers repeatable, high-quality results every time.



