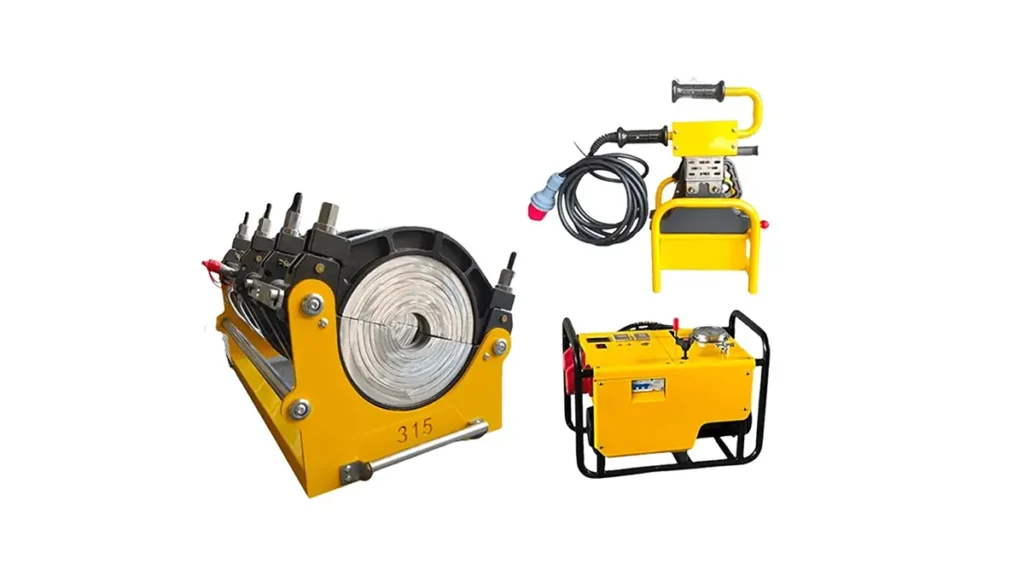
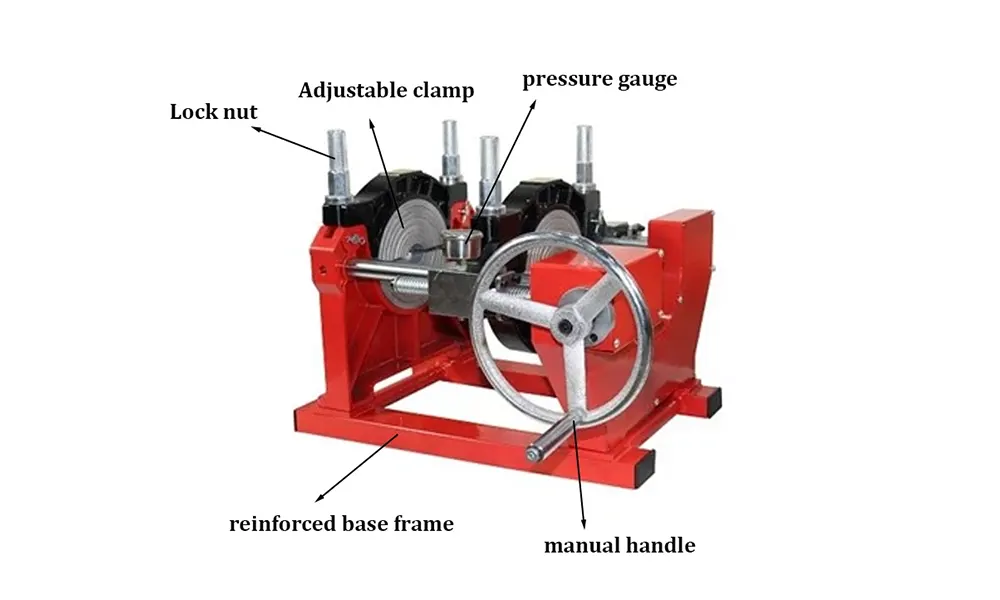
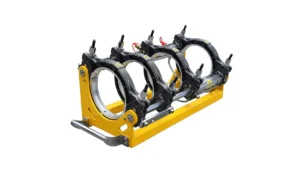
Proper installation of an HDPE pipe jointing machine is a critical step that directly impacts weld quality, operational safety, and equipment longevity. Whether you are setting up a hydraulic butt fusion welding machine for large-diameter pipelines or a manual unit for smaller projects, following a structured installation process ensures consistent performance and compliance with industry standards such as ISO 21307 butt fusion procedures.
Pre-Installation Preparations
Before unpacking the machine, inspect the worksite to confirm it meets the following conditions:
- Stable Ground Surface: The foundation must be level and capable of supporting the machine’s weight during operation.
- Adequate Clearance: Allow at least 2 meters of working space around the entire machine frame for pipe loading and operator movement.
- Power Supply Verification: Confirm that the electrical supply matches the machine’s rated voltage and phase requirements.
- Environmental Protection: For outdoor installations, ensure the setup area is shielded from direct rain, excessive dust, and strong winds that could affect heating plate temperature stability.
- Tool Inventory: Gather all necessary tools including wrenches, level gauges, multimeters, and any lifting equipment required for heavy components.
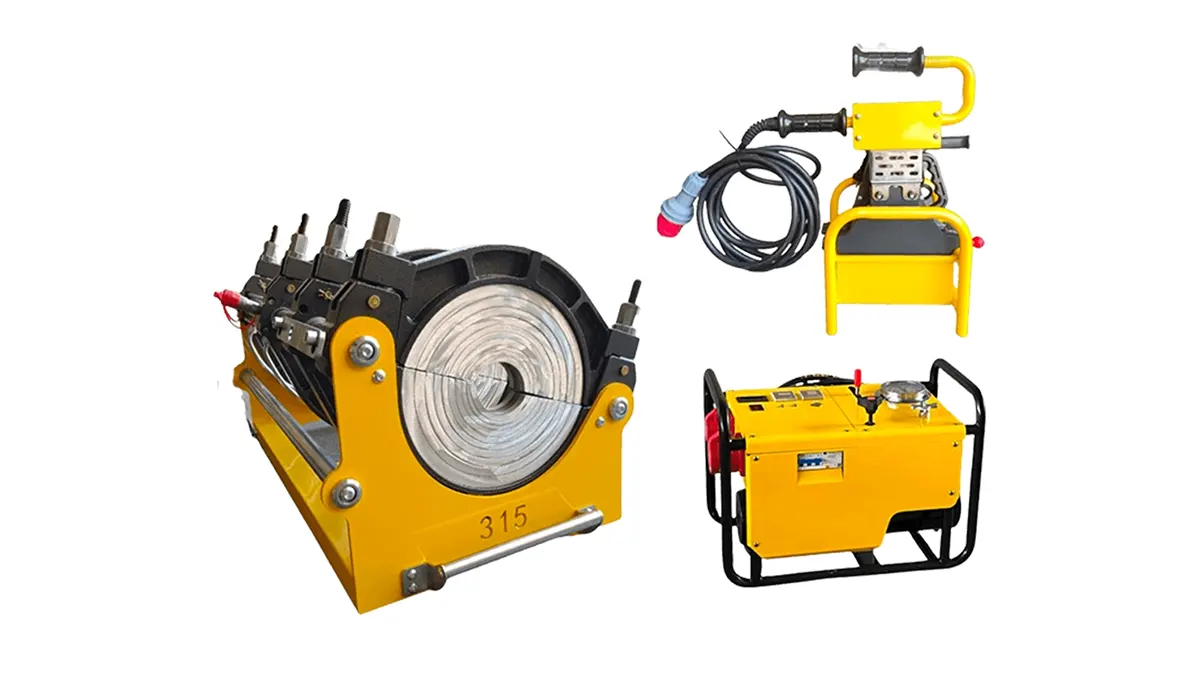
Step-by-Step HDPE Pipe Jointing Machine Setup
Step 1: Positioning and Leveling the Machine Frame
Place the main frame on the prepared foundation. Use a precision spirit level to check longitudinal and transverse alignment. An unlevel frame causes pipe misalignment, which leads to uneven bead formation and potential joint failure. Adjust the leveling feet or shims until the frame is perfectly horizontal. For hydraulic models, ensure the frame is securely anchored before connecting the power unit.
Step 2: Installing the Clamps and Inserts
Mount the pipe clamps onto the carriage assembly according to the machine’s configuration. Select the correct clamp inserts that match the outer diameter of the pipes being welded. Tighten all fasteners to the manufacturer’s specified torque values. Proper clamp installation prevents pipe slippage during the critical heating and fusion phases. After installation, manually slide the clamps along the guide rails to verify smooth movement without binding.
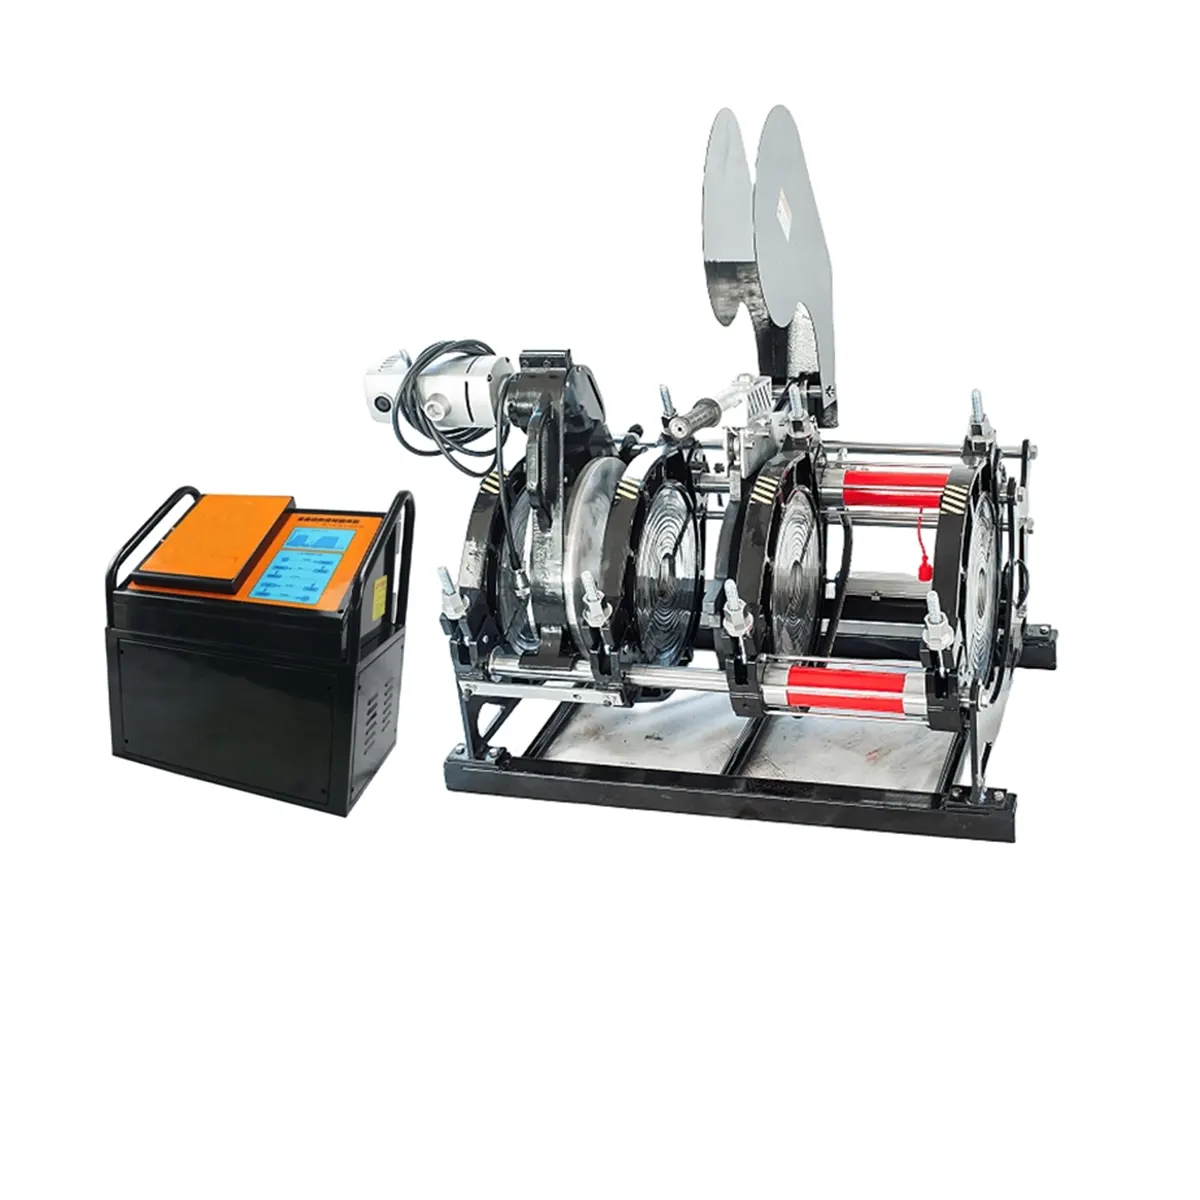
Step 3: Mounting the Trimmer
The trimmer, also known as the facing tool, must be installed so that its cutting blades are sharp, clean, and properly aligned. Mount the trimmer onto the frame guide rails and verify that both cutting faces are parallel. Run a test facing operation on scrap pipe ends to confirm that the trimmer produces smooth, continuous shavings from both pipe ends simultaneously. Uneven trimming indicates misalignment that requires immediate correction.
Step 4: Setting Up the Heating Plate
Install the heating plate onto its dedicated stand or mounting bracket. Temperature accuracy is the single most critical parameter in butt fusion welding. Use a calibrated digital thermometer to verify that the plate surface temperature matches the required range — typically 200°C to 220°C for PE materials, in accordance with PPI butt fusion procedure guidelines. Allow the heating plate to stabilize at the target temperature for at least 10 minutes before beginning any welding operation. Check for uniform heat distribution across the entire plate surface using a thermal imaging camera if available.
Step 5: Connecting the Hydraulic Power Unit
For hydraulic butt fusion welding machines, connect the hydraulic hoses between the power unit and the machine carriage cylinders. Bleed the hydraulic system by cycling the carriage through its full range of motion several times to remove any trapped air. Check all fittings for leaks and verify that the pressure gauge reads zero when the system is at rest. Set the hydraulic pressure according to the pipe material and diameter specifications, referencing the drag pressure compensation if applicable.
Step 6: Calibrating the Control System
For automatic butt fusion welding machines with CNC control systems, power on the unit and navigate to the calibration menu. Input the correct parameters for pipe material grade, wall thickness, and diameter. Verify that the data logging function is operational for traceability purposes. Run a complete simulated cycle without pipes to confirm that all sequences — clamping, facing, heating, fusion, and cooling — execute correctly and within the specified time windows.
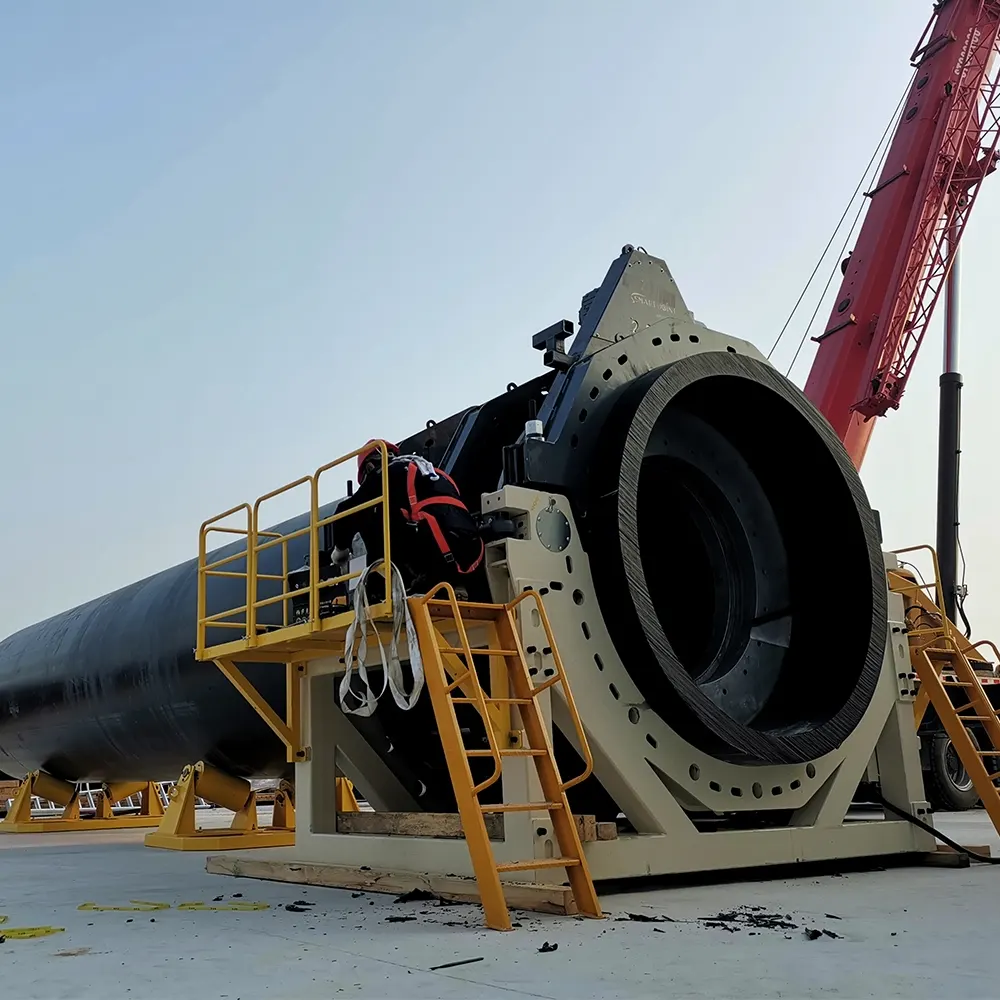
Key Installation Parameters Reference
The following table summarizes the essential parameters to verify during and after installation. These values align with recognized PE pipe jointing methods and international standards.
| Parameter | Recommended Range | Verification Method |
|---|---|---|
| Heating Plate Temperature | 200°C – 220°C | Calibrated digital thermometer |
| Frame Level Tolerance | ≤ 0.5 mm/m | Precision spirit level |
| Clamp Alignment Deviation | ≤ 0.2 mm | Feeler gauge or dial indicator |
| Hydraulic System Pressure | Per pipe spec + drag compensation | Pressure gauge and calculation chart |
| Power Supply Stability | ±5% of rated voltage | Multimeter reading under load |
Best Practices for Optimal Machine Performance
- Always Perform a Dry Run: Before welding production pipes, run a complete cycle with the actual pipe material to validate all settings and operator familiarity.
- Document Installation Settings: Record all calibration values, including heating plate temperature, hydraulic pressure, and cooling time, in a setup log for future reference and quality audits.
- Train Operators Thoroughly: Ensure that every operator understands not only how to run the machine but also the fundamental principles of butt fusion welding and the importance of each installation parameter.
- Schedule Routine Re-Verification: Re-check frame level, clamp alignment, and temperature accuracy at regular intervals — especially after relocating the machine or completing a major project.
- Use Only Genuine Spare Parts: When replacing heating plates, trimmer blades, or hydraulic seals, always use manufacturer-approved components to maintain system integrity.
Common Installation Mistakes to Avoid
Even experienced technicians can overlook certain details during setup. The following errors are among the most frequent causes of substandard welds:
- Skipping the drag pressure measurement — this leads to incorrect fusion pressure and weak joints.
- Using a contaminated or worn heating plate — residual PE on the plate surface causes uneven heat transfer.
- Neglecting to bleed the hydraulic system — air in the lines causes jerky carriage movement during fusion.
- Relying on the heating plate’s built-in thermometer only — always cross-verify with an external calibrated device.
- Insufficient cooling time before clamp release — premature release compromises joint integrity.
Maintenance After Installation
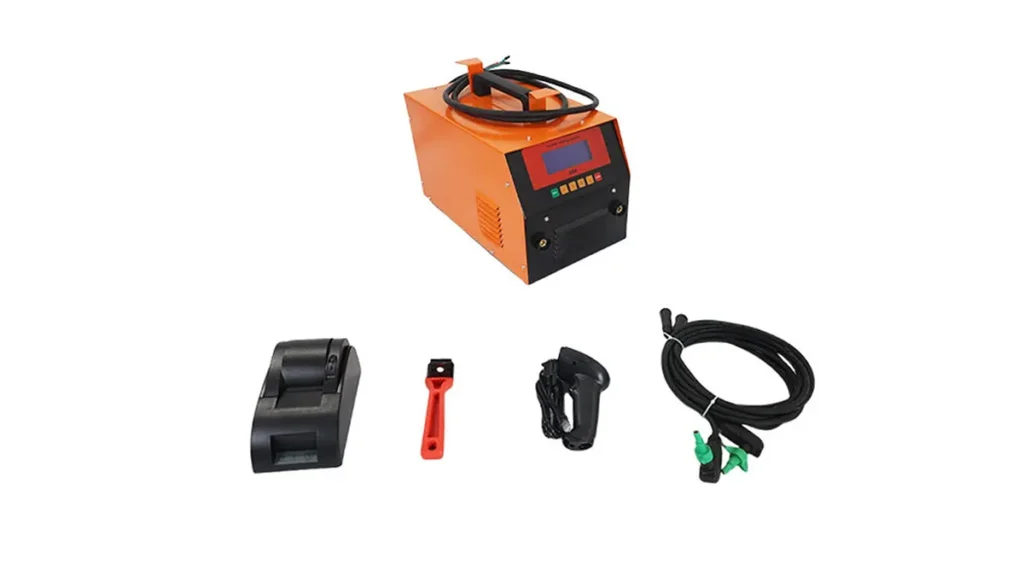
Once the HDPE pipe jointing machine is fully installed and operational, establish a preventative maintenance schedule. Clean the heating plate after each use while it is still warm. Inspect hydraulic hoses for signs of wear monthly. Lubricate all moving parts on the guide rails and clamp mechanisms according to the manufacturer’s recommendations. For machines equipped with electrofusion capabilities, test the electrical output periodically to ensure consistent fusion parameter delivery.
Companies like JQ-Fusion provide comprehensive installation support and after-sales guidance to help contractors achieve reliable, repeatable welding results across diverse project environments.
For additional technical guidance, refer to the PPI Handbook of Polyethylene Pipe, which offers in-depth coverage of joining procedures, or consult relevant international standards for PE butt fusion equipment specifications.