
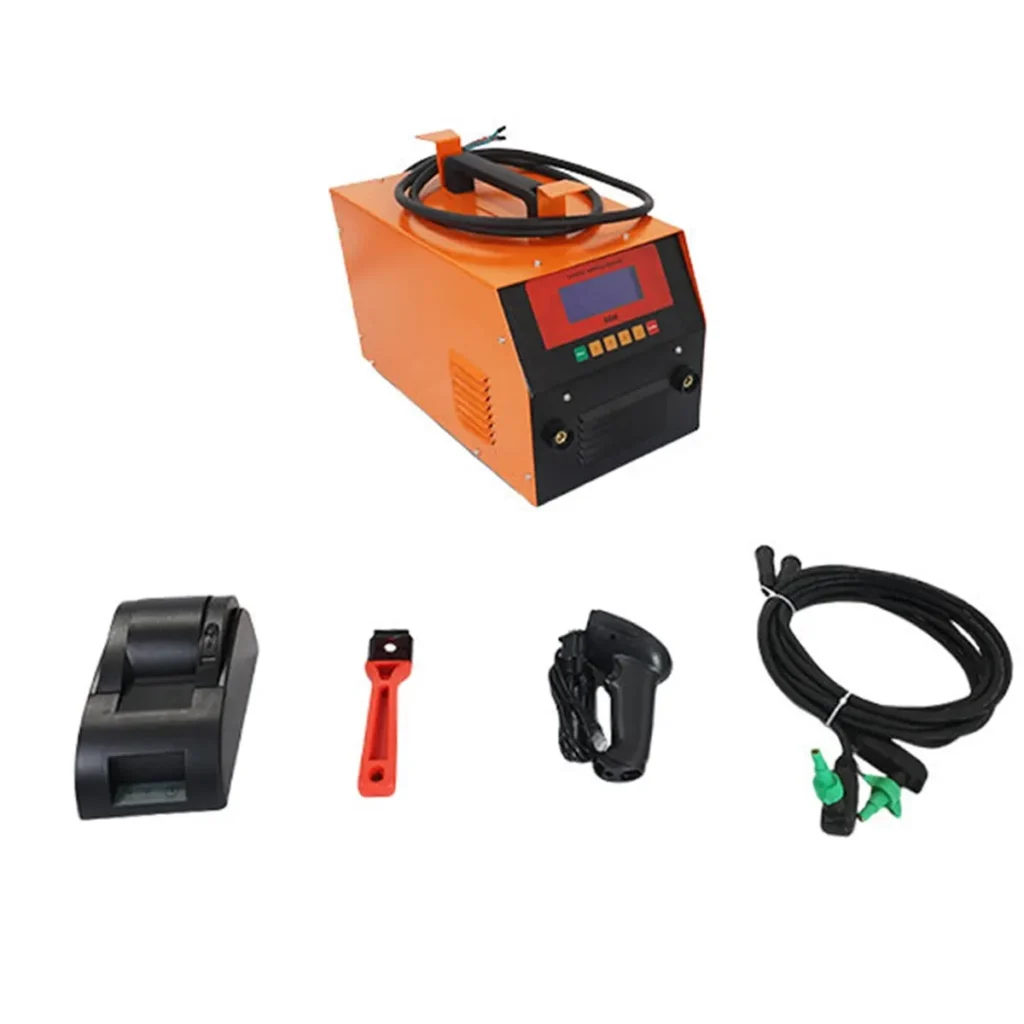
Electrofusion welders are essential tools for joining HDPE pipelines, but when a machine displays a fault code it can halt work and create costly downtime. This guide explains common electrofusion welder fault codes, what they mean, likely causes, and practical troubleshooting steps to get systems back online quickly and safely.
How Electrofusion Welders Present Fault Codes
Most modern electrofusion welders use a digital display to show alphanumeric fault codes or error messages. Codes may be shown as short codes (e.g., E01, Err02) or descriptive phrases (e.g., “TEMP SENSOR”). Understanding the display format and the welder’s manual is the first step in efficient troubleshooting.
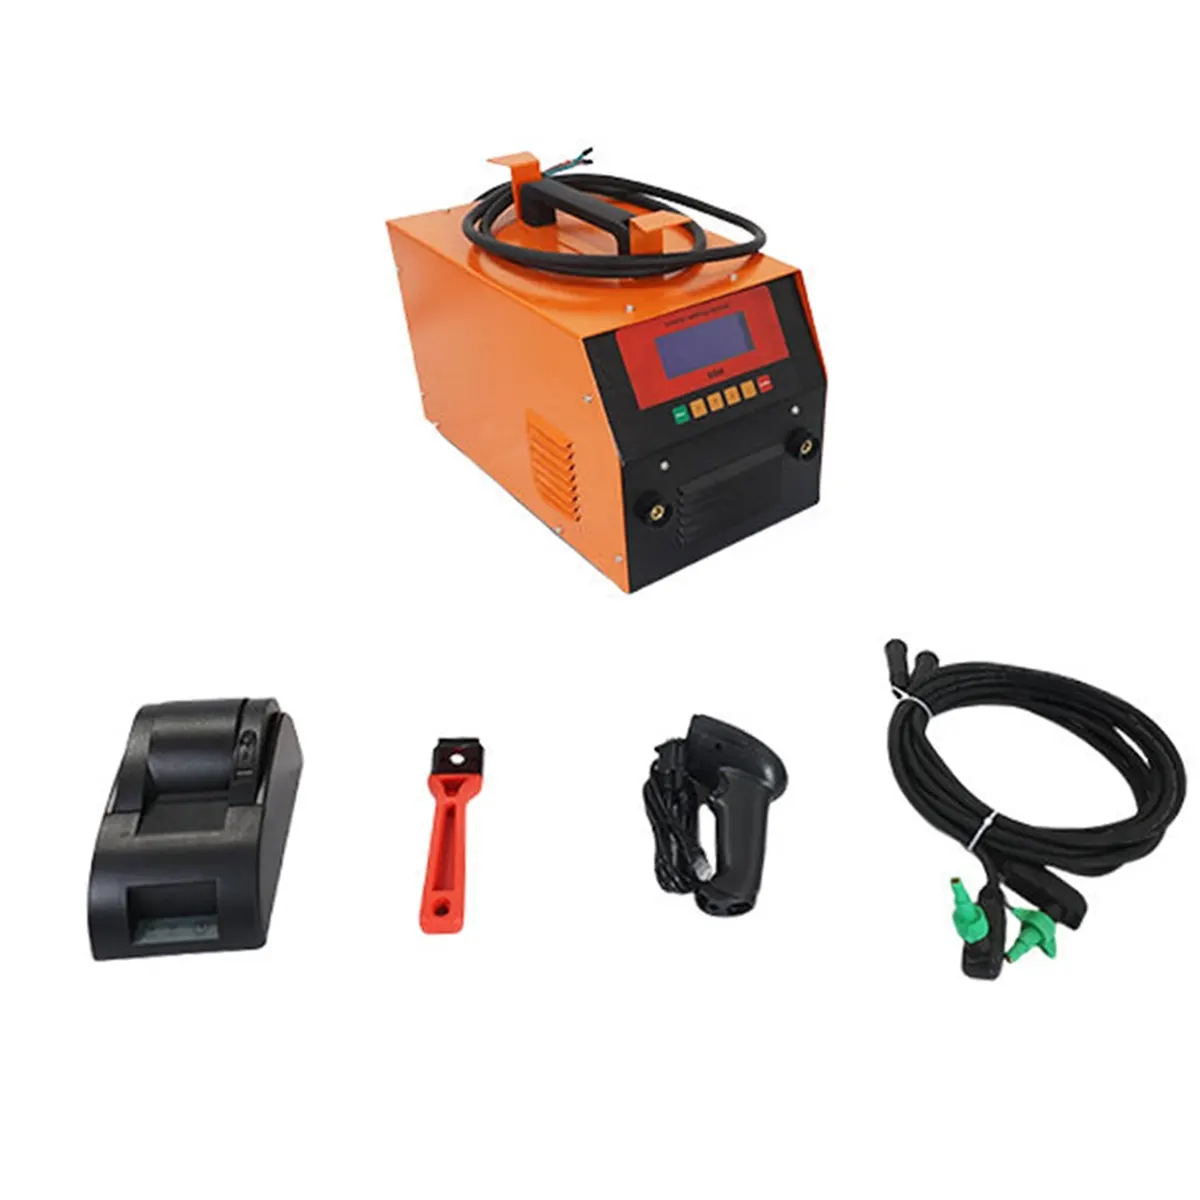
Why quick diagnosis matters
Delays in resolving faults can affect weld quality, project timelines, and safety. Simple fixes like resetting the unit or replacing a fuse can be done onsite, while sensor failures or PCB issues may require workshop repair. Use the table below as a fast reference to identify whether a code points to an operator action, a component replacement, or professional service.
Quick Reference: Common Fault Codes & Troubleshooting
| Fault Code | Meaning | Likely Cause | Quick Fix |
|---|---|---|---|
| E01 / OV (Overcurrent) | Power draw too high during weld | Shorted heating coil, damaged fitting, or supply surge | Inspect fitting, check mains supply, replace cable or fitting if shorted |
| E02 / LV (Low Voltage) | Input voltage below safe threshold | Weak battery, long cable drop, or poor generator output | Use stable power source, charge/replace battery, reduce cable length |
| E03 / TS (Temp Sensor) | Temperature sensor fault or out-of-range reading | Loose sensor lead, damaged thermistor, or probe failure | Check sensor connection, swap sensor if available, avoid welding until resolved |
| E04 / HT (Heater Fault) | Heater element open or short | Damaged heating element in fitting or cable break | Replace heating cable or fitting; verify continuity before use |
| E05 / COM (Communication) | Module communication error | Loose ribbon cable, faulty controller board, software glitch | Reboot unit, check internal connections, update firmware if available |
| E06 / TO (Timeout) | Weld or command timed out | Interrupted power, operator paused sequence, or sensor delay | Verify power stability, restart weld program, re-attempt following correct sequence |
| E07 / FUSE | Internal fuse blown | Short circuit or surge event | Replace fuse with specified rating and investigate cause |
| E08 / CAL (Calibration) | Calibration needed | Drift in sensors or new components installed | Run calibration routine per manual or schedule service calibration |
| E09 / MEM (Memory) | Faulty configuration or corrupted memory | Software file corruption or failing memory chip | Reboot, reload firmware/config, contact service if persists |
| E10 / OH (Overheat) | Device overheating | Blocked ventilation, extreme ambient temperature, prolonged cycles | Allow cool down, improve ventilation, avoid continuous heavy cycles |
Step-by-step Troubleshooting Workflow
Step 1 — Record the code and conditions: Note the exact fault code, welding stage, ambient temperature, and power source. Photographs of the display can help later diagnostics.
Step 2 — Basic resets and checks: Power cycle the unit, verify input voltage with a multimeter, and inspect cables, clamps, and connectors for visible damage.
Step 3 — Isolate the component: Swap known-good heating fittings, sensors, or cables if available. If replacing a part clears the error, the cause is confirmed.
Step 4 — Consult the manual: Follow the manufacturer’s recommended fault-resolution sequence. If a calibration or firmware update is indicated, perform those steps only if qualified.
Step 5 — Escalate when needed: For persistent errors, physical damage, or internal board faults, stop onsite fixes and send the machine to a certified service technician.
Field Safety and Best Practices
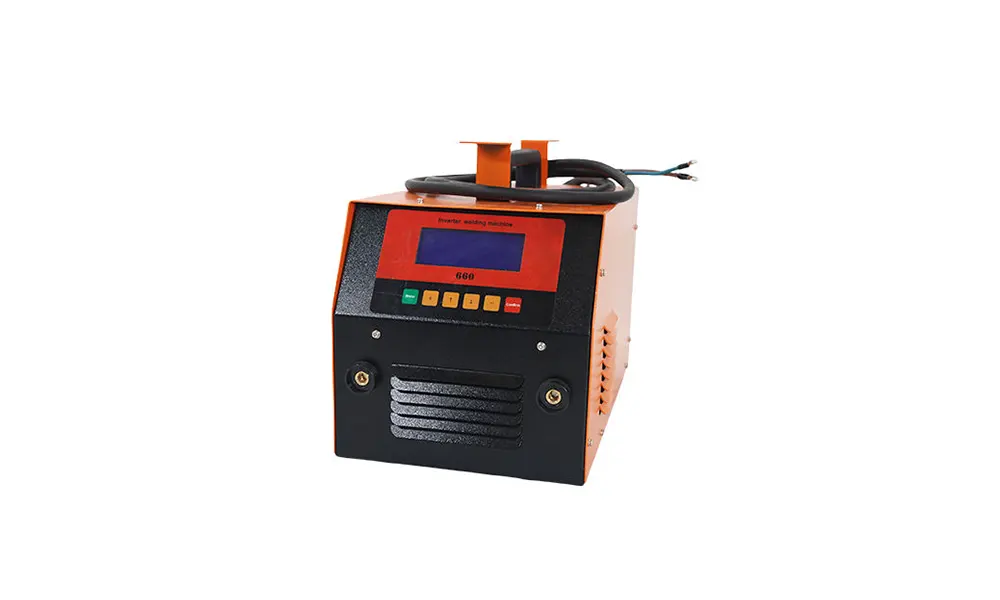
Always disconnect power before inspecting or replacing internal components. Use insulated tools, wear appropriate PPE, and follow site electrical safety procedures. Never bypass safety interlocks to force a weld — that risks injury and poor weld integrity.
Preventive Maintenance to Reduce Faults
Regular maintenance keeps fault codes to a minimum. Recommended actions include checking cables and clamps daily, verifying battery health monthly, keeping ventilation unobstructed, and scheduling calibration per the manufacturer’s intervals.
When to Contact Professional Service
Seek professional repair if you see persistent E03 (sensor failure), E05 (communication), E09 (memory), or any fault after replacing obvious components. Complex circuit board issues, internal power supply faults, and repeated fuse blows require specialist diagnosis.
Quick Tips for Field Technicians
Keep a small kit with spare fuses, sensor leads, a handheld multimeter, and manufacturer-approved cables. Maintain a log of fault codes and resolutions to build a site-specific troubleshooting knowledge base that speeds future repairs.
Further Resources
If you need replacement parts or factory support, contact the equipment supplier or the original manufacturer. For example, JQ-Fusion (https://jq-fusionwelding.com/) provides electrofusion and HDPE welding solutions and can advise on parts and service options.



