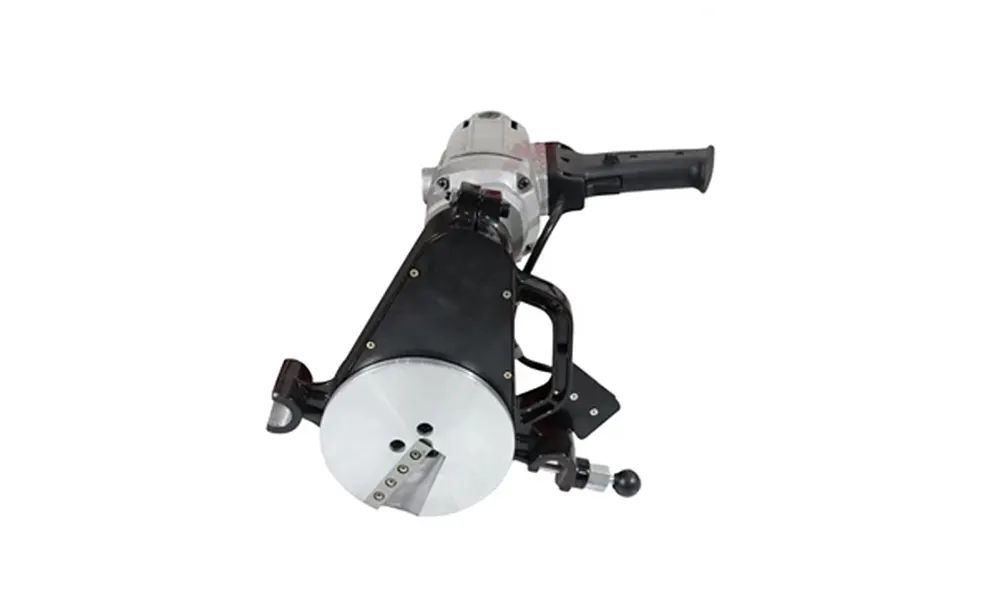
Butt fusion welding is the most widely used method for joining high-density polyethylene (HDPE) pipes in water supply, gas distribution, and industrial piping systems. If you are new to pipe welding, learning how to use an HDPE fusion machine correctly is essential to achieving strong, leak-free joints. This guide walks you through every step of the process, from preparation to final inspection, helping beginners build confidence and avoid costly mistakes.
What Is an HDPE Fusion Machine?
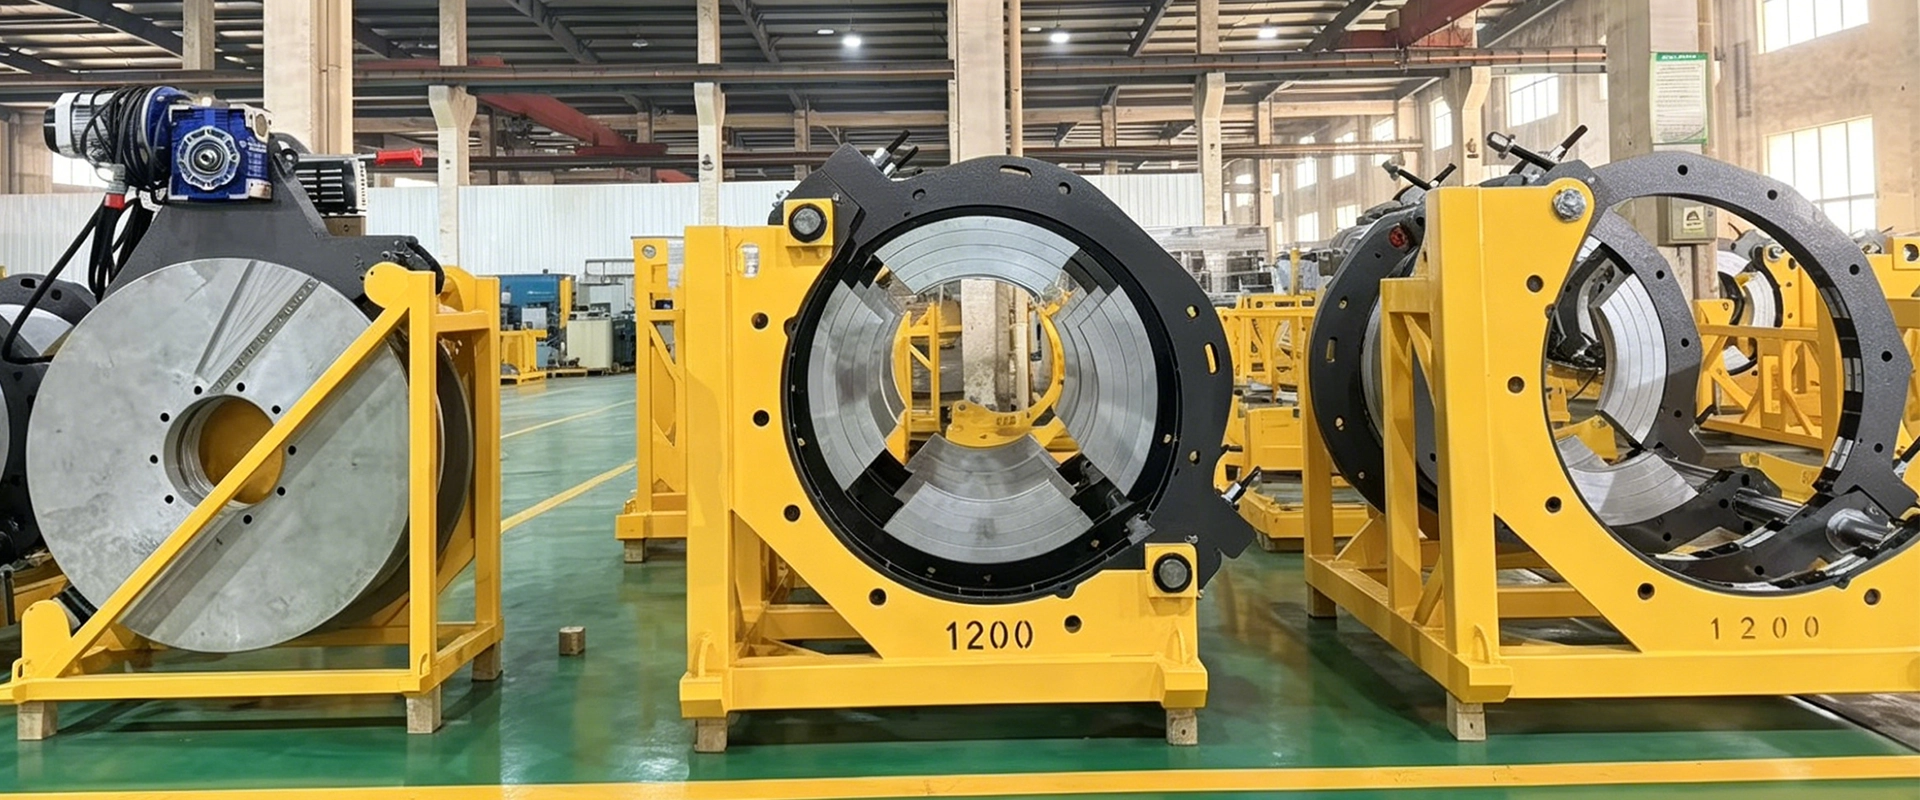
An HDPE fusion machine, commonly referred to as a butt fusion welding machine, is a specialized tool designed to heat and join two polyethylene pipe ends under controlled pressure. The process involves heating the pipe ends to a specific temperature, then pressing them together to form a homogeneous joint that is as strong as the pipe itself. This technique is governed by international standards such as ISO 21307 butt fusion procedures to ensure consistent weld quality across different applications.
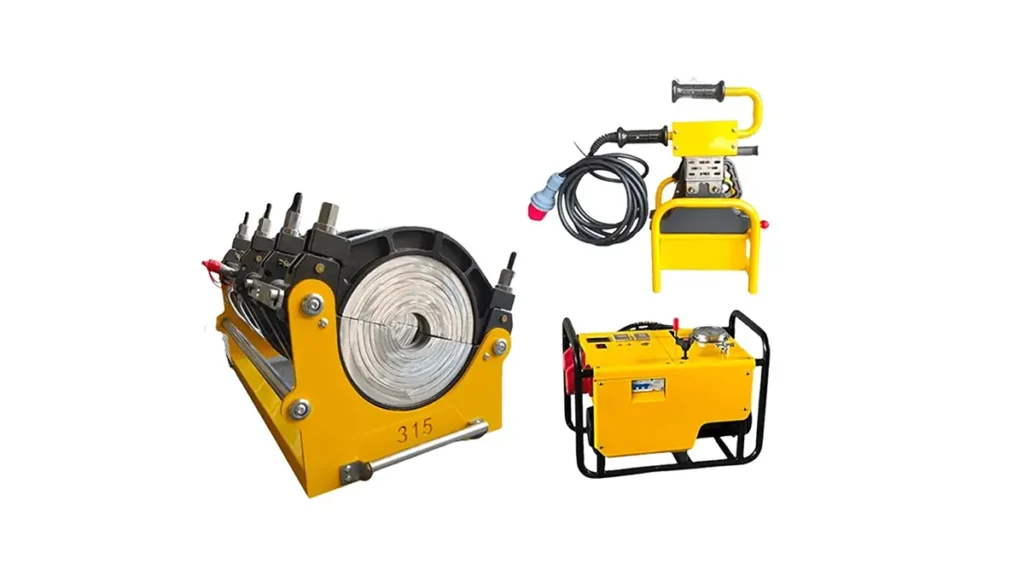
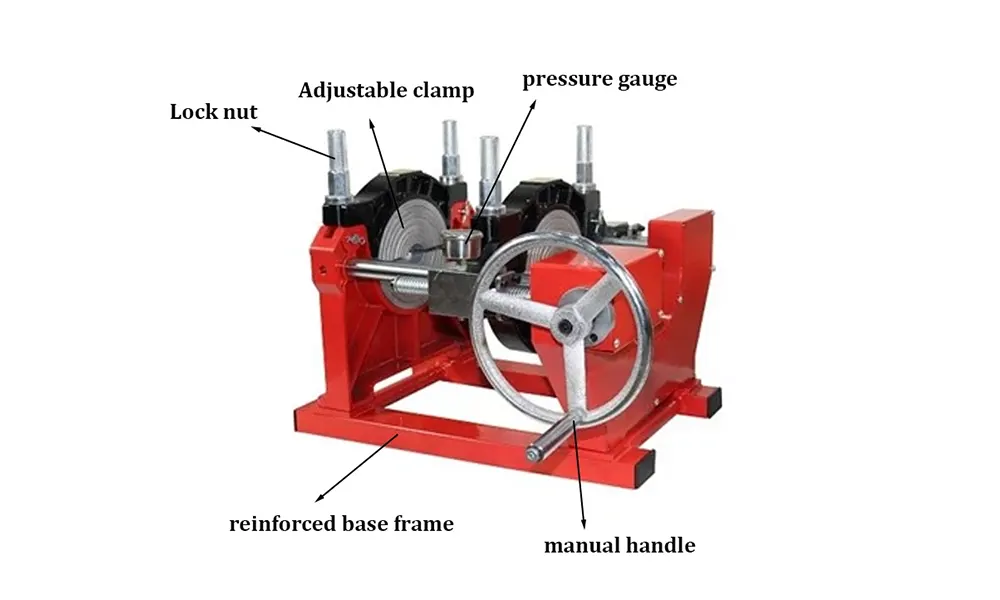
There are several types of fusion machines available depending on pipe diameter and project scale. A manual butt fusion welding machine is ideal for small-diameter pipes and on-site repairs, while a hydraulic butt fusion machine provides the clamping force needed for medium to large pipes. For high-precision work, a CNC automatic butt fusion machine records and controls every parameter automatically, reducing human error significantly.
Safety Preparations Before Welding
Before operating any HDPE pipe welding equipment, safety must be your top priority. Follow these essential preparations:
- Wear personal protective equipment (PPE): Heat-resistant gloves, safety glasses, and long-sleeved clothing are mandatory when handling heated components.
- Inspect the work area: Ensure the workspace is clean, dry, and free from flammable materials. Outdoor welding should be protected with a shelter or tent in windy or wet conditions.
- Check the power supply: Verify that the generator or mains power matches the machine’s voltage and frequency requirements to avoid electrical hazards.
- Review the pipe material: Confirm that both pipes are made from compatible PE grades. Refer to PE butt fusion equipment standard guidelines for material compatibility.
Step-by-Step Guide to Using an HDPE Fusion Machine
Step 1 – Prepare the Pipe Ends
Clean both pipe ends thoroughly with a lint-free cloth and isopropyl alcohol. Remove any dirt, grease, or moisture that could contaminate the weld. Inspect the pipe surfaces for deep scratches, cuts, or UV damage. Damaged sections should be cut back to expose fresh material. The pipe ends must be dry and free from oxidation before proceeding.
Step 2 – Align and Clamp the Pipes
Place both pipes into the machine’s clamps and tighten them securely. The pipe alignment is critical — both pipe ends must be perfectly concentric. Use the machine’s alignment features to check that there is no angular misalignment. Misaligned pipes will produce poor-quality joints and may fail under pressure. On a hydraulic butt fusion machine, activate the movable clamp to bring the pipe ends close together for the next step.
Step 3 – Facing the Pipe Ends
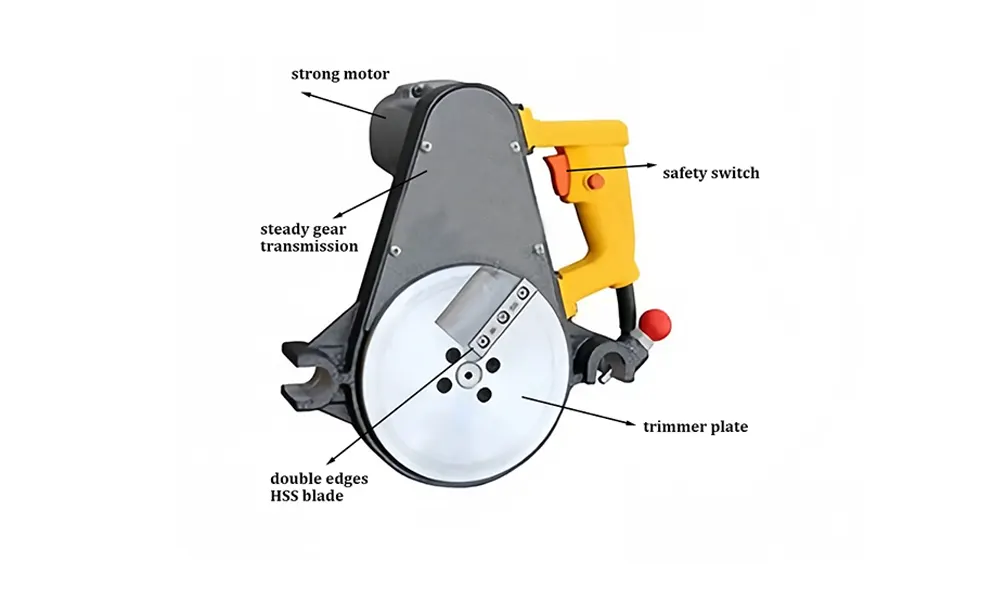
Insert the facing tool (trimmer) between the two pipe ends and apply steady pressure. Rotate the trimmer to shave both pipe faces simultaneously until a continuous, thin shaving emerges from both sides. This process creates clean, parallel, and smooth surfaces that will bond evenly during fusion. Do not touch the faced surfaces with bare hands after trimming — skin oils can compromise weld integrity.
Step 4 – Heating Phase
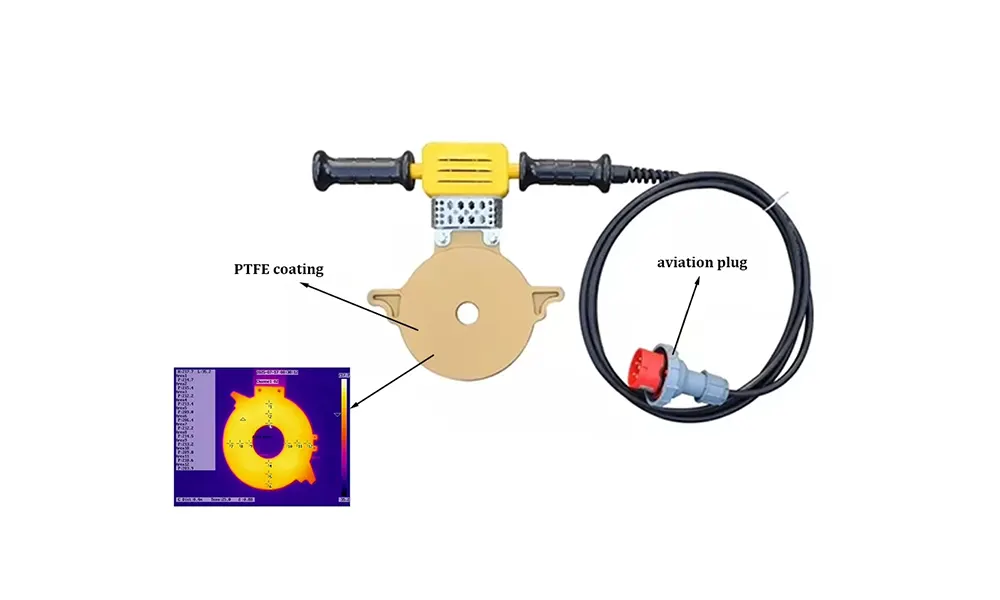
Set the heating plate temperature according to the pipe manufacturer’s specifications, typically between 200°C and 230°C (392°F to 446°F) for HDPE. Check the plate surface with a temperature indicator or thermal probe to confirm uniform heat distribution. Bring the pipe ends into contact with the heating plate under the specified bead-up pressure. Once a uniform melt bead forms around both pipe circumferences, reduce the pressure to the heat soak pressure and allow the specified soak time to elapse.
Step 5 – Fusion Joining
After the heating cycle is complete, quickly remove the heating plate and bring the molten pipe ends together in one smooth motion. The fusion pressure must be applied within the specified dwell time (also called changeover time) to prevent the material from cooling prematurely. Maintain this pressure steadily — do not adjust or release it during the initial joining phase. A uniform double melt bead should form on both the inside and outside of the joint.
Step 6 – Cooling Phase
Hold the pipes in the clamps under full fusion pressure throughout the entire cooling time. This is one of the most common areas where beginners make mistakes. Removing the pipe too early can result in a weak joint that fails during pressure testing. The cooling time depends on the pipe wall thickness and ambient temperature. Only release the clamps after the joint has cooled completely to ambient temperature. After removal, visually inspect the bead for uniformity and measure its dimensions against the ASTM F2620 heat fusion acceptance criteria.
Key Parameters for Successful Butt Fusion
The table below outlines the critical welding parameters that must be followed for reliable HDPE butt fusion results. Always consult the pipe manufacturer’s specific recommendations, as values may vary slightly by resin grade and wall thickness.
| Parameter | Recommended Range | Notes |
|---|---|---|
| Heating Plate Temperature | 200°C – 230°C (392°F – 446°F) | Check with calibrated thermometer |
| Bead-Up Pressure | 0.15 – 0.20 MPa (1.5 – 2.0 bar) | Adjust for pipe diameter and SDR |
| Heat Soak Pressure | 0.01 – 0.02 MPa (drag pressure) | Just enough to maintain contact |
| Dwell Time (Changeover) | As short as possible (max 6–8 seconds) | Faster for small pipes, critical for quality |
| Fusion Pressure | 0.15 – 0.20 MPa | Same as bead-up pressure |
| Cooling Time Under Pressure | Based on wall thickness (see manufacturer chart) | Do not disturb during cooling |
Common Mistakes to Avoid
Even experienced operators can make errors. Beginners learning how to use an HDPE fusion machine should pay special attention to these frequent pitfalls:
- Skipping the facing step: Failing to properly face pipe ends leaves oxidized material that will not bond correctly, leading to weak joints.
- Incorrect heating temperature: Too low, and the material won’t melt sufficiently; too high, and the polyethylene degrades, compromising joint strength.
- Exceeding the dwell time: A slow changeover allows the molten surfaces to cool, resulting in a cold joint with poor fusion integrity.
- Releasing clamps too early: Removing pressure before the joint is fully cooled causes residual stress and potential joint failure under load.
- Contaminated pipe surfaces: Dirt, moisture, or oil on the pipe ends act as a barrier to proper molecular bonding during fusion.
- Ignoring environmental conditions: Wind, rain, or extreme temperatures can affect heating consistency and cooling rates if not properly managed.
Choosing the Right Fusion Machine for Your Project
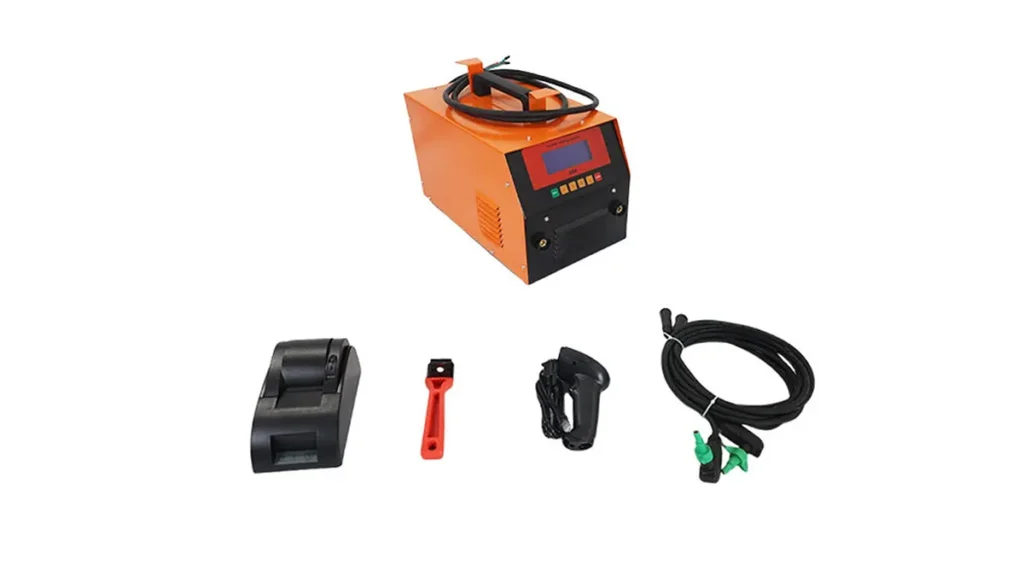
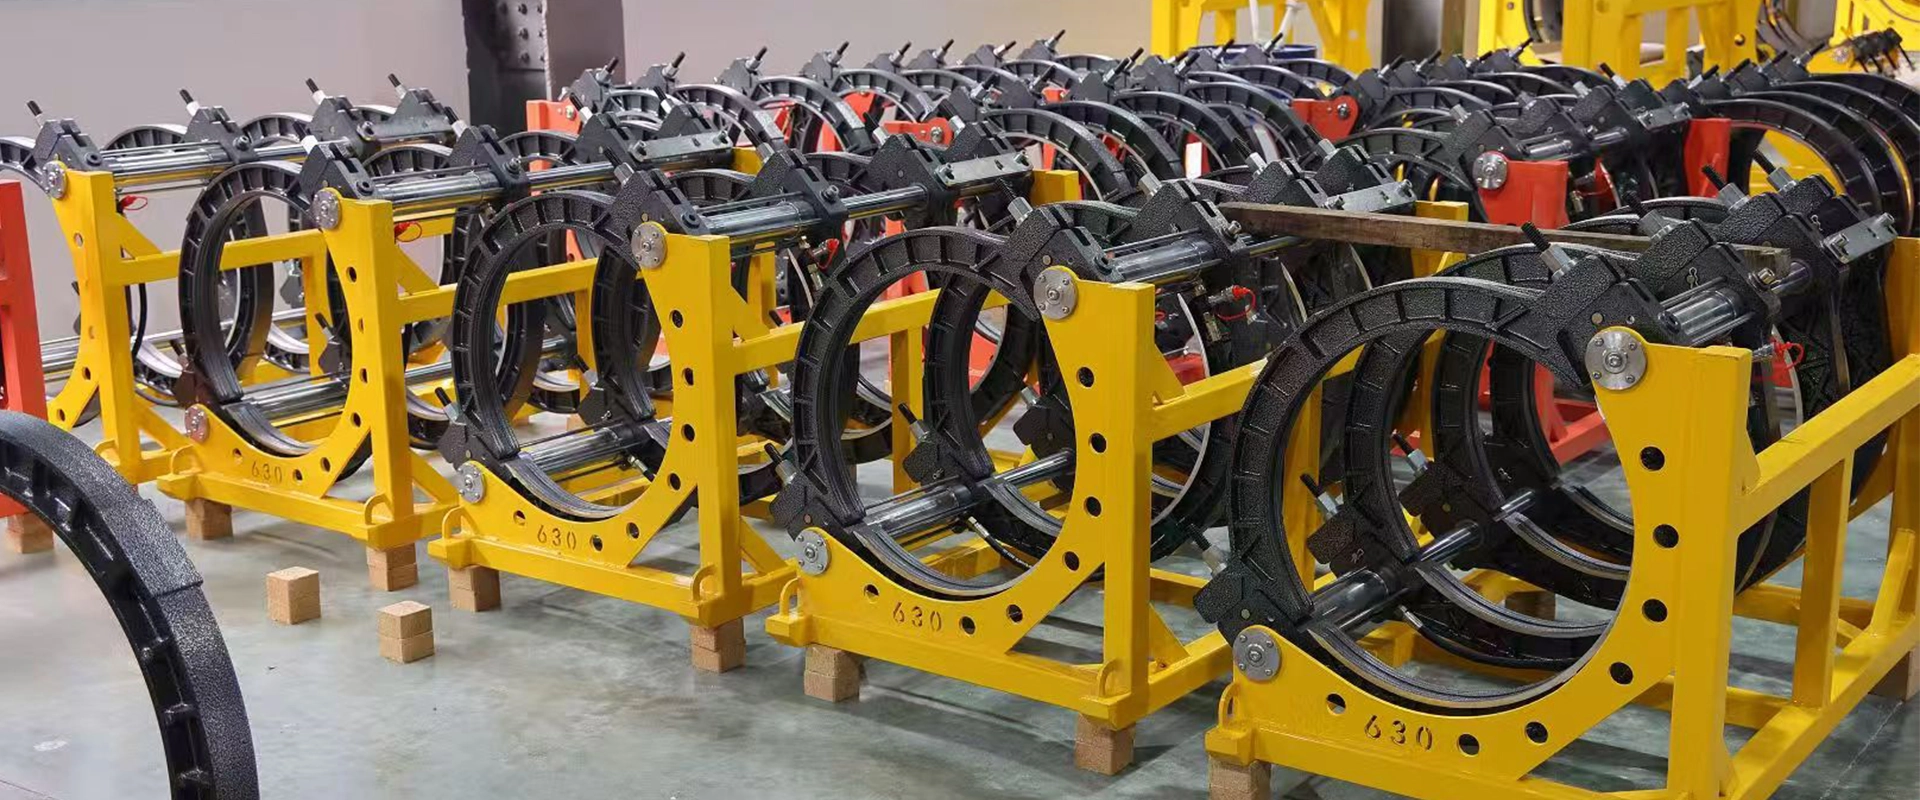
Selecting the appropriate equipment is just as important as mastering the welding technique. For small-diameter pipes (20mm to 315mm), a manual butt fusion welding machine offers simplicity and portability at a lower cost. Medium to large pipes (200mm to 1200mm) typically require a hydraulic butt fusion machine to generate sufficient clamping and fusion force. For critical infrastructure projects where traceability and consistency are paramount, a CNC automatic butt fusion machine with data logging capabilities is the preferred choice. In some applications, an electrofusion machine may be more suitable, especially for repairs or tight spaces where butt fusion is impractical. Refer to guidance from the PPI butt fusion procedure for detailed equipment selection criteria.
JQ-Fusion is a professional manufacturer specializing in HDPE pipe welding machines, offering a complete range from manual to CNC automatic models. With strict quality control and customizable options, their equipment supports reliable infrastructure projects worldwide.
Final Inspection and Quality Assurance
After the joint has fully cooled, perform a thorough visual inspection. The external melt bead should be uniform in size and shape around the entire circumference. There should be no visible gaps, cracks, or discoloration. For critical applications, additional non-destructive testing such as ultrasonic inspection or hydrostatic pressure testing may be required according to project specifications. Always document the welding parameters — including date, operator name, machine serial number, heating temperature, and pressure settings — for traceability and quality records. Industry guidelines such as PE fusion operator requirements emphasize the importance of qualified personnel for consistent results.
Conclusion
Mastering how to use an HDPE fusion machine takes practice, patience, and strict adherence to proven procedures. By following the steps outlined in this guide — from proper surface preparation and accurate temperature control to disciplined cooling practices — beginners can produce strong, reliable butt fusion joints that meet industry standards. Remember that each weld is only as good as the attention given to every detail in the process. With the right training, equipment, and commitment to quality, you can achieve professional-grade results on every project.