When an HDPE pipeline fails at the joint, the problem is rarely “just the weld.” In most cases, poor weld quality comes from a combination of surface contamination, incorrect heating, bad alignment, poor timing, or unstable equipment settings. The good news is that many defective joints can be diagnosed, repaired, and prevented with the right method. Whether you are working on water supply, gas distribution, mining, or industrial piping, learning how to fix poor HDPE weld joints can save time, reduce waste, and improve long-term system reliability.
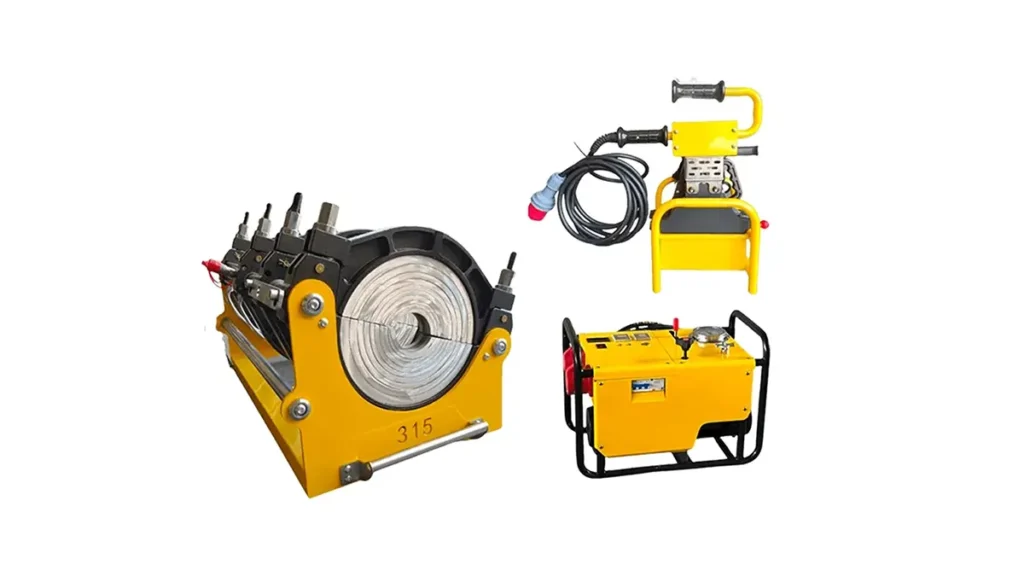
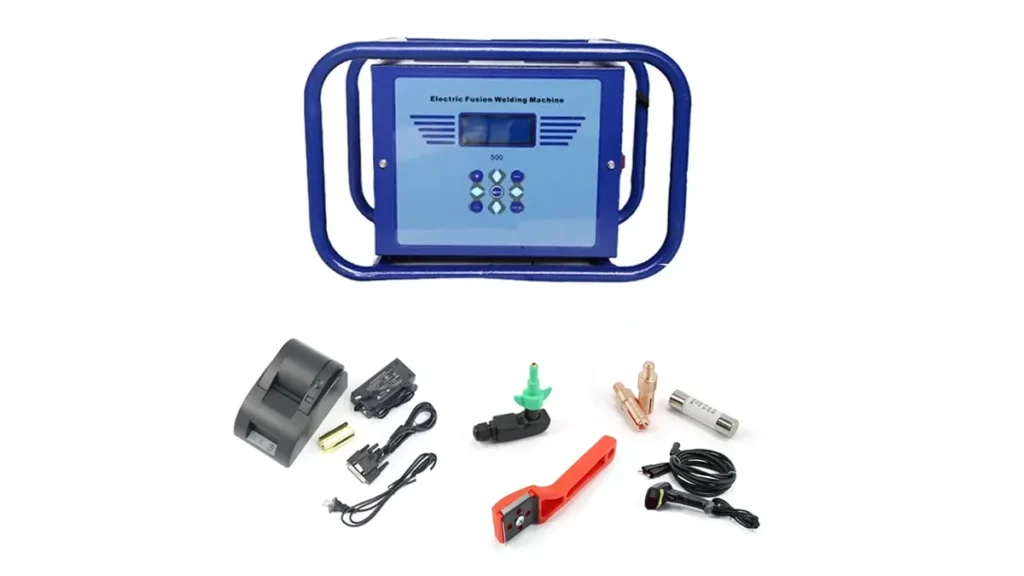
HDPE butt fusion welding depends on temperature control, clamping accuracy, operator skill, and strict process discipline. A small mistake in one step can affect the entire joint. That is why reliable equipment matters. Many contractors prefer a stable butt fusion machine because consistent pressure, accurate heating, and proper alignment are essential for producing strong fusion joints. With the right approach, even teams working in demanding field conditions can improve weld quality significantly.
What a Poor HDPE Weld Joint Looks Like
Before fixing a bad joint, you must first recognize the warning signs. A defective HDPE weld may show uneven beads, visible gaps, excessive flash, underfusion, misalignment, burn marks, or a cold-looking joint surface. Sometimes the failure is obvious immediately after cooling, but in other cases the flaw only appears later under pressure testing or during service. The earlier you identify the defect, the lower the risk of system failure.
Key warning signs: irregular bead formation, pipe ovality, contamination at the fusion face, insufficient heat soak, and visible separation at the joint line.
A visually acceptable bead does not always mean the weld is strong. Some joints look smooth but still contain internal weakness caused by low temperature, insufficient fusion pressure, or poor preparation. That is why visual inspection should always be combined with process review and, when possible, pressure testing.
Step 1: Stop and Inspect the Weld Immediately
If a problem is discovered during or after welding, the first action is to stop further use of that joint. Do not apply pressure or continue installation until you understand the issue. Inspect the weld area carefully for contamination, alignment problems, bead symmetry, and any signs of overheating or underheating. If the weld is still within the cooling period, avoid disturbing the joint because movement can make the defect worse.
Use a clean light source and check the entire circumference of the bead. Look for areas where the bead is too small, too large, or inconsistent. Compare both sides of the joint. A healthy HDPE weld should typically show balanced squeeze-out and a uniform appearance. If the shape varies sharply from one side to the other, the root cause may be bad clamping, unequal pipe ends, or improper facing.
Step 2: Identify the Root Cause Before Repairing
Fixing the visible defect is not enough if the real cause remains unresolved. Most poor HDPE weld joints are caused by one or more of the following issues:
• Contamination: Dirt, oil, moisture, dust, or oxidation on the pipe ends prevents proper fusion.
• Incorrect temperature: The heater plate is too hot or too cold, causing overheating or incomplete melting.
• Bad alignment: Misaligned pipes create uneven stress and reduce joint integrity.
• Insufficient pressure: Too little fusion pressure can leave internal gaps and weak bonding.
• Timing errors: Heating, changeover, or cooling time outside specification can ruin the joint.
Important: Never assume the defect is only cosmetic. A poor-looking weld may be a sign of a deeper process problem that affects the whole pipeline section.
When troubleshooting, review the full welding cycle: pipe preparation, clamping, facing, heater temperature, heat soak, changeover, fusion pressure, and cooling time. If you skip this process review, the same defect is likely to happen again on the next joint.
Step 3: Remove the Defective Joint if Necessary
In most serious cases, a poor HDPE weld joint should not be repaired in place. The safest option is to cut out the defective section and re-weld it correctly. If the weld is structurally compromised, any attempt to “patch” it may create a future failure point. This is especially important in pressure systems where joint integrity is critical.
Before cutting, verify the extent of the defect. If the damage is localized and the pipe length allows, remove the failed joint completely. Then prepare fresh pipe ends with clean cutting tools. Make sure the new ends are square, smooth, and free from debris. Never reuse a contaminated or distorted fusion face.
When the defective section is removed, protect the open pipe ends from dirt and moisture. Even a short exposure to dust can affect the next weld. Clean storage and proper handling are essential parts of repair work.
Step 4: Reprepare the Pipe Ends Correctly
Pipe preparation is one of the most important stages in HDPE welding. Start by trimming the ends evenly and ensuring the pipe is round and properly inserted in the clamps. If the pipe is oval or damaged, reshape or replace the section before proceeding. After clamping, face the pipe ends to create clean, parallel surfaces. Remove only the minimum material needed to achieve a smooth finish.
After facing, avoid touching the prepared surfaces with bare hands. Oils from skin can affect fusion quality. Clean the ends using approved lint-free cloths and suitable methods recommended for the material and jobsite conditions. If oxidation is present, remove it fully. Fusion should always be done on fresh, uncontaminated surfaces.
Best practice: A perfect weld starts with perfect preparation. Clean, square, aligned pipe ends are more important than trying to “fix” problems later.
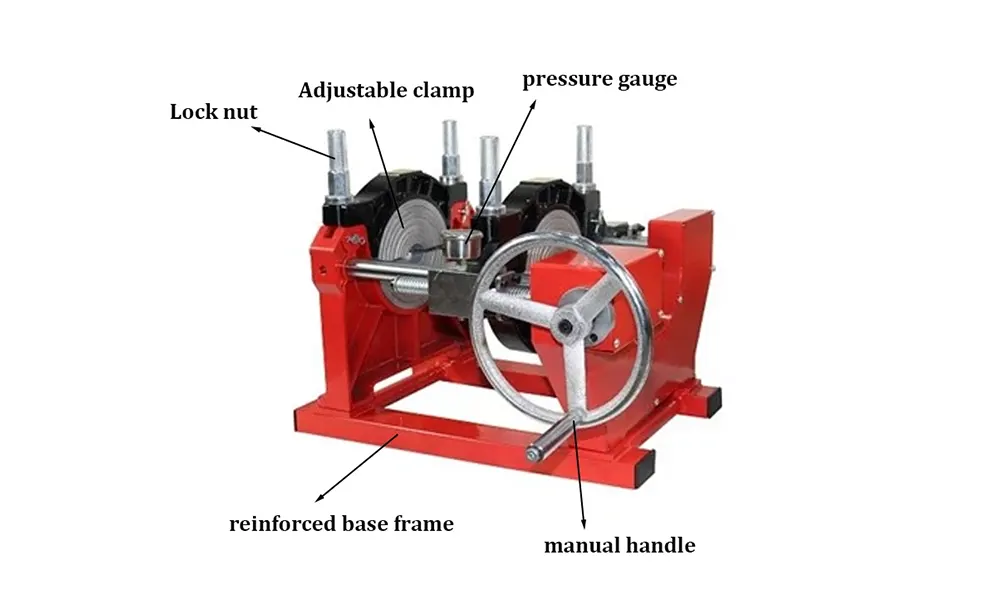
Step 5: Check Equipment Accuracy and Machine Condition
Even skilled operators cannot produce good welds with inaccurate equipment. Heater plate temperature, hydraulic pressure, timer settings, and clamp alignment all affect the final result. If your machine is unstable, inconsistent joints will continue to appear no matter how carefully the operator works.
Inspect the welding equipment before restarting the job. Confirm that the heater plate is within the required temperature range and that its surface is clean and undamaged. Check the hydraulic system for leaks or pressure fluctuations. Make sure the clamp system holds the pipe firmly and keeps both ends aligned throughout the cycle. If the machine shows signs of wear or inconsistent performance, maintenance should be performed before the next joint.
For contractors seeking dependable performance, choosing equipment with stable clamping, accurate heating, and reliable control systems can reduce repair time and improve overall project quality. Manufacturers with strong QC processes and global support can be especially valuable on complex jobs.
How to Reweld the Joint Properly
Once the issue is corrected, repeat the butt fusion process carefully from the beginning. Heat the pipe ends for the correct amount of time, apply the proper fusion pressure, and keep the changeover time as short as possible. Maintain stable alignment during the cooling phase and avoid moving the pipe until the joint has fully set.
Good process control means following the procedure exactly, not estimating by eye. Each pipe diameter and wall thickness has specific requirements. If the operation team is unsure, they should consult the machine manual, the pipe manufacturer’s data, or the project specification. In difficult field conditions, using a reliable butt fusion machine with proper training support can make a major difference in consistency.
After the new weld cools, perform another visual inspection. Look for symmetry, proper bead formation, and correct joint geometry. If required by the project, conduct pressure testing to confirm that the repaired section meets the required standards before placing it in service.
Common Mistakes That Cause Repeat Failures
Some repairs fail because the same bad habits are repeated. A few of the most common mistakes include rushing the preparation stage, failing to clean the pipe ends, using a heater plate with inaccurate temperature, and allowing the pipe to move during cooling. Another common mistake is trying to salvage a weld that should have been cut out and redone from scratch.
Operator training is often overlooked. Even advanced equipment cannot replace a lack of understanding. Teams should know how to read process parameters, recognize a bad bead, and react quickly when a defect appears. If a crew is working on different pipe sizes or changing site conditions, refresher training is highly recommended.
Quick reminder: Most repeat weld failures come from process discipline issues, not from the pipe material itself.
Preventing Poor HDPE Weld Joints in Future Projects
Prevention is always better than repair. To reduce the chance of poor weld joints, use a stable machine, maintain clean working conditions, and follow standard operating procedures every time. Store pipes properly, protect them from dust and sunlight, and avoid unnecessary handling before welding. Make sure the crew has access to calibrated tools, accurate machine settings, and a clear inspection checklist.
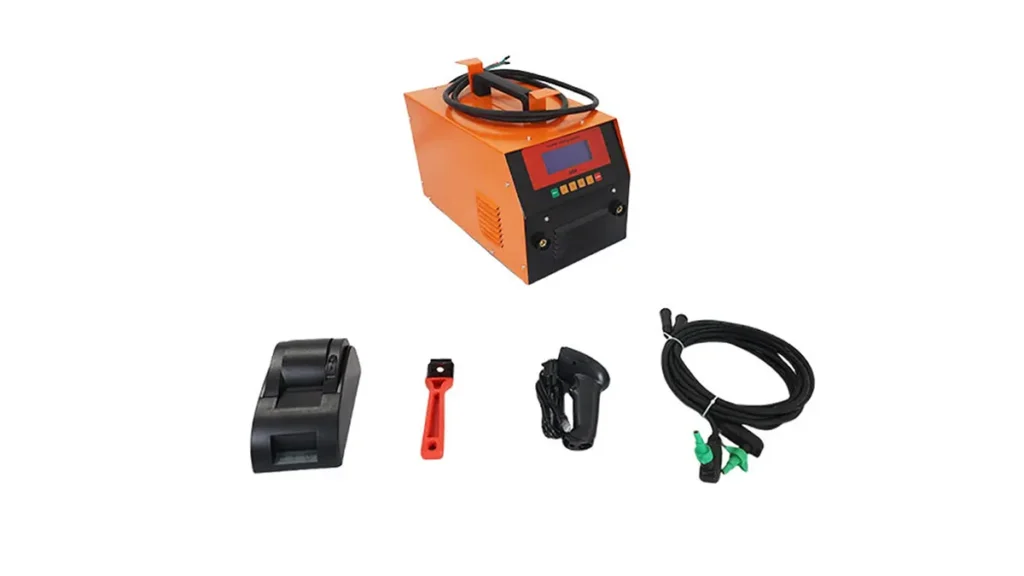
It also helps to choose equipment and suppliers that provide reliable technical support. A well-supported project team can solve problems faster, reduce downtime, and maintain quality across multiple joints. JQ-Fusion, for example, focuses on butt fusion solutions for global pipeline projects, offering manual, hydraulic, and CNC automatic welding systems for different installation needs. Strong manufacturing capability, quality control, and customization support can help contractors achieve more stable results in demanding environments.
For companies planning large-scale pipeline work, machine consistency is not a luxury; it is a requirement. Durable systems, accurate pressure control, and dependable after-sales service help prevent costly rework and project delays. That is why many professionals pay attention not only to the pipe material, but also to the performance of the fusion equipment used on site.
Practical Repair Checklist
1. Stop using the defective joint immediately.
2. Inspect bead shape, alignment, and contamination.
3. Identify whether the cause is preparation, temperature, pressure, or timing.
4. Remove the failed section if structural quality is uncertain.
5. Reprepare pipe ends and clean the fusion surfaces.
6. Verify equipment accuracy before rewelding.
7. Repeat the fusion cycle according to specification.
8. Inspect and test the repaired joint before commissioning.
Why Reliable Equipment Matters So Much
HDPE welding is a controlled process, and every controlled process depends on reliable tools. If temperature control drifts, clamping becomes unstable, or pressure is inconsistent, weld quality will suffer. That is why experienced contractors often invest in trusted welding equipment and technical support rather than relying on guesswork. A reliable machine reduces the number of defects, shortens repair cycles, and improves confidence on site.
When welding projects cover water systems, gas networks, mining lines, or industrial installations, the cost of failure can be significant. Rework means extra labor, extra material, and extra downtime. In contrast, stable fusion equipment supports better productivity and stronger long-term performance. For this reason, many teams consider machine quality as part of the overall pipeline quality strategy, not just a tool purchase.
Frequently Asked Questions
Q1: Can a poor HDPE weld joint be repaired without cutting it out?
In most critical cases, no. If the weld is structurally weak, the safest solution is to remove the defective section and redo the joint correctly.
Q2: What is the most common reason for bad HDPE welds?
Contamination, incorrect temperature, and poor alignment are among the most common causes of weak or inconsistent joints.
Q3: How do I know if the heater plate temperature is correct?
Use the machine’s calibration and operating specification. The heater should be checked regularly with proper measuring tools, not judged by appearance alone.
Q4: Why does alignment matter so much in butt fusion welding?
Misalignment creates uneven stress across the joint and can weaken the final bond, especially in pressure applications.
Q5: How can I reduce weld defects on future projects?
Use clean materials, accurate equipment, trained operators, and a strict welding procedure for every joint.