
Electrofusion welding machine installation must follow a standardized sequence to ensure reliable HDPE pipe joins, safety compliance, and consistent results. This guide provides a step-by-step process, practical checks, and troubleshooting tips to help technicians and project managers prepare, install, and commission electrofusion equipment effectively.
Overview: Why Standardized Installation Matters
Proper installation reduces weld failures, improves joint integrity, and extends equipment life. A consistent process helps teams meet quality assurance (QA) requirements and local regulatory standards while minimizing downtime on pipeline projects.
Pre-Installation Preparation
Site selection and conditions: Choose a flat, stable surface sheltered from wind and direct sunlight when possible. Ensure ambient temperature and humidity are within the machine’s operating limits.
Tools and consumables: Confirm availability of clean cloths, isopropyl alcohol, correct-sized electrofusion couplers, cable connectors, calibrated thermocouples (if required), and an insulation tester.
Pre-Installation Checklist
| Item | Status / Notes |
|---|---|
| Machine unpacked & inspected | Yes / No — check for damage |
| Power supply & grounding verified | Voltage match & earth continuity |
| Calibration certificates available | Thermocouples, timer & sensor checks |
| Consumables on site | Couplers, scraper, alcohol, tapes |
Step-by-Step Installation Process
Step 1 — Unboxing and Visual Inspection
Inspect the machine for shipping damage, confirm all accessories are present, and verify labels. Check heating plate surfaces, control panel, and cable connectors for signs of impact or corrosion.
Step 2 — Positioning and Mounting
Place the machine on a level platform. Secure mounting brackets or feet if required to prevent movement during welding operations. Leave adequate clearance for cable routing and operator access.
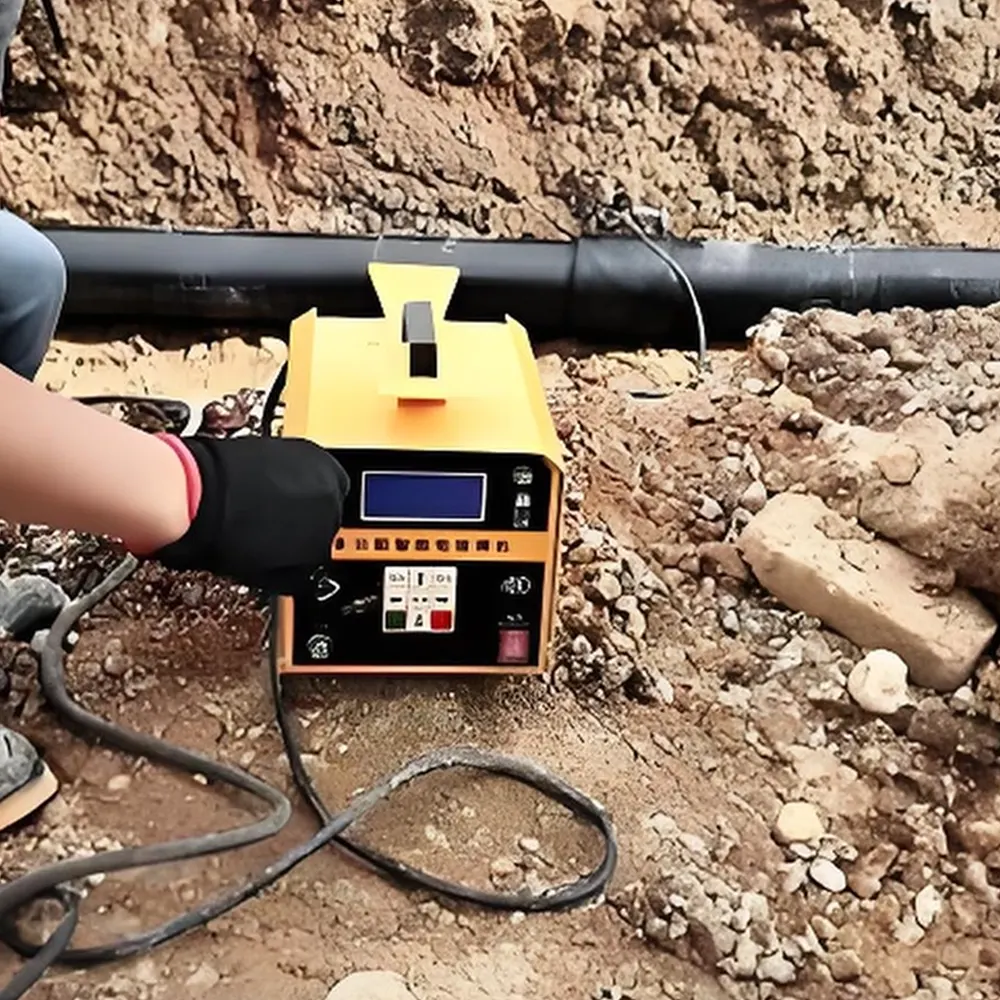
Step 3 — Electrical Connections
Confirm the power supply matches the machine’s rated voltage. Connect a dedicated power circuit and ensure a reliable earth/ground connection. Inspect power cables for damage and secure strain reliefs to avoid connector stress.
Step 4 — Control System & Sensor Setup
Power on the control unit and verify the user interface initializes correctly. If the machine uses external thermocouples or sensors, connect and verify calibration values. Run a diagnostic test according to the manufacturer’s procedure.
Step 5 — Mechanical Interface & Alignment
Install clamps and alignment jaws appropriate for the pipe OD. Clean pipe ends, remove oxides with the proper scraper, and align pipes using chocks or alignment tools to ensure concentricity before electrofusion coupling.
Step 6 — Test Weld and Calibration Verification
Perform a “dry run” test without heat to confirm clamp movement, timer function, and cable connections. Then run a controlled test weld on scrap material and inspect the bead and cooling profile. Confirm recorded parameters match the coupler specifications.
Commissioning & Quality Checks
Document weld parameters, machine serial number, calibration date, and environmental conditions for QA records. Verify that joint resistance, heating time, and recorded voltages are within tolerances specified by the coupling manufacturer.
Safety and Best Practices
Personal Protective Equipment (PPE)
Operators should wear insulated gloves, safety glasses, flame-resistant clothing where applicable, and hearing protection in noisy environments. Keep a fire extinguisher nearby when welding in confined spaces.
Electrical Safety
Always disconnect power before maintenance. Use a residual-current device (RCD) for extra protection in outdoor environments. Verify grounding continuity at the start of each shift.
Common Troubleshooting Tips
No power or intermittent supply: Check fuses, circuit breakers, and cable continuity. Confirm external generator output if used.
Poor weld bead or cold joint: Verify coupling compatibility, clean pipe surfaces, check heating plate temperature, and ensure correct clamp force and alignment.
Control unit errors: Consult the error code log, reset the unit, and re-run diagnostics. If persistent, record error details and contact technical support with machine serial number and calibration info.
Routine Maintenance After Installation
Keep heating elements and contact surfaces clean. Inspect cables and connectors for wear. Schedule calibration checks annually (or per local regulations) and maintain a log of maintenance activities to support warranty and QA compliance.
Verification & Documentation for QA
Capture the following in weld reports: machine ID, coupling type and batch, ambient conditions, operator name, time-stamped weld parameters, and inspection photos. These records support traceability for infrastructure projects and regulatory audits.
Quick Reference: Installation Timing & Environmental Tips
Typical setup time: 30–90 minutes depending on site complexity and pre-check completion.
Temperature considerations: Avoid welding in freezing precipitation or extreme heat without following manufacturer guidance for preheating or cooling allowances.
Company Information
JQ-Fusion is a professional manufacturer specializing in HDPE pipe welding machines, providing reliable butt fusion solutions for global infrastructure projects. With years of industry experience, JQ-Fusion focuses on the development and production of manual, hydraulic, and CNC automatic butt fusion welding machines across a wide range of pipe sizes, ensuring quality and support for contractors worldwide. https://jq-fusionwelding.com/
Final Notes
Following a standardized installation sequence improves weld reliability and reduces rework. Keep documentation and calibration up to date, train operators on both equipment and safety, and conduct a test weld before full production. When in doubt, consult the equipment manual or the manufacturer’s technical team for specific model guidance.



