
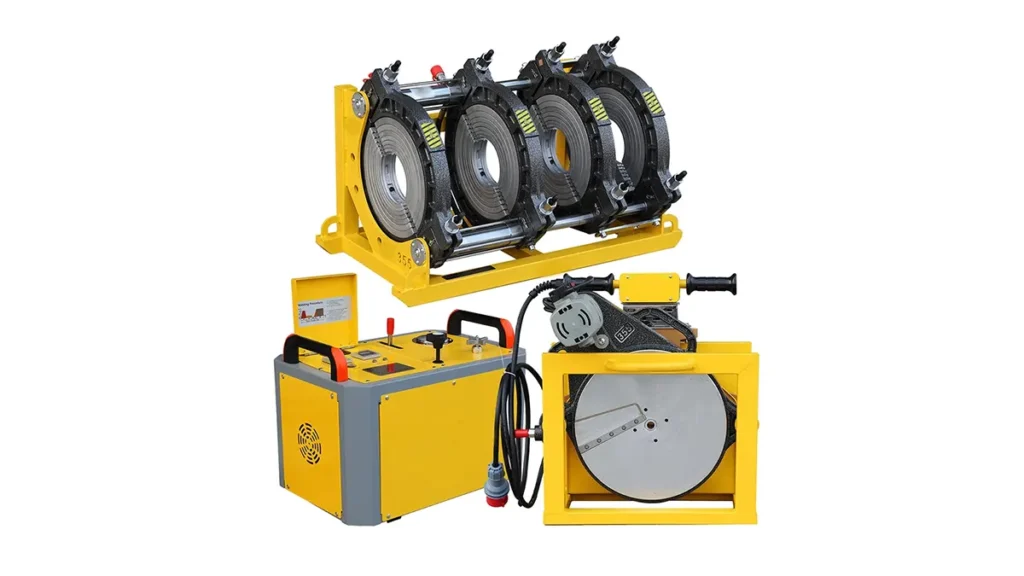
Electric fusion welder repair and maintenance are essential for reliable HDPE pipe welding on construction, municipal, and industrial projects. This guide walks technicians through fast troubleshooting, routine care, and proven fixes to restore performance and extend machine life. Use the steps below to diagnose common faults, perform safe repairs, and prevent repeat failures.
Common Symptoms & Quick Diagnosis
Symptom scanning helps prioritize fixes. Inspect the machine visually, listen for unusual noises, and note error codes on the control panel.
- No heat or slow heating: broken heating element, failed thermostat, loose wiring.
- Inconsistent melt beads: thermistor drift, warped heater plate, incorrect pressure or alignment.
- Hydraulic drift or no pressure: low fluid, worn seals, pump or valve failure.
- Electrical faults / tripped breakers: damaged cables, shorted components, faulty control board.
- Alignment/clamp wear: uneven welds, slippage, pipe deformation.
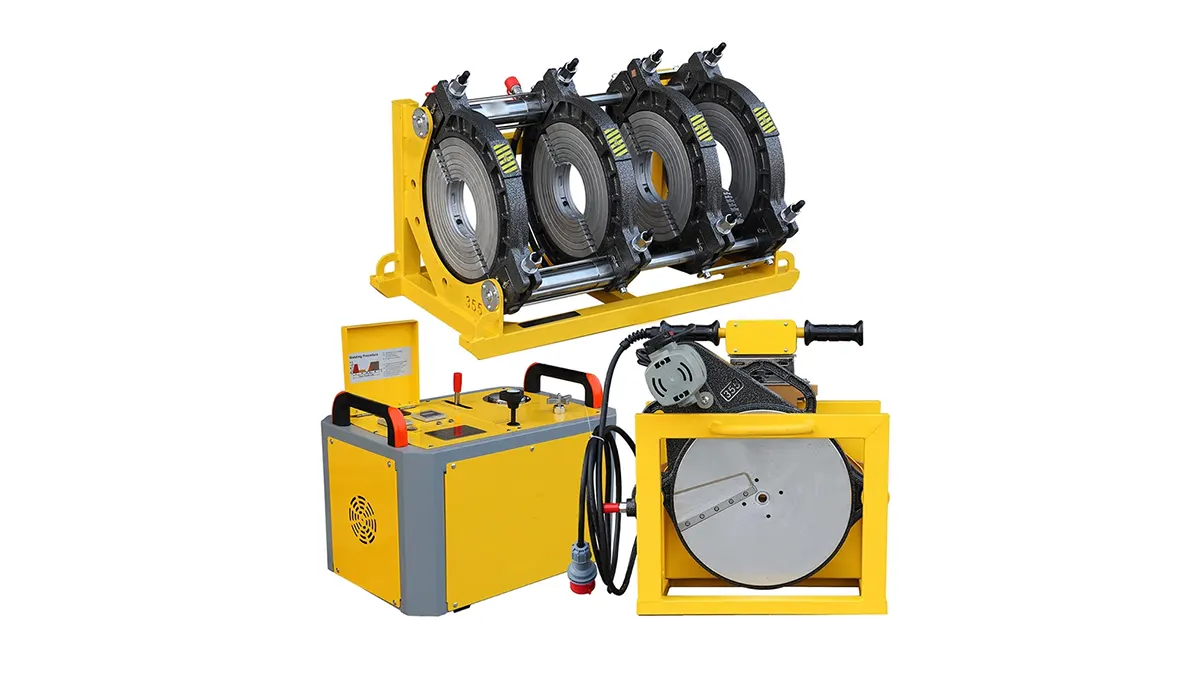
Step-by-Step Troubleshooting Workflow
1. Safety first
Before any checks, disconnect mains power, bleed hydraulic pressure, and allow the heater plate to cool. Use insulated gloves when working on electrical parts and lock out power sources.
2. Visual & mechanical checks
Start with quick mechanical inspections: verify clamps, rails, trims, and alignment. Replace worn clamping pads or guide rollers. Check that the trimmer blade and facing tools are sharp and seated correctly.
3. Electrical system diagnostics
Use a multimeter to test incoming voltage, fuses, and heater continuity. Inspect connectors for corrosion and confirm grounding. For intermittent faults, tap test connectors while observing behavior to locate loose contacts.
4. Heater plate & thermistor validation
Measure the heater element resistance and compare with manufacturer specs. Calibrate or replace thermistors if readings drift from target temperature. Tip: a 1–2°C drift can still affect melt quality — recalibrate periodically.
5. Hydraulic & mechanical pressure checks
Check hydraulic fluid level and look for contamination. Inspect hoses and fittings for leaks. Test pump output and system relief valve settings. Replace seals and O-rings when slippage or slow approach/retract is observed.
Quick troubleshooting checklist
- Verify power and fuses
- Check heater continuity and thermistor readings
- Inspect hydraulic fluid and valves
- Confirm clamp alignment and rail wear
- Review control panel for logged error codes
Routine Maintenance Checklist
Planned maintenance reduces downtime. Use the table to set frequencies and expected benefits.
| Task | Frequency | Benefit |
|---|---|---|
| Visual inspection & cleaning | Daily | Prevents debris-related faults |
| Heater plate & thermistor check | Weekly | Ensures temperature accuracy |
| Hydraulic fluid level & leak check | Monthly | Prevents pressure loss |
| Align clamps & rail lubrication | Monthly | Maintains consistent welds |
| Electrical connector and fuse inspection | Quarterly | Reduces intermittent electrical failures |
Expert Fixes & Component-Level Repairs
Heater element replacement
When heater resistance is out of spec or there is open-circuit, remove the heater plate following manufacturer procedures. Replace with OEM or compatible element and verify insulation and fastener torque. Re-check thermistor placement and re-validate setpoint accuracy.
Thermistor and temperature control
If readings are inconsistent, replace thermistors and re-map the control input. After replacement, perform a cold-to-hot ramp test and log temperature trace for 0–300°C stability.
Hydraulic pump, seals & valves
For pressure loss or drifting, rebuild the pump with new seals and check the relief valve setting. Replace worn cylinders or check for scored piston rods. Bleed air from the system thoroughly after repairs.
Control board & wiring repairs
Look for bulging capacitors, cracked solder joints, or burn marks. Replace damaged fuses and test relays. For persistent control errors, capture error codes and consult the machine firmware manual or a certified technician.
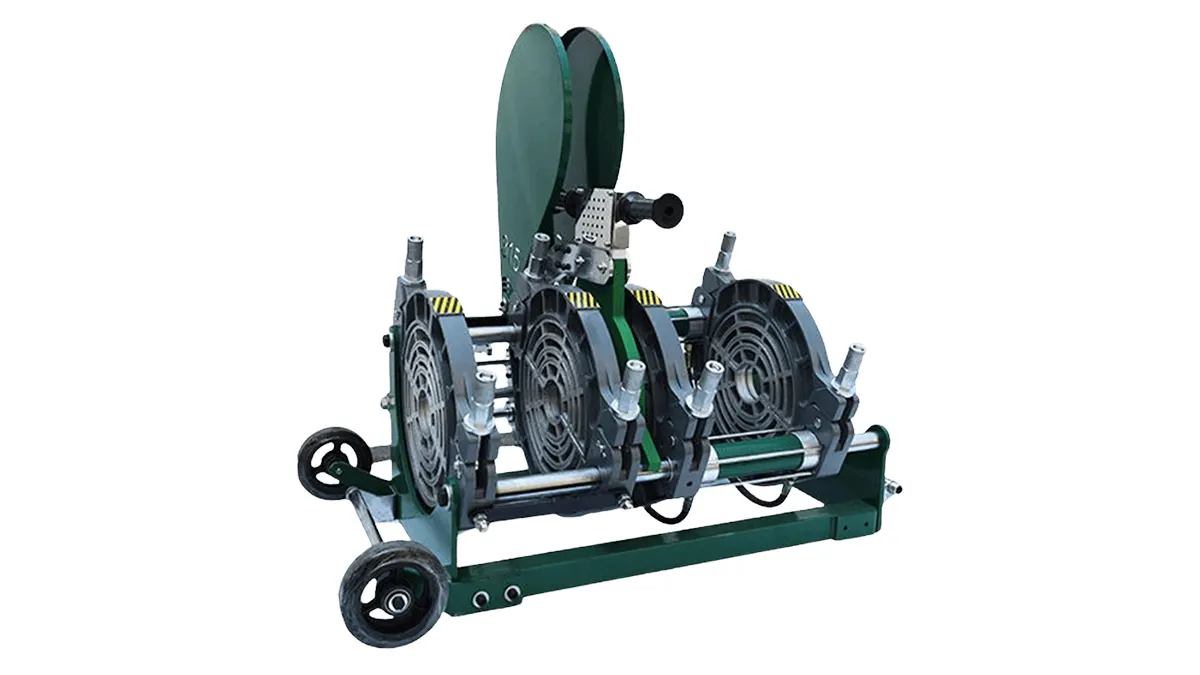
When to Call a Professional or Replace the Unit
Some failures need manufacturer-level support or replacement. Contact service when you encounter:
- Repeated control board failures after repair
- Severe structural damage or frame warping
- Unavailable critical spare parts or excessive repair costs
- Safety system failures that put operators at risk
For certified parts and technical support, consider contacting JQ-Fusion for genuine components and service guidance.
Spare Parts & Tools to Keep On-Site
Maintain a compact repair kit: thermistors, heater elements, fuses, hydraulic seals, filter cartridges, replacement clamp pads, multimeter, torque wrench, and basic hydraulic tools. Label parts by model to speed repairs.
Final pro tips
Document every repair — log serial numbers, part codes, temperatures, and pressure readings. Regular records improve diagnostics and warranty claims. Consistent maintenance and timely small repairs save far more than emergency replacements.



