
Electrofusion controllers are essential for reliable HDPE pipe connections. This guide explains how to set up the controller, perform safe electrofusion welding, and troubleshoot common issues — ideal for field technicians, pipeline contractors, and maintenance teams looking to improve joint quality and reduce rework.
Understanding the Electrofusion Controller and Key Components
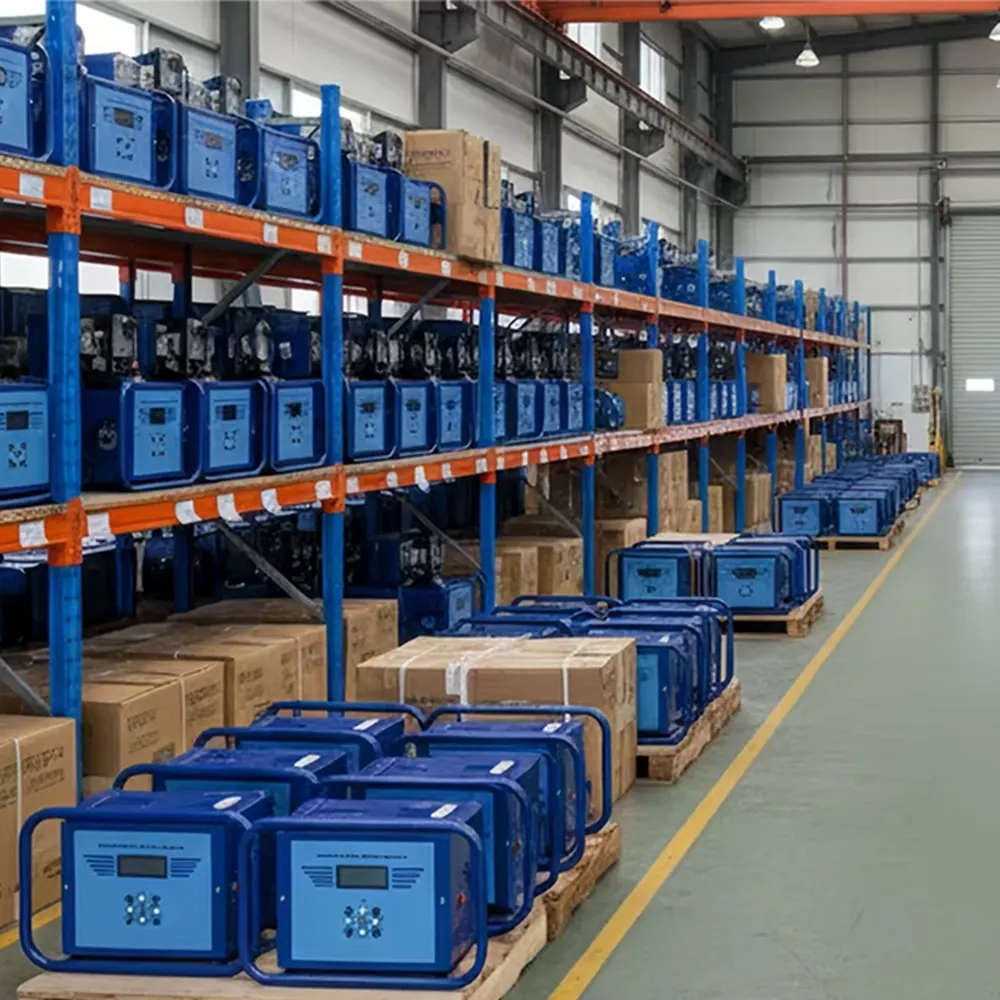
The electrofusion controller provides controlled electrical energy to fusion fittings so the embedded heating coils melt the pipe and fitting surfaces to form a homogeneous joint. Typical controller components include:
- Control panel with a display for program selection and welding parameters.
- High-current output terminals and cable connectors.
- Internal safety features: short-circuit protection, thermal cutouts, and power monitoring.
- Data logging and barcode/QR reading (on advanced models) for traceability.
Why correct controller setup matters
Accurate voltage, welding time, and pressure management directly affect joint strength. Incorrect parameters or poor preparation can cause weak joints, leaks, or premature failures.
Pre-Weld Preparation: Pipes, Fittings, and Tools
Proper preparation is the foundation of a successful electrofusion weld. Follow these steps every time:
Materials and tools checklist
- Correct HDPE pipes and electrofusion fittings (matching SDR and size).
- Approved scraper and cleaning wipes.
- Clamps or alignment tools to keep parts aligned during welding.
- Electrofusion controller, cables, and calibrated diagnostic tools (multimeter, etc.).
Pipe and fitting preparation steps
1. Verify fitting code, welding parameters, and expiry (if marked).
2. Cut pipe ends square and check for ovality. Use a proper pipe cutter or saw.
3. Clean the pipe surface of dirt, grease, and moisture. Use approved cleaning solvent if required.
4. Scrape the pipe to the correct depth until a uniform, clean surface is visible. Remove all swarf and dust before fitting.
Controller Setup: Power, Program, and Cables
Before starting, ensure the controller is inspected and in good condition. Connect it to a stable power source and confirm cables are intact.
Step-by-step controller setup
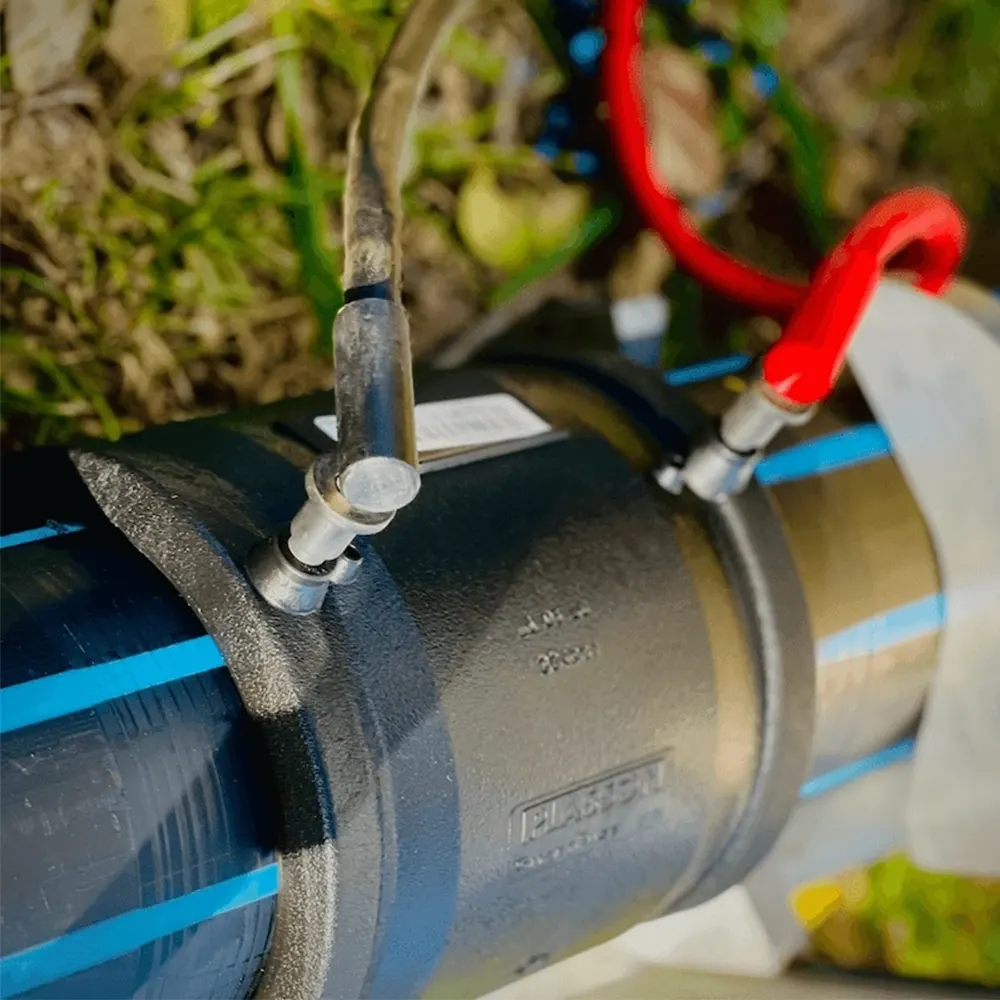
- Connect output leads firmly to the fitting terminals and ensure polarity is correct if applicable.
- Enter the welding program: select the fitting type and size, or scan the fitting barcode/QR if the controller supports it.
- Verify the controller displays the recommended welding voltage and time. If manual entry is required, use the values supplied by the fitting manufacturer.
- Confirm ambient temperature and record any environmental notes; extreme cold or heat may require adjustment or extended cooling times.
Quick safety check
Ensure clamps hold the pipe and fitting so they cannot move. Keep bystanders clear and verify grounding to reduce electric shock risk.
Electrofusion Welding Procedure: Step-by-Step
Follow these standard steps to produce consistent joints:
- Position pipe and fitting in alignment tools and apply recommended clamping force.
- Attach controller leads and confirm good electrical contact.
- Start the welding cycle on the controller. Monitor the display for current and voltage readings.
- Do not disturb the joint during the weld cycle. The controller will signal completion.
- Allow the joint to cool undisturbed for the specified cooling time before releasing clamps or moving the assembly. Cooling is critical to joint strength.
Typical Electrofusion Parameters (Reference Table)
| Fitting Size (mm) | Typical Voltage (V) | Weld Time (s) | Cooling Time (min) |
|---|---|---|---|
| 20–63 | 40–55 | 10–60 | 5–15 |
| 75–160 | 40–60 | 60–300 | 10–30 |
| 180–315 | 50–80 | 120–600 | 15–60 |
Note: Use the fitting manufacturer’s parameter sheet as the authoritative source. This table is a general reference for common sizes.
Safety Best Practices
- Wear appropriate PPE: safety glasses, insulated gloves, and protective clothing.
- Keep the welding area well-ventilated to avoid inhaling any fumes from heated polymer.
- Disconnect the controller from power before making adjustments. Never touch live connections.
- Follow lockout/tagout procedures on site to protect others from accidental energizing.
Common Issues and Troubleshooting
Poor fusion or cold joints
Causes: incorrect parameters, contaminated surfaces, or movement during weld. Remedy: re-scrape, re-clean, verify controller settings, and re-clamp securely.
Controller errors or interrupted cycles
Causes: unstable power supply, loose cables, or expired fittings. Remedy: inspect and replace cables, use a stable generator or mains supply, and check fitting codes.
Maintenance tips
- Keep connectors and terminals clean and dry.
- Store the controller in a dry case to prevent dust and moisture ingress.
- Schedule periodic calibration and software updates where applicable.
Field Tips for Higher Productivity
Plan welding sequences to allow adequate cooling time without delaying the crew. Pre-prepare multiple joints and use mobile clamps and stands for faster setup. Record weld data for traceability and quality audits.
Where to get reliable equipment
For industrial-grade electrofusion controllers and HDPE welding solutions, consider manufacturers with proven project experience. JQ-Fusion offers a range of HDPE welding machines and electrofusion equipment suited to water, gas, mining, and industrial pipeline projects.
Final reminder
Consistent joint quality depends on preparation, correct controller parameters, and strict adherence to safety and cooling procedures. Always follow manufacturer guidance for fittings and controllers and keep documentation for each weld.



