
Electrofusion welding is a precision method for joining HDPE pipes that delivers leak-free, long-lasting connections when performed with the right machine and process controls. This guide explains how HDPE electrofusion welding machines work, what to look for when buying or specifying equipment, step-by-step procedural best practices, and maintenance and troubleshooting tips to ensure reliable fusion welds every time.
How Electrofusion Welding Works
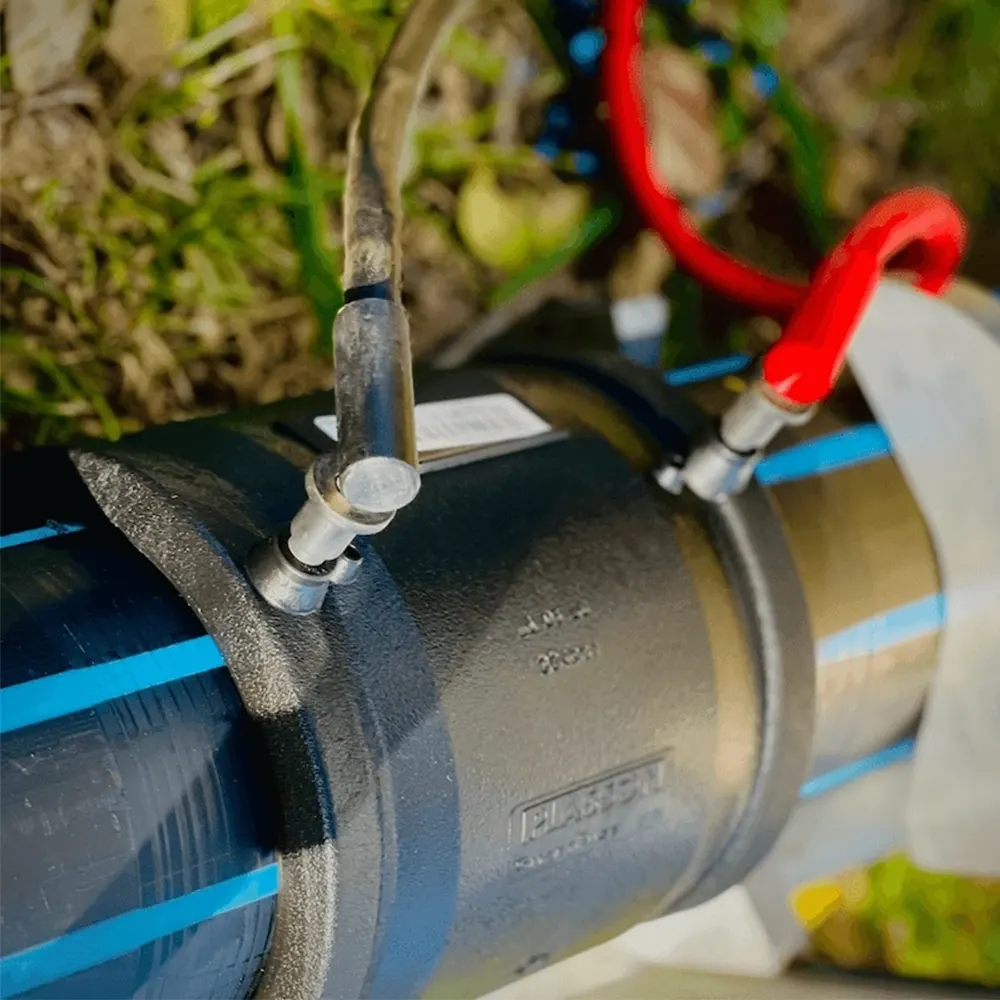
Electrofusion uses fittings with embedded heating coils. When the correct electrical current is applied by an electrofusion welding unit, the coils melt the inner surfaces of the fitting and the pipe ends, creating a homogeneous fusion joint as the melted material cools and solidifies. The process provides strong, pressure-rated joints suitable for water, gas, and industrial pipeline systems.
Core components of an electrofusion welding machine
-
Power/control unit — supplies regulated current and monitors temperature/time.
-
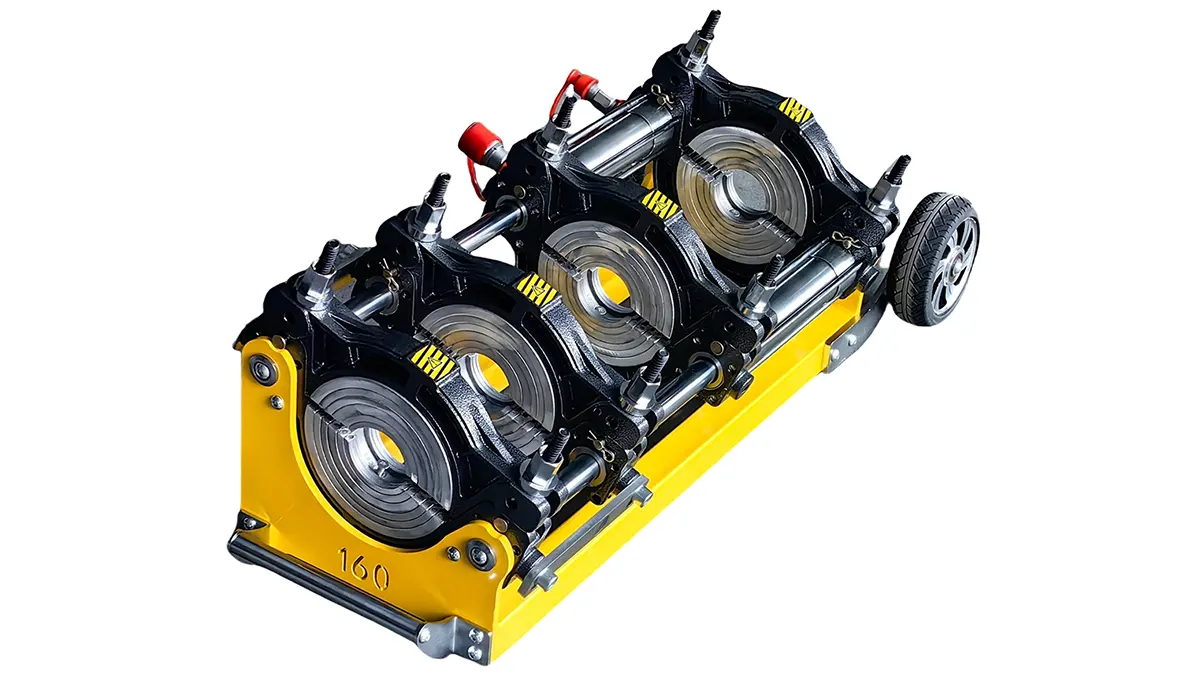
Clamping system — ensures alignment and prevents movement during the heating and cooling cycle.
-
Weld programmer or interface — allows you to input or read welding parameters and cycles.
-
Electrode leads & connectors — secure electrical connection to the fitting.
Types of HDPE Electrofusion Welding Machines
Choose a machine based on jobsite conditions, pipe diameters, and production rate:
-
Portable battery-powered units — ideal for remote sites and repair work.
-
Benchtop/bench-mounted units — used in fabrication shops for consistent shop-quality joints.
-
Integrated automated systems — high-volume production, offers programmable cycles and data logging.
Quick comparison at a glance
| Model Type | Pipe Range (mm) | Power | Control | Best Use |
|---|---|---|---|---|
| Portable Electrofusion Unit | 20 – 160 | Battery/AC | Manual/Programmed | Field repairs & small jobs |
| Benchtop/Shop Unit | 20 – 800 | AC | Digital program | Fabrication & fittings |
| Automated Integrated System | 63 – 1200+ | AC, high power | CNC/PLC & data logging | Large-diameter on-site production |
Step-by-Step Electrofusion Welding Procedure
Follow this controlled workflow to produce reliable joints:
1. Preparation
Cut pipe ends square, remove burrs, and ensure the pipe ends match the fitting depth. Confirm pipe specifications and fitting compatibility.
2. Cleaning & Surface Prep
Use the correct scraper tool to remove the oxidized layer until the specified diameter is achieved. Wipe surfaces with the recommended cleaner—do not touch cleaned surfaces with bare hands.
3. Alignment & Clamping
Place the fitting and pipes into the clamping frame. Ensure axial alignment and proper fusion gap if required. Secure clamping prevents movement during heating and cooling.
4. Program & Weld
Enter the fusion parameters from the fitting’s datasheet or the fitting barcode. Start the weld cycle—monitor voltage, current, and time. Modern units will control and report these automatically.
5. Controlled Cooling
Allow the joint to cool under clamp pressure for the specified cooling time. Removing clamps too early is a common cause of joint failure.
6. Inspection & Traceability
Visually inspect for uniform bead formation if applicable and log weld data (time, operator, machine ID, fitting batch). Data logging supports quality assurance and regulatory compliance.
Safety, Standards & Quality Control
Adhere to applicable standards (ISO, ASTM, or local codes) for HDPE fusion welding. Key QC measures include:
-
Operator certification and consistent training.
-
Routine calibration of weld power units and verification of clamps and scrapers.
-
Weld data logging and retention for traceability.
Common acceptance checks
| Check | Pass Criteria |
|---|---|
| Surface preparation | Clean, oxidization removed to correct diameter |
| Weld cycle | Voltage/current/time matches fitting spec |
| Cooling | Cooling time completed under clamp pressure |
Maintenance & Troubleshooting Tips
Regular maintenance of the power unit, leads, and clamps reduces downtime and improves weld success.
-
Daily: Inspect leads and connectors for wear; clean contacts.
-
Monthly: Verify output voltage and cycle timing against a reference standard.
-
If welds fail: Check fitting batch and expiry, confirm scraping depth, validate machine calibration, and review logged weld parameters.
Quick troubleshooting matrix
| Issue | Likely Cause | Action |
|---|---|---|
| Weak joint | Insufficient heat or movement during weld | Recalibrate unit, re-clamp, repeat per spec |
| Over-melt / distortion | Excessive power or wrong cycle | Verify program, use correct fitting parameters |
Selecting the Right Machine for Your Project
Specify machines based on pipe diameters, job environment (shop vs field), required traceability, and production rate. For projects that demand reliable, durable HDPE welding equipment with global support and customizable options, consider solutions from JQ-Fusion.
Final recommendations
-
For routine field repairs choose a portable unit with battery backup.
-
For fabrication centers, a benchtop unit with digital controls and barcode reading improves throughput.
-
For large infrastructure projects, invest in automated systems that log weld data and reduce operator variability.
Ready to improve weld reliability?
Contact the manufacturer via their website to compare models, request specifications, and arrange demo units or on-site support: https://jq-fusionwelding.com/



